Your Guide to Refrigerated Prep Tables
Share
Walk into any busy, well-run kitchen, and you'll find the true workhorse of the operation: the refrigerated prep table. It's so much more than just a stainless steel counter with a fridge underneath. Think of it as the command center where fresh, cold ingredients are transformed into finished dishes, all while keeping everything efficient and safe. This one piece of equipment is the answer to the constant juggling act of temperature control, smooth workflow, and making the most of tight kitchen space. Stay informed on the latest industry trends and get exclusive deals on essential restaurant equipment and supplies like this.
The Undisputed Hub of Your Kitchen Workflow
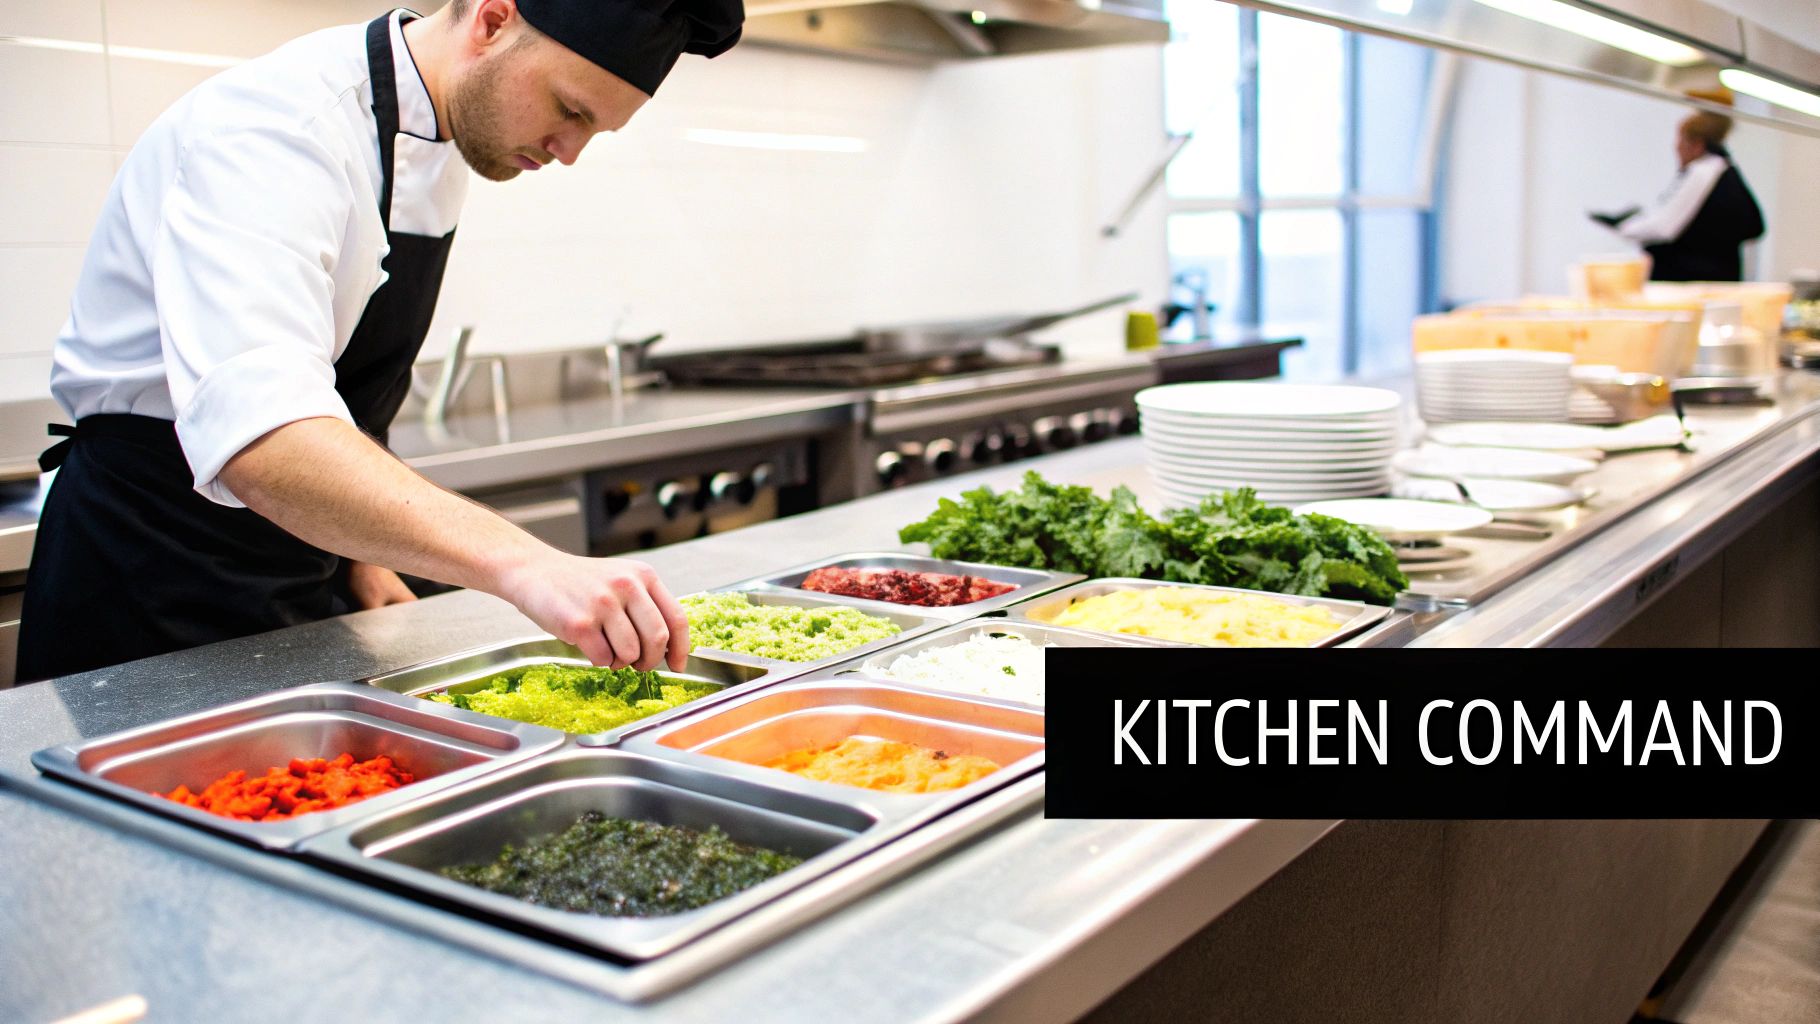
Picture your prep line during the dinner rush. It’s like an airport runway, with every plate needing to get out the door perfectly and on time. The refrigerated prep table is your air traffic control tower, making sure every component is exactly where it needs to be, at the perfect temperature, and ready for action. Without it, you've got chaos. Chefs are running around, food temperatures creep into the danger zone, and the whole service slows to a crawl.
This unit is the critical link between your walk-in cooler and your cooking line, creating a seamless and logical workspace. It stops your team from having to make dozens of trips back and forth for ingredients, saving valuable seconds on every single order. When you add up those seconds over a full service, you’re looking at a huge boost in productivity.
More Than Just a Counter
Choosing the right prep table is a strategic move that pays dividends in your kitchen's performance. Its smart, two-in-one design—a sturdy cutting board up top and chilled storage right below—solves a lot of common kitchen headaches.
- Enhanced Food Safety: This is huge. Keeping perishable ingredients like sliced meats, cheeses, and prepped veggies at a consistent, safe temperature is your best defense against foodborne illness.
- Improved Workflow Efficiency: Having everything you need within arm's reach makes assembling sandwiches, salads, or pizzas lightning-fast. During a rush, that speed is everything.
- Optimized Kitchen Space: Combining prep space and refrigeration into a single unit is a lifesaver in smaller kitchens where every inch counts. For more ideas on getting the most out of your area, check out our guide on commercial kitchen design layout.
It’s no surprise that demand for these tables is on the rise. Following the latest industry trends, the global market was recently valued between $2.1 billion and $2.8 billion, and it's expected to keep growing at a rate of 4.3% to 6.2% each year for the next decade.
A refrigerated prep table isn't just another piece of equipment to buy; it's an investment in your kitchen's speed, safety, and consistency. It gives your crew the tools they need to execute the menu perfectly, turning a potential weak spot into a smooth, money-making machine.
Navigating the Different Prep Table Models
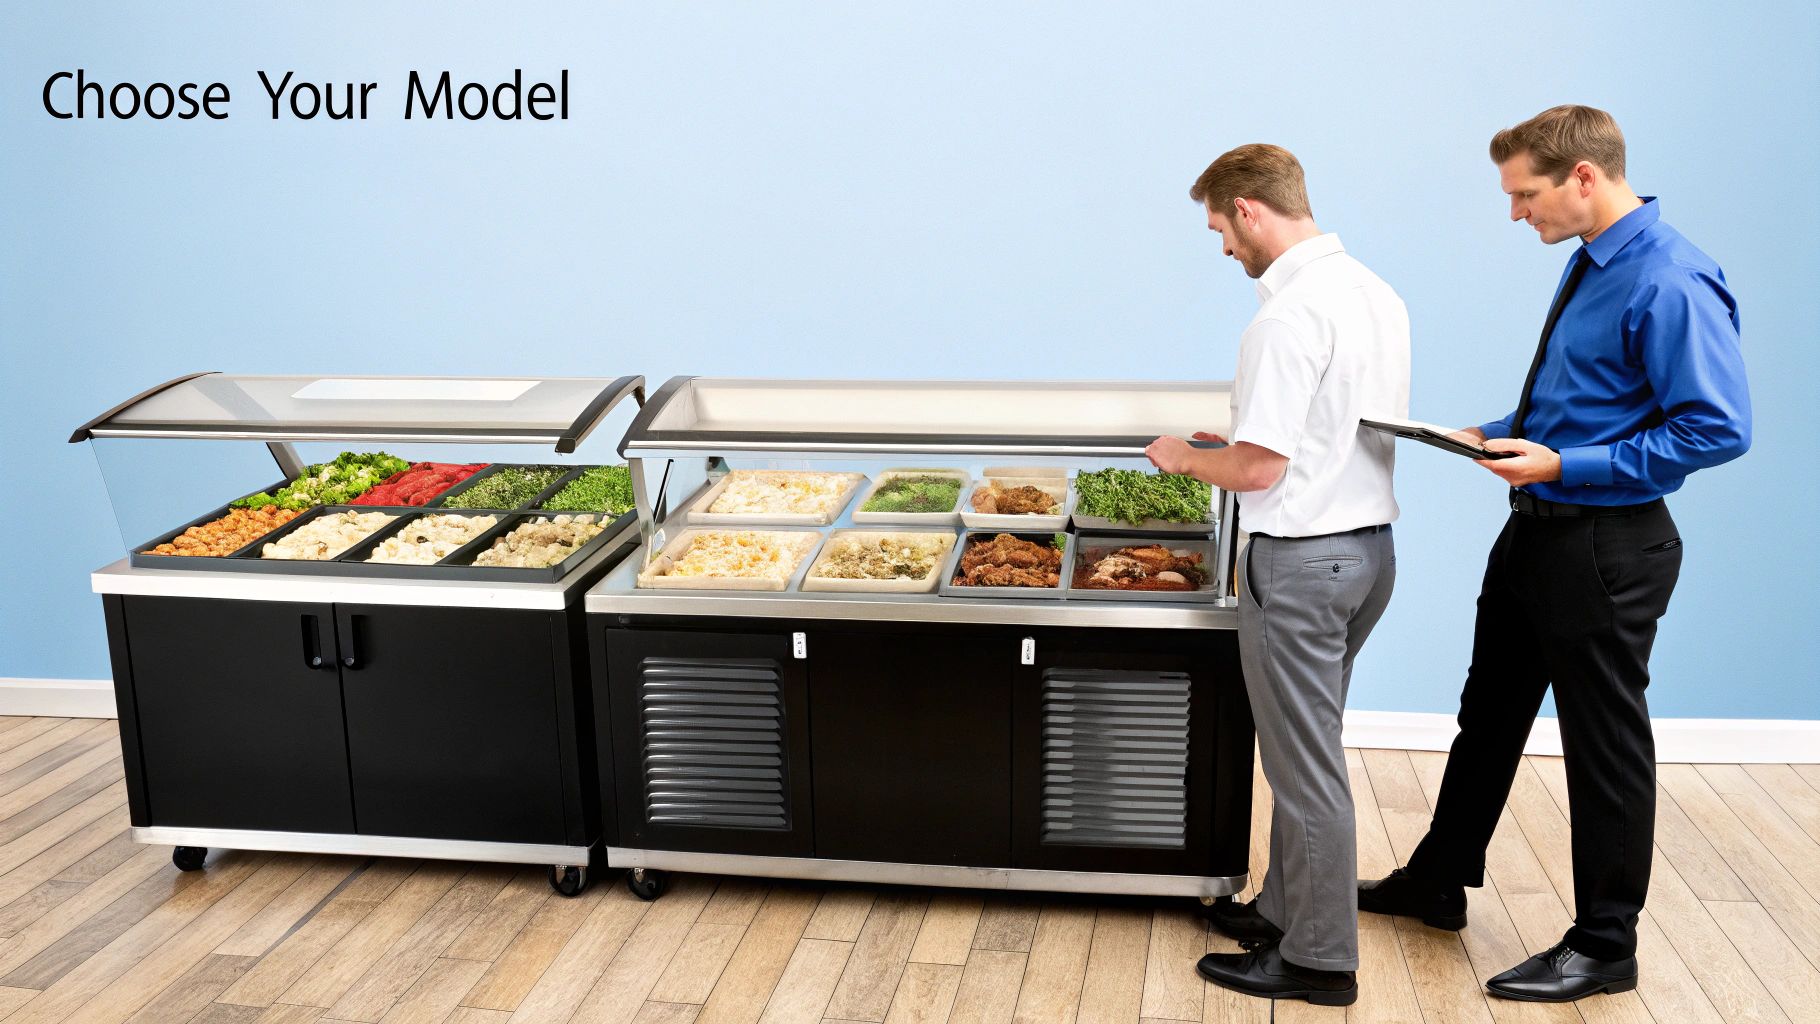
When you start shopping for a refrigerated prep table, you'll quickly realize they aren't all the same. The real secret to picking the right one is matching the unit to your menu. It’s a lot like choosing the right knife—a paring knife is perfect for small, precise cuts, but you'd never use it to break down a primal cut.
In the same way, the ideal prep table for a bustling sandwich shop is worlds apart from one designed for a high-volume pizzeria.
Making the wrong call here can create massive headaches and bottlenecks on your line. An ill-suited table leads to wasted movements, slower service, and a cramped, frustrating workspace. Let’s break down the main types so you can find a model that feels like a natural part of your kitchen, not a roadblock.
Sandwich and Salad Prep Tables
These tables are the workhorses for delis, cafes, and any spot specializing in fresh salads and sandwiches. Their entire design is built around giving you fast access to a wide variety of smaller ingredients. You'll see the top rail is set up to hold a bunch of third-size or sixth-size pans, which are perfect for everything from sliced tomatoes and onions to various cheeses and meats.
The cutting board on these units is usually somewhere between 8 to 12 inches deep. This gives you just enough room to assemble a sandwich or build a salad without the table eating up too much valuable floor space.
Pizza Prep Tables
Pizza prep tables are a different beast altogether, built from the ground up for a unique workflow. The first thing you'll notice is the massive cutting board, which is often 19 inches deep or even more. That extra real estate is absolutely critical for stretching large pizza doughs and giving your team plenty of room to work without making a mess.
The ingredient rail is also raised and set further back from the cutting board. It's a smart design choice that keeps toppings from accidentally falling onto the dough during assembly, which helps keep the workspace clean and reduces food waste. The refrigerated cabinet below is also typically configured to hold full-size sheet pans or dough boxes—a must-have for any serious pizza operation.
The core difference lies in the workflow. Sandwich tables are built for variety and speed with smaller items, while pizza tables are engineered for scale and the specific needs of handling large doughs.
Mega Top Prep Tables
So, what do you do when a standard sandwich prep table just doesn't have enough room for all your ingredients? That's where the Mega Top model shines. These units are essentially a supercharged version of the standard sandwich/salad table, featuring an expanded top rail that can hold an extra row of pans.
This gives you roughly 50% more pan capacity than a standard unit of the same length. For a restaurant with a huge list of toppings or a really complex sandwich menu, a Mega Top can be a total game-changer, keeping more ingredients chilled and within easy reach to speed up service when you're slammed.
Comparing Sandwich/Salad vs. Pizza Prep Tables
To make the choice clearer, it helps to see the two most common types side-by-side. Each is purpose-built for a specific kind of menu and kitchen flow.
| Feature | Sandwich/Salad Prep Table | Pizza Prep Table |
|---|---|---|
| Best For | Delis, cafes, and quick-service sandwich/salad concepts | Pizzerias, Italian restaurants, and flatbread shops |
| Cutting Board Depth | Standard (8" to 12") for assembly | Extra-deep (19"+) for stretching large doughs |
| Ingredient Rail | Sits flush with the cutting board for easy reach | Raised and set back to prevent toppings from spilling |
| Pan Configuration | Holds many smaller pans (1/3 & 1/6 size) for variety | Designed for larger pans (1/3 & 1/2 size) |
| Refrigerated Base | Standard shelving for general cold storage | Often accommodates full-size sheet pans or dough boxes |
Looking at them this way, you can see how trying to use one for the other’s job would quickly become frustrating. A pizzeria trying to make do with a sandwich table will have no room to work, while a deli using a pizza table is paying for a deep cutting board it will never use.
Ultimately, choosing the right model comes down to honestly looking at your menu and your process. Match the equipment to the task, and you'll set your kitchen team up for a much smoother, faster, and more efficient operation.
Key Features That Boost Kitchen Performance
To really get what makes a great refrigerated prep table tick, you have to look past the sales pitch and dig into the features that actually matter during a chaotic dinner rush. These aren't just bullet points on a spec sheet; they’re the workhorses that save you money, keep your food safe, and make life easier for your crew.
When you know what to look for, you can pick a unit that solves real problems. A seemingly small feature can make a massive difference in your kitchen's flow and, ultimately, your bottom line. Discover the latest news and get exclusive deals on restaurant equipment by staying informed.
Where The Compressor Breathes Matters
The compressor is the heart of any refrigeration unit, but its location is a make-or-break detail for installation and maintenance. Think of it like a car's engine—where it's placed affects how it runs and how you service it.
You'll run into two main designs:
- Front-Breathing Compressors: These are the real space-savers. They pull air in and push it out through a grille at the front, usually right below the doors. This means you can slide the table flush against a wall or snug it up next to other equipment without worrying about it overheating.
- Rear-Breathing Compressors: These models need room to breathe, literally. They require a few inches of clearance behind them to work properly. While they're fine for open kitchen layouts, cramming one into a tight spot will suffocate the compressor, leading to high energy bills and eventual breakdown.
Getting this right from the start is crucial. For most tight commercial kitchens, a front-breathing unit just offers way more flexibility.
Smart Features That Cut Costs and Ensure Safety
Beyond the compressor, modern prep tables have a few other tricks up their sleeve to protect your food and your wallet. These are the details designed to fight common kitchen headaches like energy waste and temperature swings.
Self-closing doors are a perfect example. In the middle of a busy service, it's easy to leave a door slightly ajar. When that happens, the compressor works overtime, burning electricity and putting your food in the danger zone. Self-closing doors gently pull themselves shut, guaranteeing a solid seal every time. It’s a simple feature that provides serious peace of mind.
Another game-changer is the digital thermostat. It gives you a precise temperature reading, taking the guesswork out of holding food between the critical 33°F and 41°F range. This level of control makes it easy to stay compliant with health codes and prevents the costly mistake of freezing produce or letting proteins get too warm.
These aren't just bells and whistles; they're essential tools for running a tight ship. Self-closing doors and digital thermostats directly lead to lower utility bills and more consistent food quality, paying for themselves many times over.
Built to Last and Adapt to Your Menu
The construction of a prep table tells you a lot about how long it's going to last. A unit built from high-grade stainless steel is designed to take a beating. It will stand up to the dents, dings, and constant cleaning of a professional kitchen without rusting or falling apart. A solid build means you're investing in a piece of equipment that will serve you well for years.
Inside, look for adjustable shelving. This is all about making the space work for you. One day you might need to store tall Cambros of sauce, and the next you might have shallow hotel pans of prepped veggies. Adjustable shelves let you customize the interior to fit exactly what you need, helping you use every last inch of valuable cold storage to keep your line stocked and organized.
How to Choose the Right Refrigerated Prep Table
Buying a refrigerated prep table isn't just about finding a good deal. The right unit can be the backbone of your kitchen's workflow, while the wrong one can become a daily source of frustration. Let's walk through how to pick the perfect model for your operation so you make an investment that pays off.
Think of it like getting a custom suit made. You wouldn't just grab one off the rack and hope it fits. You'd take precise measurements and consider how you'll use it. We'll do the same for your kitchen, looking at your space, workflow, and menu to find that perfect fit.
Start With Size And Volume
First things first: break out the tape measure. You need to know exactly how much space you have to work with—length, depth, and height. But don't just measure the spot where it'll sit. Make sure you leave enough room for your staff to move around it comfortably without causing a bottleneck during a busy service.
Next, think about volume. How many sandwiches, salads, or pizzas are you cranking out during your busiest rush? This will tell you how much pan capacity you need. A quiet little café might do just fine with a 48-inch unit, but a bustling pizzeria will need a 93-inch beast to keep up.
Doors Versus Drawers: The Great Debate
Once you've nailed down the size, you need to decide how you'll access the cold storage underneath. This is a classic kitchen debate, and the answer really depends on what you value more: flexible bulk storage or lightning-fast organization.
- Doors: The old standard. A door gives you a wide-open cabinet, perfect for stashing big, bulky items like tubs of sauce, cases of cheese, or full-size hotel pans.
- Drawers: These are all about speed and organization. You can assign specific ingredients to each drawer, letting your crew grab exactly what they need in a split second without having to stoop and search.
Luckily, you don't always have to choose. Many refrigerated prep tables now offer a hybrid design with both doors and drawers, giving you the best of both worlds. Look at your menu and prep line to figure out what combination will save your team the most time.
Understanding Compressor Placement And Airflow
This is a technical detail you can't afford to ignore. Where the compressor "breathes" from will determine where you can physically place the unit in your kitchen. As we touched on earlier, a rear-breathing unit needs a few inches of clearance from the wall to get proper airflow. If every inch of your kitchen is prime real estate, a front-breathing model that can be pushed flush against the wall is the clear winner.
This decision tree gives you a quick visual for figuring out whether an internal or external compressor makes more sense for your kitchen's environment.

As you can see, the physical location of your kitchen—whether it’s a standard indoor setup or an outdoor stand—is a huge factor in picking the right compressor style.
Calculating The True Cost Of Ownership
The price tag you see is just the beginning of the story. A more energy-efficient model might have a higher upfront cost, but it could easily save you hundreds of dollars a year on your utility bills. Keep an eye out for the ENERGY STAR® logo; these units are typically 20% more energy-efficient than their standard counterparts.
Smart operators think beyond the initial purchase by reducing the total cost of ownership over the life of the equipment. A well-built unit from a trusted brand may cost more today, but it will likely mean fewer repair calls and a longer service life, giving you a much better return on your investment down the road.
As you get closer to a decision, our commercial kitchen equipment checklist can be a great tool to make sure you've covered all your bases.
The smartest purchase isn’t always the cheapest one. It's the one that delivers the best long-term value by balancing upfront cost with energy savings, durability, and workflow efficiency.
This kind of long-term thinking is becoming the new standard globally. Keeping up with industry trends, the market for refrigerated prep tables in the Asia-Pacific region, for instance, is projected to grow at a CAGR of about 8.1% from 2025 to 2033, driven by a major push for modern, efficient kitchen infrastructure. By asking these key questions, you're not just buying a piece of equipment—you're making a strategic investment in the future of your kitchen.
Installation and Maintenance Best Practices
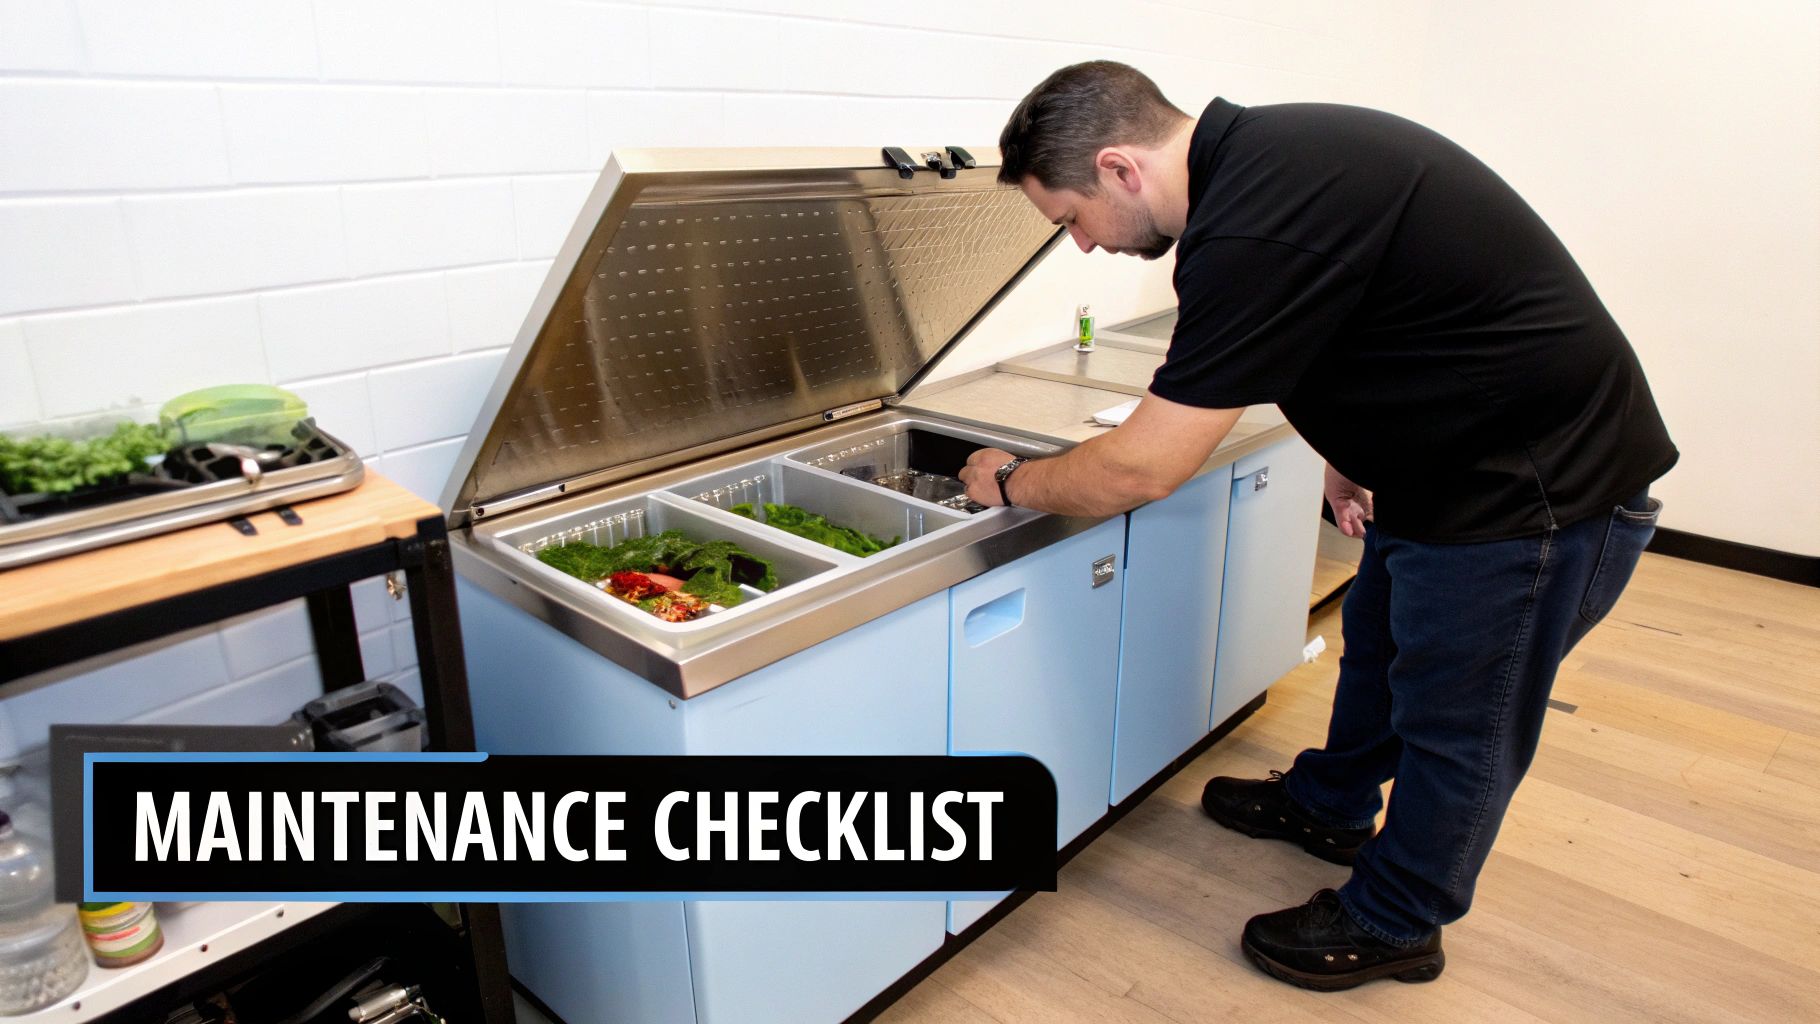
Getting a new refrigerated prep table is a big step for your kitchen, but its real value comes from how well it performs day in and day out. What you do right after it's delivered is just as important as the model you chose. Proper setup and regular maintenance aren't just suggestions on a manual; they're your best defense against breakdowns and your ticket to a long, efficient life for your unit.
Think of it like a new car. You wouldn't just jump in and drive without adjusting the mirrors, nor would you skip its first oil change. Your prep table needs that same initial care and ongoing attention to keep it running smoothly for years. A few smart practices right from the start will protect your investment and keep your kitchen humming.
Setting Up for Success
The way you install your prep table sets the stage for its entire lifespan. If you cut corners here, you’re basically inviting future problems.
First things first, make sure the unit is completely level. An uneven table puts a ton of stress on the frame, which can warp the doors, break the seals, and make your cooler work way harder than it needs to. Grab a level and adjust the feet or casters until it’s rock-solid and the doors close perfectly flush.
Next, and this is crucial, give it some breathing room. The compressor needs clear airflow to get rid of heat. For units that vent from the back, leave at least 3-4 inches of space between the table and the wall. If you cram it in, the compressor will overheat, your energy bills will spike, and you’ll be calling a repair tech sooner rather than later.
Pro Tip: Once it's in place, let the unit run empty for a full 24 hours. This gives the refrigeration system time to settle in and reach a stable, safe temperature before you load it up with all your fresh ingredients.
Creating a Proactive Maintenance Routine
Preventative maintenance is the secret weapon for keeping your refrigerated prep table in fighting shape. A simple, consistent checklist can spot tiny issues before they snowball into a full-blown crisis that shuts down your line. For many kitchens, being proactive is the foundation of smart commercial kitchen equipment maintenance.
Your routine doesn't have to be complicated. Just focus on a few key tasks:
- Clean Condenser Coils Monthly: Think of these coils as your unit's radiator—they push heat out. When they get caked with kitchen grease and dust, the whole system has to work overtime. A quick monthly scrub with a stiff brush or a shop vac can make a world of difference in efficiency.
- Inspect Door Gaskets Weekly: The rubber seals around the doors are what keep the cold air locked in. Give them a quick check for any cracks or tears. An easy way to test the seal is to close the door on a dollar bill. If you can slide it out with no resistance, it's time for a new gasket.
- Verify Temperature Accuracy Daily: Don't just trust the digital display. Keep a separate, reliable thermometer inside to make sure your food is staying in the safe zone—usually between 33°F and 41°F.
While you can handle these basics yourself, some jobs are best left to the pros. For complex problems or just to ensure everything is in peak condition, professional refrigeration installation and repair services are invaluable. Combining your own daily checks with an annual professional tune-up is the best way to make sure your prep table remains a workhorse in your kitchen.
Your Top Prep Table Questions, Answered
So, you've picked out the perfect refrigerated prep table, it's installed, and it's running like a champ in your kitchen. But even with the best equipment, real-world questions always come up. Product manuals are great for the technical stuff, but they rarely cover the day-to-day curveballs a busy kitchen throws at you.
That’s where this section comes in. We’re here to tackle the most common questions we hear from chefs and owners just like you. Think of this as your go-to guide for solving those little hiccups before they turn into major headaches, with straightforward advice to keep your kitchen running like a well-oiled machine.
"Why Won't My Prep Table Stay Cold?"
There's nothing more stressful than seeing the temperature on your prep table creeping into the danger zone. When you see it rise above that critical 41°F mark, don't panic. Before you pick up the phone to call a repair tech, there are a few simple checks you can do that often solve the problem right away.
First, take a look at the condenser coils. Tucked away behind a grille, these are the lungs of your refrigerator, breathing out heat. In a busy kitchen, they get clogged with grease and dust surprisingly fast. When they can't breathe, the compressor works overtime but can't cool effectively. A quick scrub with a stiff brush can make a world of difference.
Next, inspect the gaskets—the rubber seals around the doors. If they're torn, cracked, or not sealing tight, you're just leaking cold air. A classic trick is to close a door on a dollar bill. If you can pull the bill out without any drag, it's time for a new gasket. Lastly, make sure you aren't overloading the unit with hot food and that there's enough room for air to move around inside.
"Can I Keep Raw Meat and Veggies in the Same Unit?"
This is a huge food safety question, and thankfully, it has a simple answer. Yes, you can, but you absolutely must do it the right way to prevent cross-contamination. It all comes down to a simple top-to-bottom storage strategy.
The golden rule is this: Ready-to-eat foods on top, raw meats on the bottom. Why? Gravity. This simple setup ensures that if any raw meat juices drip, they can't contaminate food that's ready to be served.
Here’s how to stack your refrigerated base for maximum safety:
- Top Shelves: Ready-to-eat foods (cooked items, salads, prepped produce).
- Middle Shelves: Raw seafood, whole cuts of beef, and pork.
- Bottom Shelves: Raw ground meat and poultry (the highest-risk items).
Making this a non-negotiable rule in your kitchen is one of the easiest ways to ace your next health inspection.
"How Often Should I Really Be Cleaning This Thing?"
Let’s be direct: consistent cleaning is non-negotiable. It’s about more than just looks; it’s about food safety and protecting your investment. A daily routine is a must for any surface that touches food. At the end of every shift, the cutting board, ingredient pans, and top rail need to be completely cleaned and sanitized. No excuses.
The inside of the refrigerated base should get a good wipe-down at least once a week to handle any spills or crumbs before they become a science experiment. The stainless steel exterior? A daily wipe keeps it free of smudges and splatters, maintaining that professional look you want in your kitchen.
Don't forget the deep clean. At least once a month, you need to pull the unit out and clean the condenser coils and gaskets. This isn't just about being tidy—it's preventative maintenance that can save you a massive repair bill down the line.
"What's the Perfect Temperature for My Prep Table?"
For peak food safety, your refrigerated prep table needs to keep food held between 33°F and 41°F (0.5°C and 5°C). This is the sweet spot—cold enough to slam the brakes on bacteria growth but not so cold that you end up with frozen lettuce.
Keep in mind that the digital display shows the air temperature, which can jump around every time a door is opened. The best practice is to use a separate, reliable thermometer placed inside the unit with the food. This gives you the true product temperature. Check it at the start of every shift to make sure you're in the safe zone. This simple habit is a cornerstone of food safety and any solid HACCP plan.
At Encore Seattle Restaurant Equipment, our job doesn’t end with the sale. We're here to help restaurant owners and chefs discover the latest news and exclusive deals on restaurant equipment and supplies. Explore our wide selection of new and used refrigerated prep tables to find the perfect match for your kitchen's workflow and budget. Visit us at https://encoreseattle.com for exclusive deals and real-world advice from people who know the business.
