
How to Use the Broiler in the Oven Like a Pro
If you want to get the most out of your commercial oven's broiler, it boils down to three things: a proper preheat, smart rack positioning, and keeping a close eye on your food. It’s a high-heat, direct-radiant cooking method, and once you master this technique, you'll unlock rapid caramelization and a deep, charred flavor you can't get any other way. We'll help you discover how this essential piece of restaurant equipment can elevate your menu.
Unlocking Your Broiler's Hidden Potential
That broiler sitting in your commercial oven is one of the most powerful—and honestly, most underused—tools you have for making your menu pop. Many kitchens just use it to melt cheese, but its real magic is in creating incredible char, building rich textures, and developing complex flavors that make guests come back for more. It's an absolute workhorse for any professional kitchen trying to push the envelope and speed up service, making it a critical piece of restaurant equipment.
The industry is catching on, too. The commercial broiler oven market was valued at around USD 1.2 billion and is expected to more than double to about USD 2.5 billion by 2033. This isn't just a random spike; it shows a real shift where chefs are leaning into what customers want—faster cooking that doesn't sacrifice flavor or texture. Stay informed about industry trends like this; you can dig into more data on this market trend to see how it might influence your next equipment purchase.
Why Master the Broiler?
When you go beyond just melting cheese, you start to see all the doors a broiler can open for your restaurant. Think about getting that perfect, sizzling crust on a steak, charring bell peppers to bring out their natural sweetness, or even finishing a crème brûlée with a glassy, caramelized top without ever reaching for a blowtorch. With the right restaurant supplies and techniques, the possibilities are endless.
This guide is about more than just hitting the "on" switch. We're going to get into the practical, hands-on knowledge you need to control that intense heat with confidence. We’ll cover:
- How to prep your equipment for safety and consistent results.
- Choosing the right rack height for everything from a thick-cut pork chop to delicate fish fillets.
- The essential techniques to avoid common kitchen nightmares, like accidentally steaming your food instead of searing it, or worse, burning it to a crisp.
By the end of this, you’ll look at your broiler as more than just an oven feature. You’ll see it for what it is: a primary tool for creating standout dishes, shaving precious seconds off ticket times, and adding a whole new dimension to your menu. Be sure to check out our exclusive deals to upgrade your setup.
Setting the Stage for Perfect Broiling
Before a single piece of food gets near that broiler, you need to think about the environment. Broiling means high heat, and high heat means smoke. The first thing any professional chef does is crank the ventilation system to full blast. This isn't just about keeping the air clear; it's a critical safety step when operating powerful restaurant equipment.
Once the air is moving, let's talk gear. Don't even think about using a standard, flimsy baking sheet. You need a real, heavy-duty broiler pan, preferably a slotted one. These restaurant supplies are built to handle the intense heat without buckling or warping. More importantly, those slots let the fat and drippings drain away from the flame, dramatically cutting down on smoke and the risk of a grease fire.
The Preheat Is Non-Negotiable
A common rookie mistake is skimping on the preheat. Throwing food under a cold broiler is a recipe for disaster—you'll end up steaming your food instead of searing it. Your broiler needs to be roaring hot before the food goes in.
Most commercial broilers operate between 500°F and 550°F, delivering intense, direct radiant heat. Give it a solid five minutes to get there. You'll know it's ready when the heating element is glowing a fierce, angry red.
Think of it like searing a steak in a cast-iron skillet. You'd never toss a beautiful cut of beef into a cold pan, right? The same logic applies here. That initial blast of heat is what creates the perfect crust and locks in all the flavor.
That immediate, intense heat is what gives you that perfect caramelization and crisp exterior, especially for quick-cooking items like thin fish fillets or skirt steak.
Taking a few minutes to prep your station and equipment properly is key to a smooth, efficient service. If you want to dive deeper into creating a smarter workspace, check out our guide on how to optimize your commercial kitchen design layout.
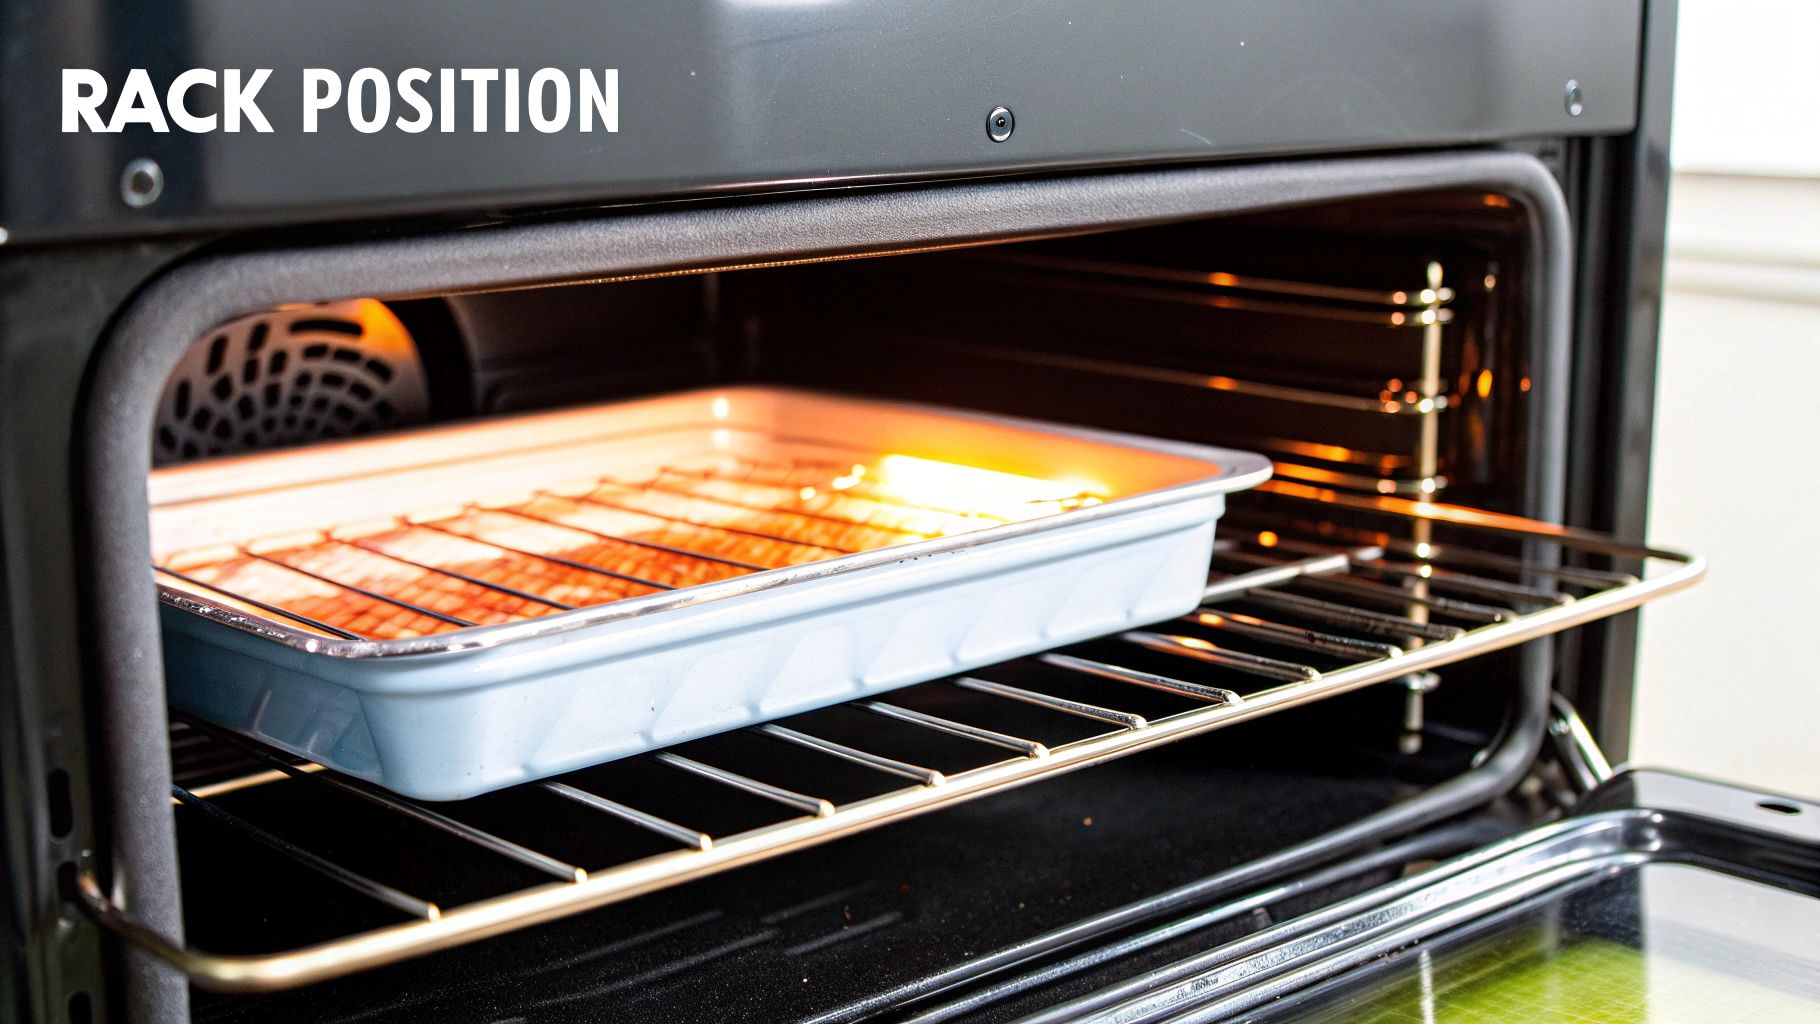
Getting Your Rack Height and Cook Times Just Right
The real art of broiling comes down to one thing: the distance between your food and that fiery heating element. This is the variable that makes the difference between a perfectly charred steak and a call to the fire department. When you're learning how to use the broiler in an oven, mastering this distance is everything.
Think about thin, delicate items—a piece of mackerel or a skirt steak you want to sear fast. For these, you'll want the oven rack in the highest position, maybe just 3-4 inches from the heat. This gives you an intense, direct blast of energy that creates an incredible crust in a matter of minutes, all without turning the inside to rubber. Stay informed about techniques like this to improve your kitchen's output.
This is the fundamental first step, even before you turn the broiler on.
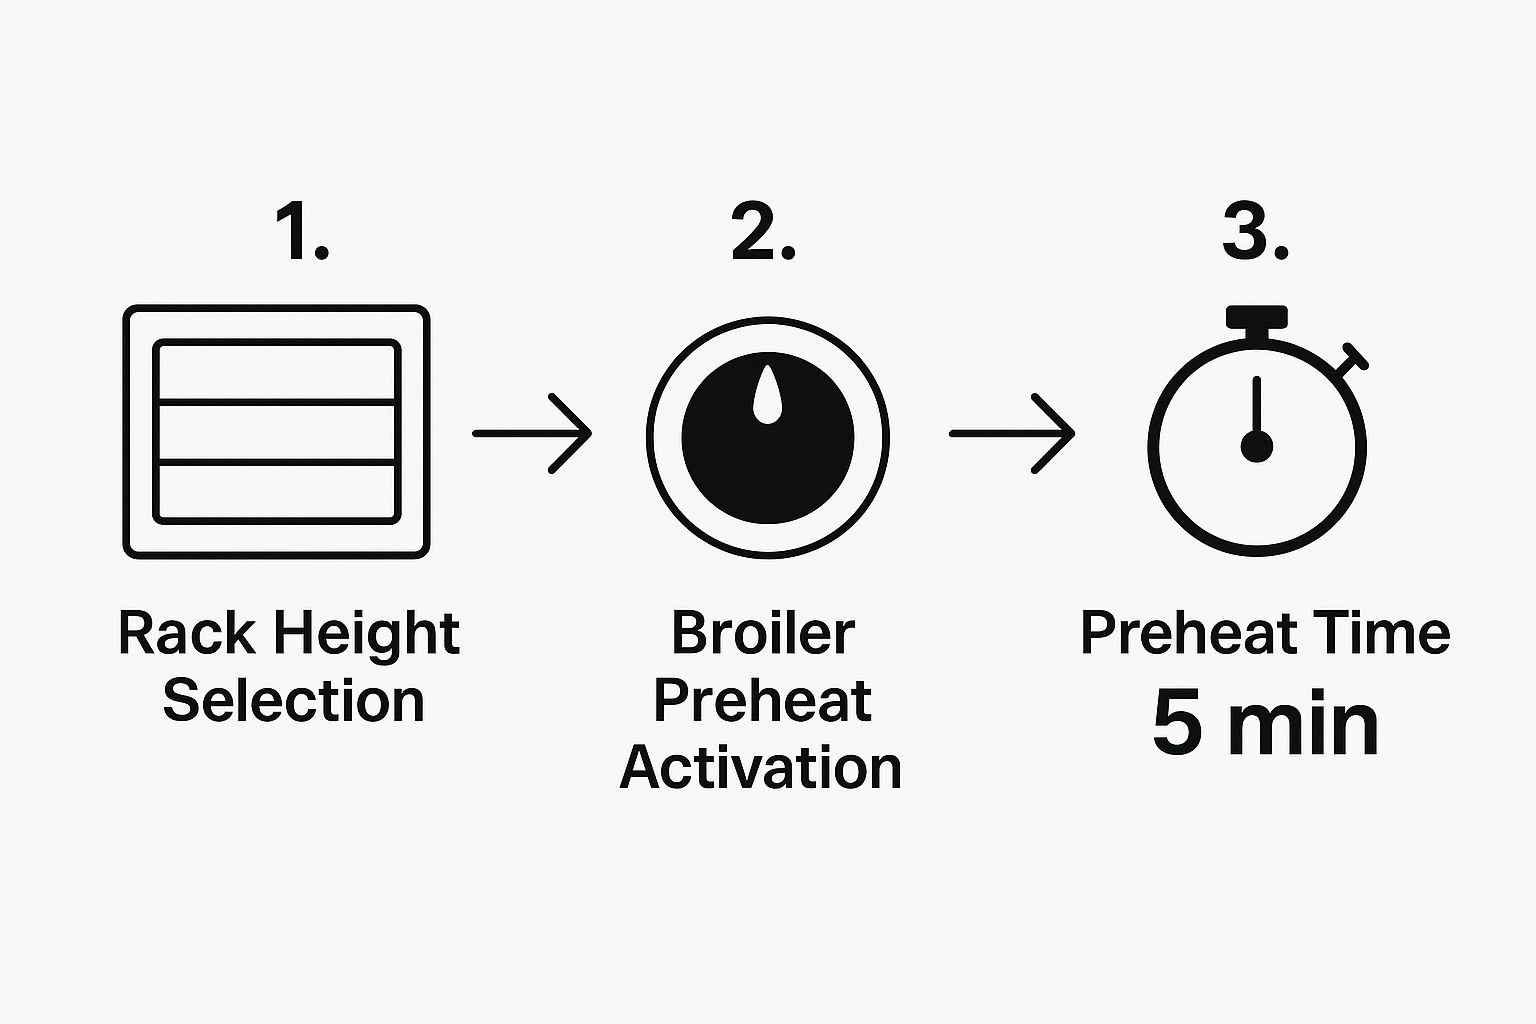
As you can see, choosing that rack height is your first move. After that, you absolutely must preheat for at least five minutes. This ensures you get that blast of intense heat the second the food goes in.
The Strategy for Thicker Cuts
Now, let's flip the script. What about a thick, bone-in pork chop, a hefty chicken breast, or a tray of root vegetables? These need a completely different game plan. If you put them too close to the broiler, you’ll end up with a charred, burnt exterior and a raw, unsafe center.
For anything that needs time to cook through, lower the rack to the middle of the oven. This puts more space between the food and the element, dialing down the heat intensity. It becomes less of a direct sear and more of a high-temperature roast, letting everything cook evenly without scorching.
Getting this adjustment right is non-negotiable for food quality and safety.
Let's look at a few real-world examples of how position and timing come together:
- Thin Asparagus Spears: On the top rack, they'll be perfectly tender-crisp and charred in just 3-5 minutes.
- 6-oz Salmon Fillet: Also on the top rack, you're looking at 6-8 minutes for a flaky finish and crispy skin.
- 1-inch Thick Chicken Breast: Move this to the middle rack. It's going to need 15-20 minutes, and you'll have to flip it halfway through to get it cooked safely and evenly.
Once you develop a feel for this balance, broiling stops being just a button on the oven and becomes one of the most powerful techniques in your professional toolkit. Discover exclusive deals on broilers that can revolutionize your kitchen.
What to Broil for Maximum Flavor
Not everything belongs under the broiler's intense, direct heat. Any chef who's been in a commercial kitchen long enough knows that mastering this piece of restaurant equipment means knowing what it does best—and what it will absolutely ruin. The trick is to pick foods that thrive on a fast, aggressive sear, not ones that need low and slow cooking.

Think about a beautifully marbled ribeye or New York strip. These cuts are practically designed for the broiler. That high heat hits the steak and immediately starts rendering the fat, creating a deeply browned, flavorful crust while keeping the inside perfectly juicy. That's the magic of the broiler in action.
More Than Just Steaks
Once you get the hang of it, you'll see the broiler is a workhorse for any protein that cooks quickly. It's an incredible tool for adding char and texture across your menu. Seafood, in particular, is a great place to experiment, so make sure you have the right restaurant supplies on hand.
Here are a few items that are perfect for broiling:
- Salmon Fillets: The skin gets unbelievably crispy, protecting the delicate flesh so it stays moist and flaky.
- Large Shrimp and Scallops: We're talking minutes from raw to perfectly cooked. They get a beautiful char that really brings out their natural sweetness.
- Thin Pork Chops: A quick blast of heat gives them an amazing crust without a hint of dryness. A thick, bone-in chop? That’s an oven job. But a thin cut is perfect for the broiler.
Vegetables are another story altogether. Asparagus, bell peppers, and zucchini get a smoky, fire-roasted flavor and a tender-crisp bite you just can't get from a pan. Chefs can even caramelize pineapple slices or halved peaches under the broiler for a simple, show-stopping dessert.
My rule of thumb is simple: If it cooks fast and you want a charred, crispy exterior, the broiler is your go-to. This technique is all about a short burst of intense heat.
Now, what should you keep far away from it? Delicate greens like spinach will turn to ash in seconds. And very thick, lean cuts like a big pork loin are terrible candidates. They’ll be dry and tough on the outside long before the center is cooked. Stick to what the broiler was made for: fast, high-heat finishing.
Essential Techniques and Safety in a Pro Kitchen
Great broiling isn't just about cranking up the heat and watching the clock. It's a skill, and mastering it is what often separates the good line cooks from the great ones. One of the first things you learn is the importance of moisture management.
Before any protein even thinks about going under that flame, it needs to be patted completely dry. Seriously. Any moisture left on the surface will just turn to steam, and you can kiss that beautiful, crisp sear goodbye.
Choosing the right amount of oil is another key piece of the puzzle. For leaner items like a delicate fish fillet, a light brush of a high-smoke-point oil like canola is perfect. It helps get that even browning and stops everything from sticking. But if you're working with a beautifully marbled ribeye, adding more oil is a mistake that can lead to a smoky kitchen and dangerous flare-ups. Following the latest news on cooking techniques can keep your skills sharp.
Stay Alert and Stay Safe
If there’s one rule I drill into every new cook about using a broiler, it’s this: never walk away. A perfectly cooked dish can turn into a smoking, burnt mess in under 30 seconds. The heat from a broiler is direct, intense, and completely unforgiving. It demands your full attention.
A live broiler demands respect and constant supervision. Treating it like a standard oven is one of the quickest ways to ruin food, create a fire hazard, and disrupt the entire kitchen flow during a busy service.
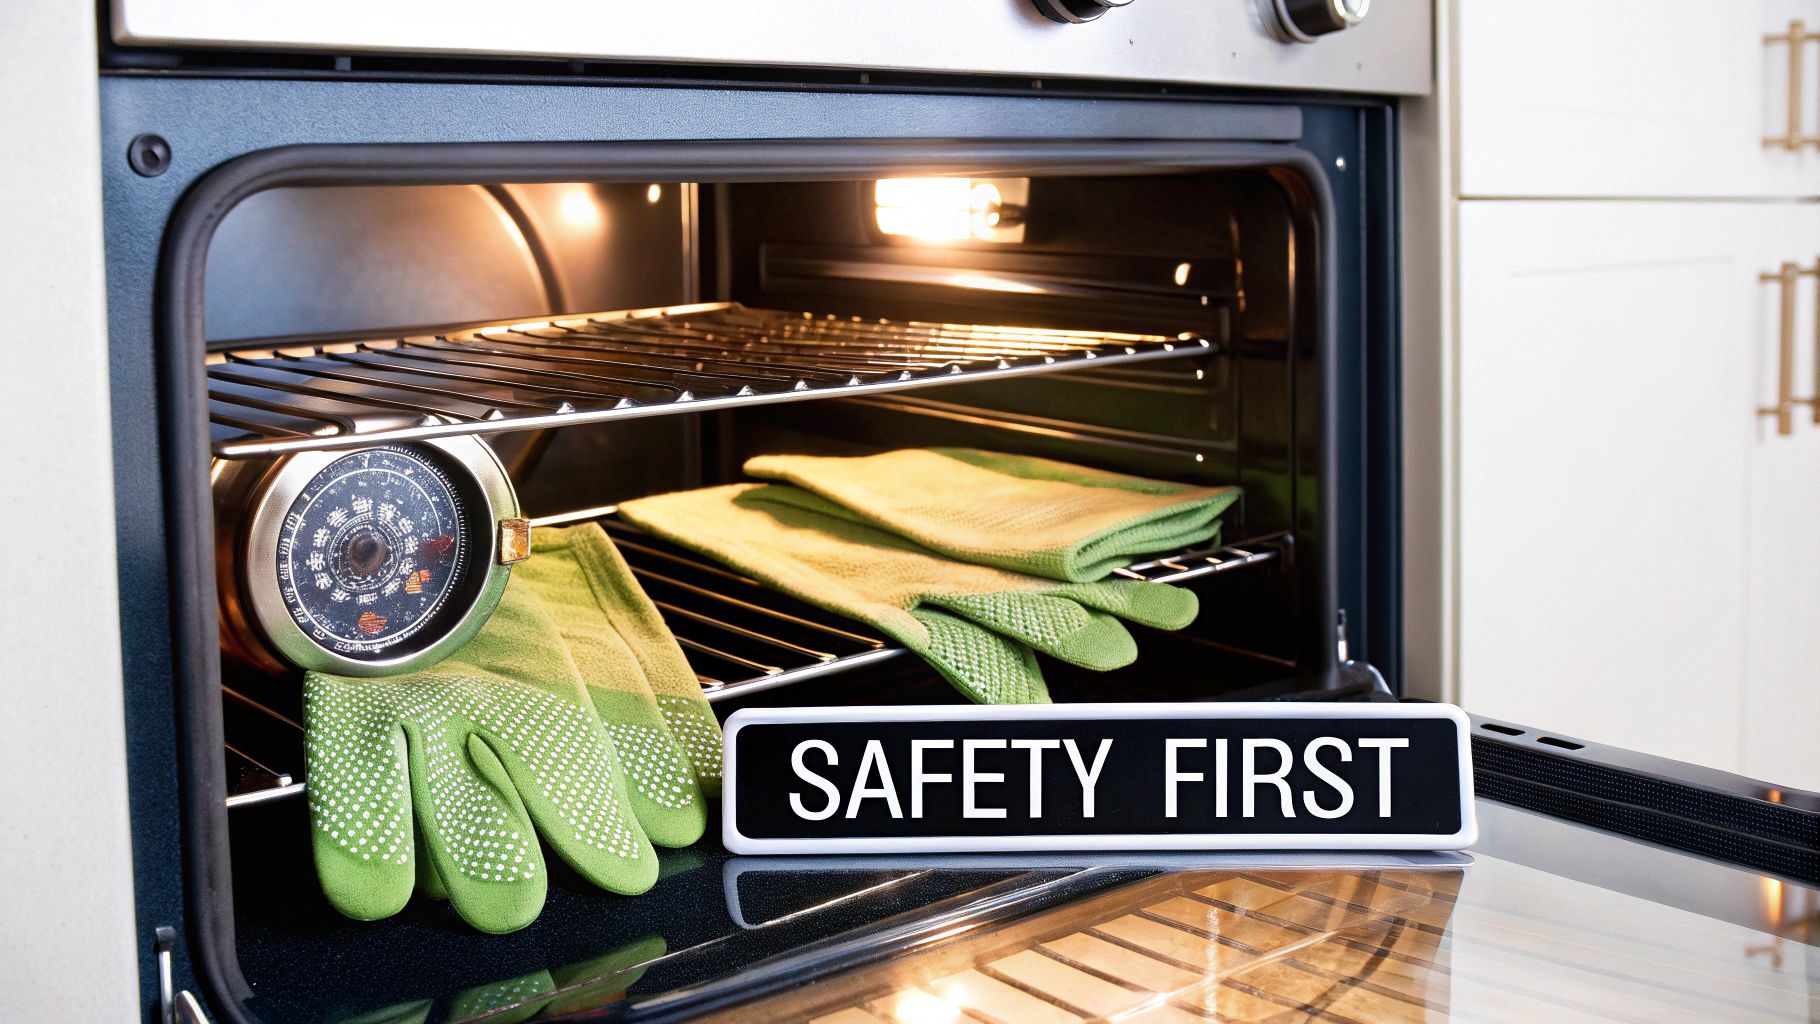
This constant watchfulness is just one part of a larger safety-first mindset. Every professional kitchen needs a solid plan for dealing with the risks that come with high-heat cooking.
- Handling Flare-Ups: If a grease fire ignites, the first thing to do is stay calm. Kill the heat to the broiler and keep the oven door shut. You want to starve the fire of oxygen. And remember, never throw water on a grease fire.
- Proper Gear: Always grab dry, heavy-duty oven mitts. A damp mitt will transfer that intense heat in an instant, leading to a nasty steam burn.
- Fire Safety Knowledge: With this much heat in play, knowing your fire safety basics is non-negotiable. Everyone on the line should know how to operate a fire extinguisher blindfolded.
Making sure the whole team is trained and has the right gear is just part of running a professional kitchen. For a full rundown of what you need, our commercial kitchen equipment checklist is a great place to start. Building these habits is what keeps a kitchen safe, efficient, and running smoothly.
Answering Your Top Broiling Questions
Even seasoned chefs run into snags when working with the intense, direct heat of a broiler. In the middle of a busy service, you need answers fast. Let's walk through some of the most common issues that come up and how to solve them on the fly.
"Why is my food steaming instead of getting that perfect char?"
This is probably the most frequent question I hear. If your food is coming out gray and steamy instead of beautifully browned, it's almost always one of two things: not enough heat or too much water.
First, your broiler needs time to get screaming hot. Don't rush it. Give it a solid 5-10 minutes to preheat completely before you even think about putting food under it. Second, moisture is the enemy of a good sear. You have to pat your proteins and vegetables completely dry with paper towels. Any surface water will turn to steam, effectively boiling your food instead of broiling it.
"Can I use parchment paper or aluminum foil under the broiler?"
This is a critical safety question. Absolutely never, ever use parchment paper under a live broiler. It's a massive fire hazard. Most parchment is only rated to about 450°F, and a commercial broiler gets way, way hotter than that.
Heavy-duty aluminum foil is a much safer bet if you're looking for easier cleanup. Just be smart about it—if you're broiling something incredibly fatty like pork belly, the grease can pool on the foil and potentially ignite. Your best tool is always a proper slotted broiler pan, a must-have item in your restaurant supplies.
"How do I keep the kitchen from filling with smoke?"
A smoky kitchen can bring service to a grinding halt. Keeping it under control comes down to managing what's happening under that heat.
- Crank the Vents: Before you fire up the broiler, make sure your hood and ventilation system are running on high. Get that air moving from the start.
- Use a Slotted Pan: This is non-negotiable. A slotted broiler pan lets fat and drippings fall away from the direct heat source. When fat sits right under the flame, it burns and creates a ton of smoke.
- Watch the Sugar: Marinades loaded with sugar or honey are guaranteed to burn and smoke out your kitchen. For broiling, stick with dry rubs or a simple coating of a high-smoke-point oil like avocado or canola.
The secret is to char the food, not the drippings. If you can get the fat and sugar away from that intense, direct heat, you'll dramatically cut down on smoke and prevent dangerous flare-ups.
Finally, a dirty broiler is a smoky broiler. Old grease and caked-on food bits from the last shift will just burn and smoke the second you turn it on. Regular, thorough cleaning isn't just for show; it's a fundamental part of keeping your restaurant equipment running safely and efficiently. For a deeper dive, check out our guide on commercial kitchen equipment maintenance tips to keep everything in your kitchen in peak condition.
At Encore Seattle Restaurant Equipment, we know that great technique requires great tools. We provide the high-quality, durable equipment you need to master broiling and take your menu to the next level. See our full lineup of commercial ovens and supplies at https://encoreseattle.com.