
How to Use Chafing Dishes The Definitive Guide for Chefs
At its heart, using a chafing dish is pretty straightforward. You fill the bottom pan with hot water, set the food pan on top, and use a heat source—like chafing fuel or an electric element—to create steam. This gentle heat keeps your already-cooked food warm and safe without burning it. It’s a simple process, but getting it right is the secret to a perfect buffet.
Why Mastering the Chafing Dish Matters
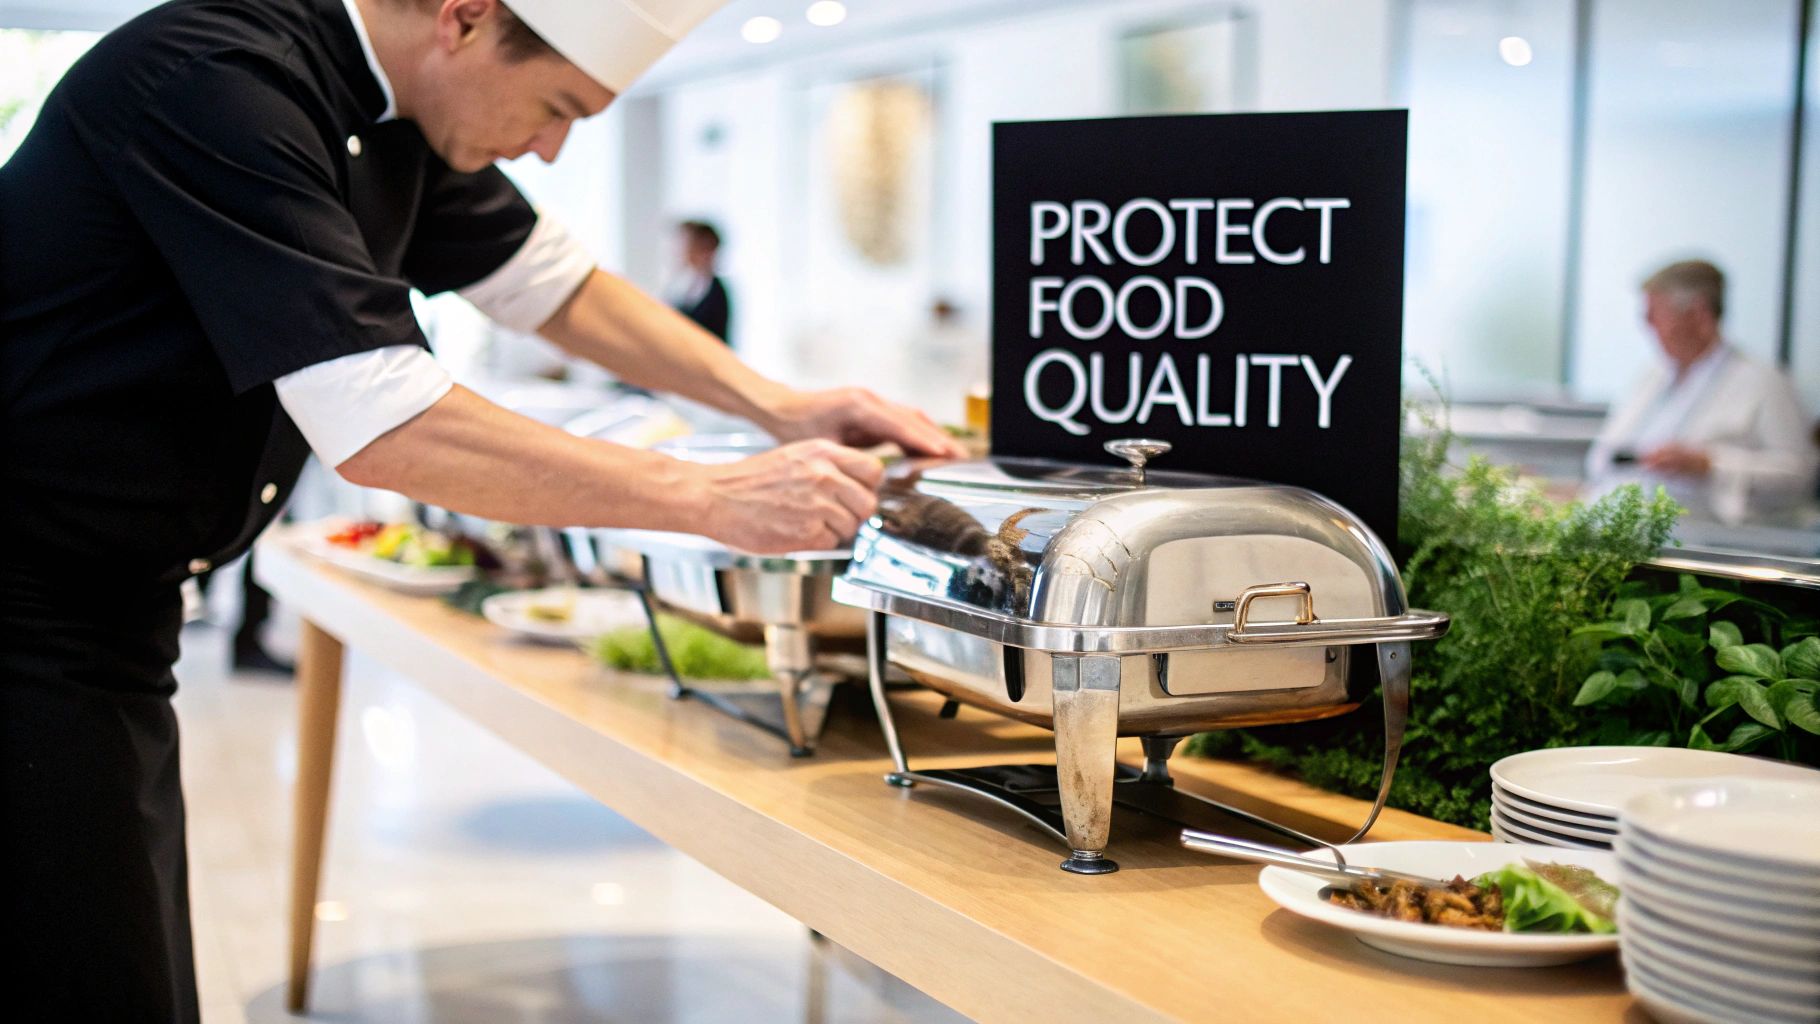
For any restaurant owner or chef in the food business, a chafer is so much more than a metal box. It’s your front line for protecting food quality, keeping guests safe, and defending your hard-earned reputation. Knowing how to use one correctly can elevate a standard buffet into a memorable dining experience, impacting everything from guest satisfaction to how smoothly your service runs. While they've been around for ages, these workhorses are still essential for modern catering and high-volume kitchens, and staying informed about the latest trends in equipment can give you a competitive edge.
A Legacy of Quality Service
Chafing dishes have been a fixture in professional kitchens since the late 19th century, completely changing how caterers and restaurants held food for service. Their journey began in France as 'bains-marie,' and these steam-based warmers were quickly adopted by high-end hotels like the Waldorf Astoria in the 1890s to anchor their lavish buffets. If you're curious about industry trends, you can read more about the evolution of the chafing dish market for a deeper dive. This long history really highlights just how crucial they are to professional food service.
This guide goes beyond the basics to show you how seasoned pros use their chafing dishes to deliver flawless service every time. We'll cover everything from the initial setup to breakdown and cleaning, giving you the practical insights and industry knowledge you need to get it right.
The single most important job of a chafing dish is to keep food in the safe zone—that means holding it above 140°F (60°C). If food dips below that temperature for too long, bacteria can multiply, putting your guests at risk and your reputation on the line.
More Than Just a Warmer
Think of proper chafer technique as the final, critical step in honoring the chef's work. It's what ensures a delicate cream sauce doesn't break and that your crispy fried chicken doesn't turn into a soggy mess. It’s all about protecting the flavor and texture you worked so hard to create, right up until the moment a guest serves themselves. For any chef or restaurant owner, that translates directly into happy customers and a stronger business. Keep an eye out for exclusive deals on new equipment that can further enhance your service.
Choosing Your Heat Source: Fuel vs. Electric
Deciding between traditional chafing fuel and a modern electric unit isn't just about plugging something in. It's a strategic call that directly impacts your event's safety, your team's convenience, and ultimately, your bottom line. Forget a simple pros and cons list; the right choice boils down to the specific demands of your venue and the latest industry trends.
Think about it. For an outdoor wedding reception in a rustic barn with spotty power at best, traditional chafing fuel is the hero. Its portability is second to none, giving you reliable heat wherever you can set up a table. Gel and wick fuels are light, easy to pack, and don't care about extension cords, making them a mobile caterer's best friend.
Now, picture a busy indoor hotel conference buffet. In this scenario, electric chafing dishes are often the only way to go. Many venues flat-out prohibit open flames due to fire codes, especially in crowded indoor spaces. Electric units sidestep that risk completely, offering consistent, flameless heat that you can pretty much set and forget—a key trend in modern restaurant equipment.
When Safety and Precision Are Non-Negotiable
Electric chafing dishes are a huge leap forward in food service, delivering precise, flameless heat that's perfect for anyone who puts safety first. The global market for these units hit USD 147 million in 2024, with brands like Oster and WARING leading the charge. They’re building in features like auto-shutoff functions, which prevent up to 30% of overheating incidents. This tech eliminates 100% of open-flame risks, making electric the go-to for high-traffic venues. You can actually explore the market research on electric chafing dishes to see how much the industry is leaning this way.
That level of temperature control is a game-changer. Imagine trying to hold a delicate cream-based soup versus a hearty beef stew. An electric chafer lets you dial in the exact temperature for each, so you never have to worry about a sauce breaking or a stew scorching to the bottom of the pan.
Pro Tip: If you're using fuel canisters, always keep a backup set on deck. A standard two-hour burn time flies by during a hectic service. Swapping them out before they die ensures your food never dips below that critical 140°F (60°C) safety zone.
Breaking Down the Costs and Convenience
At first glance, chafing fuel looks like the cheaper option, but those costs can sneak up on you. If you're a restaurant running a daily brunch buffet, the money you spend on fuel canisters over a year can become a significant line item. An electric chafer costs more upfront, but it completely wipes out that recurring expense. Savvy restaurant owners watch for exclusive deals on these supplies to manage their budgets effectively.
To make the decision a bit easier, we've put together a quick comparison of the two heat sources. This table breaks down the key differences you'll face in the field.
Chafing Dish Heaters At a Glance: Fuel vs. Electric
| Feature | Chafing Fuel (Gel/Wick) | Electric Chafing Dish |
|---|---|---|
| Best Use Case | Outdoor events, mobile catering, venues without power | Indoor events, buffets, long-duration service |
| Portability | Excellent. Lightweight and requires no infrastructure. | Limited. Requires a nearby power outlet. |
| Safety | Requires caution due to open flame. | Excellent. No open flame, reducing fire risk. |
| Temperature Control | Basic. Offers consistent heat but isn't adjustable. | Precise. Adjustable thermostats for different foods. |
| Upfront Cost | Low. The initial dish is less expensive. | High. The unit itself is a larger investment. |
| Ongoing Cost | High. Requires continuous purchase of fuel canisters. | Low. Uses electricity, which is cheaper over time. |
At the end of the day, there's no single "best" answer—just what's best for a particular job.
- Chafing Fuel (Gel/Wick): Your go-to for portability and places without reliable power. Perfect for that off-the-grid event or when you need a lightning-fast setup.
- Electric Chafing Dish: The clear winner for indoor, long-haul events. Think hotel buffets, conference centers, or any situation where you need precision and can't have an open flame.
The smartest caterers and banquet managers I know often keep both types in their inventory. That way, they're ready for anything, from a casual backyard barbecue to a formal corporate banquet. This choice isn't just about keeping food warm; it’s about the safety and efficiency of your entire operation. Staying informed about the latest equipment news can help you make the right investment.
Nailing the Chafing Dish Setup
A flawless setup is what separates the pros from the amateurs. It’s the foundation that turns a potentially chaotic buffet line into a smooth, professional presentation. Getting the process right—from assembly to lighting the fuel—ensures your food not only tastes fantastic but stays safe for every single guest.
First things first, find a stable, level surface for the chafing dish frame. This might sound like a no-brainer, but a wobbly table is a disaster waiting to happen. Once you're confident the frame is secure, go ahead and place the water pan inside.
Now for the most important part of the whole operation: the water bath. This is what prevents scorching and keeps your food looking and tasting its best for hours.
Mastering the Water Bath Technique
Think of the water pan as the heart of the chafer. It creates a gentle, humid environment that keeps food perfectly warm without the harsh, direct heat that dries everything out.
To get it right, fill the water pan with about 2-3 inches of hot water. And yes, hot water is key. Starting with hot water from the tap or a kettle dramatically cuts down your preheating time, getting you ready to serve much faster.
Next, get your heat source in place. Secure your fuel holders under the pan. If you're using canned fuel, now's the time to light it. A standard can of methanol-based fuel will typically give you a solid 4-6 hours of burn time. For electric models, it's as simple as plugging it in and setting the thermostat.
This simple water bath is a game-changer for dishes with gravies or sauces, preventing that dreaded skin from forming and avoiding a 20-30% quality loss from drying out over a two-hour service.
This diagram breaks down the difference between how fuel and electric chafers generate their heat.
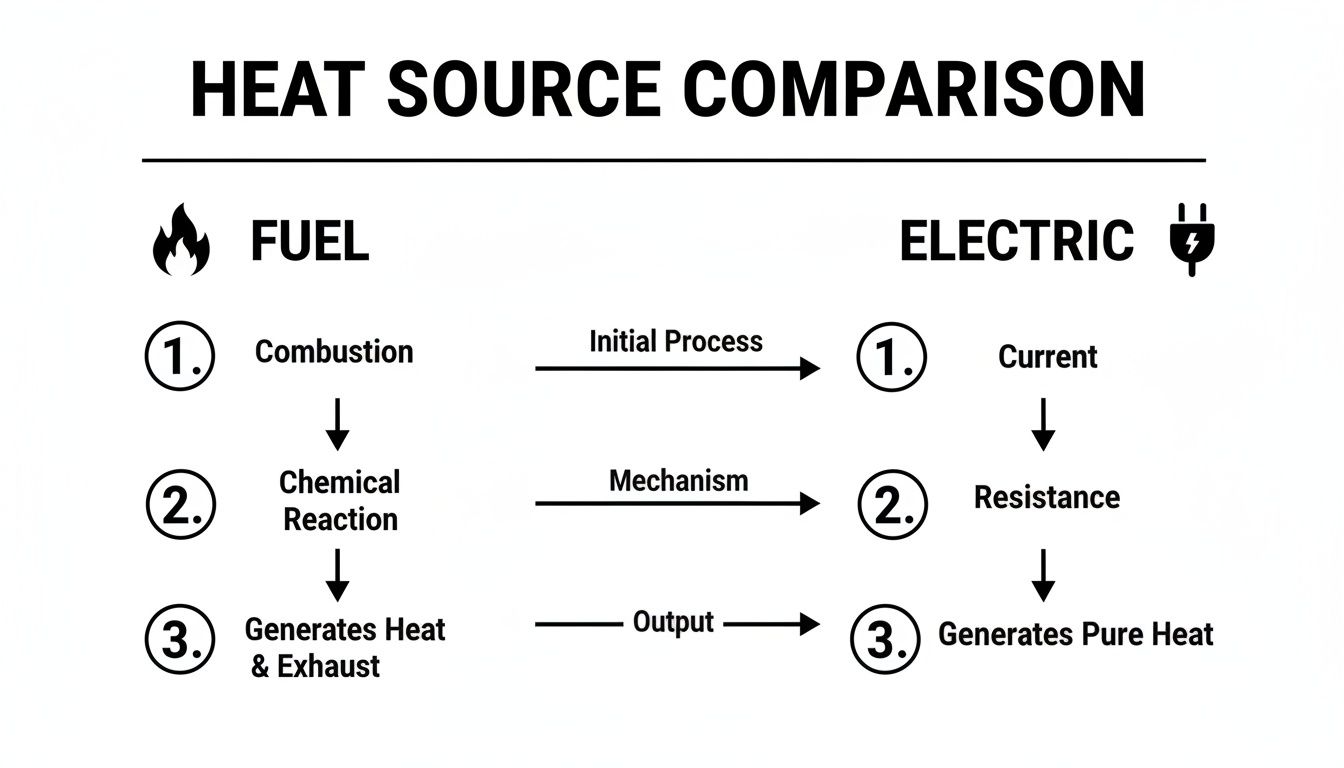
As you can see, electric heating is more direct, while fuel provides a more ambient warmth. Understanding this helps you control the outcome and keep your food just right.
Preheating and Food Safety Protocols
Here’s a rule you should never, ever break: never put your food into a cold chafing dish. A chafer’s job is to keep hot food hot, not to heat up cold food. A proper preheat is absolutely non-negotiable for food safety.
Always preheat the chafer for a good 15-20 minutes before you even think about adding the food pan. This crucial step ensures the water is steaming and the entire unit is hot enough to keep food above the critical 140°F (60°C) danger zone from the moment service begins.
This simple habit is your best defense against temperature drops that can ruin your food and put your guests at risk. It’s also smart to keep an eye on your fuel. While a can might last for hours, its heat output can wane. I always recommend swapping out fuel canisters every 2 hours during a long service to avoid creating 'cold spots' that can spike food waste by as much as 15%.
Once the unit is fully preheated and you see steam rising, you’re ready. Carefully lower your pan of hot food into the frame, pop the lid on, and your setup is complete.
Of course, getting the right size chafer is just as important. For more on that, check out this guide on chafing dish sizes to make sure you're matching the equipment to your event. And if you're building out a full dessert or snack station, you might also be interested in the logistics behind the rental of chocolate fountain services to round out your offerings.
Keeping Food Hot and Safe During Service
Once your chafers are fired up and the food is in, the real job starts. This isn't a "set it and forget it" situation. Keeping that food perfect from the first guest to the last requires active management to make sure everything is both delicious and, most importantly, safe to eat.
Your top priority is keeping hot food hot. That means staying well above the food temperature danger zone, which is anything below 140°F (60°C). In that zone, bacteria can have a field day.
The sweet spot for holding most hot dishes is between 140°F and 165°F (60-74°C). This range is hot enough to keep bacteria at bay but not so scorching that it turns your delicate sauces into sludge or dries out your main course. Get a good food thermometer and don't be shy about using it. A quick probe into the center of the dish every so often is your best friend.
Managing Your Heat Source Mid-Service
Whether you're team fuel or team electric, you have to stay on top of your heat source. With fuel canisters, the flame tells you everything you need to know. As the fuel burns down, that flame gets weaker, and your food temperature will start to drop.
The biggest mistake I see people make is waiting for the flame to die out completely. By then, your food has already been cooling off for a while.
A much better approach is to get into the habit of swapping out your fuel canisters every two hours, even if they're still flickering. It’s a simple, proactive step that prevents those risky temperature dips. Here’s how to do it safely in the middle of a busy service:
- Snuff it out. Use the little snuffer lid that came with the canister to gently cover the flame. This cuts off the oxygen and extinguishes it safely. Please, don't blow on it.
- Swap the canister. With heat-resistant gloves or a pair of tongs, carefully lift out the hot canister and set it aside in a safe spot. Pop in the new one.
- Light it up. Use a long-stemmed lighter to safely relight the new fuel. This whole process takes seconds and keeps your heat consistent.
With electric units, things are a bit simpler, but you can't just walk away. Keep an eye on your thermostat. A dense, heavy dish like a lasagna is going to need more consistent heat than a thin, creamy sauce, so you might need to make small adjustments as you go. For a deeper dive into the world of keeping food warm, check out this comprehensive catering food warmers guide.
Best Practices for a Smooth Service Line
Little details can make a big difference. For our restaurant clients, we recommend one fuel can per 7-quart pan when operating under a ventilated hood to stay compliant with safety codes. We've seen firsthand how keeping food consistently at 150°F+ can slash foodborne illness risks by an incredible 90%.
And it’s not just about safety—it’s about efficiency. In the U.S., where buffets can account for 15% of a restaurant's revenue, using chafers effectively can cut labor costs by 35% compared to constantly shuttling pans back and forth from the kitchen. By staying informed about industry news, chefs and owners can discover even more ways to optimize their operations.
Insider Tip: Give your food a gentle stir every 20-30 minutes. This little bit of attention does wonders. It breaks up any skin forming on top of sauces, gets the heat distributed evenly, and eliminates any sneaky cold spots. Every single serving will be as good as the first.
By staying on top of your chafing dishes, you're not just serving food; you're creating a quality dining experience. These same principles of active monitoring apply to larger equipment, too. If you're working with bigger setups, you might find our guide on food warming tables helpful.
Proper Breakdown, Cleaning, and Storage
When the last guest has gone home, your work isn’t quite done. How you care for your chafing dishes after service is just as important as how you set them up. Taking the time for proper breakdown and cleaning is what protects your investment, keeps them looking great, and guarantees they’re ready to go for the next event.
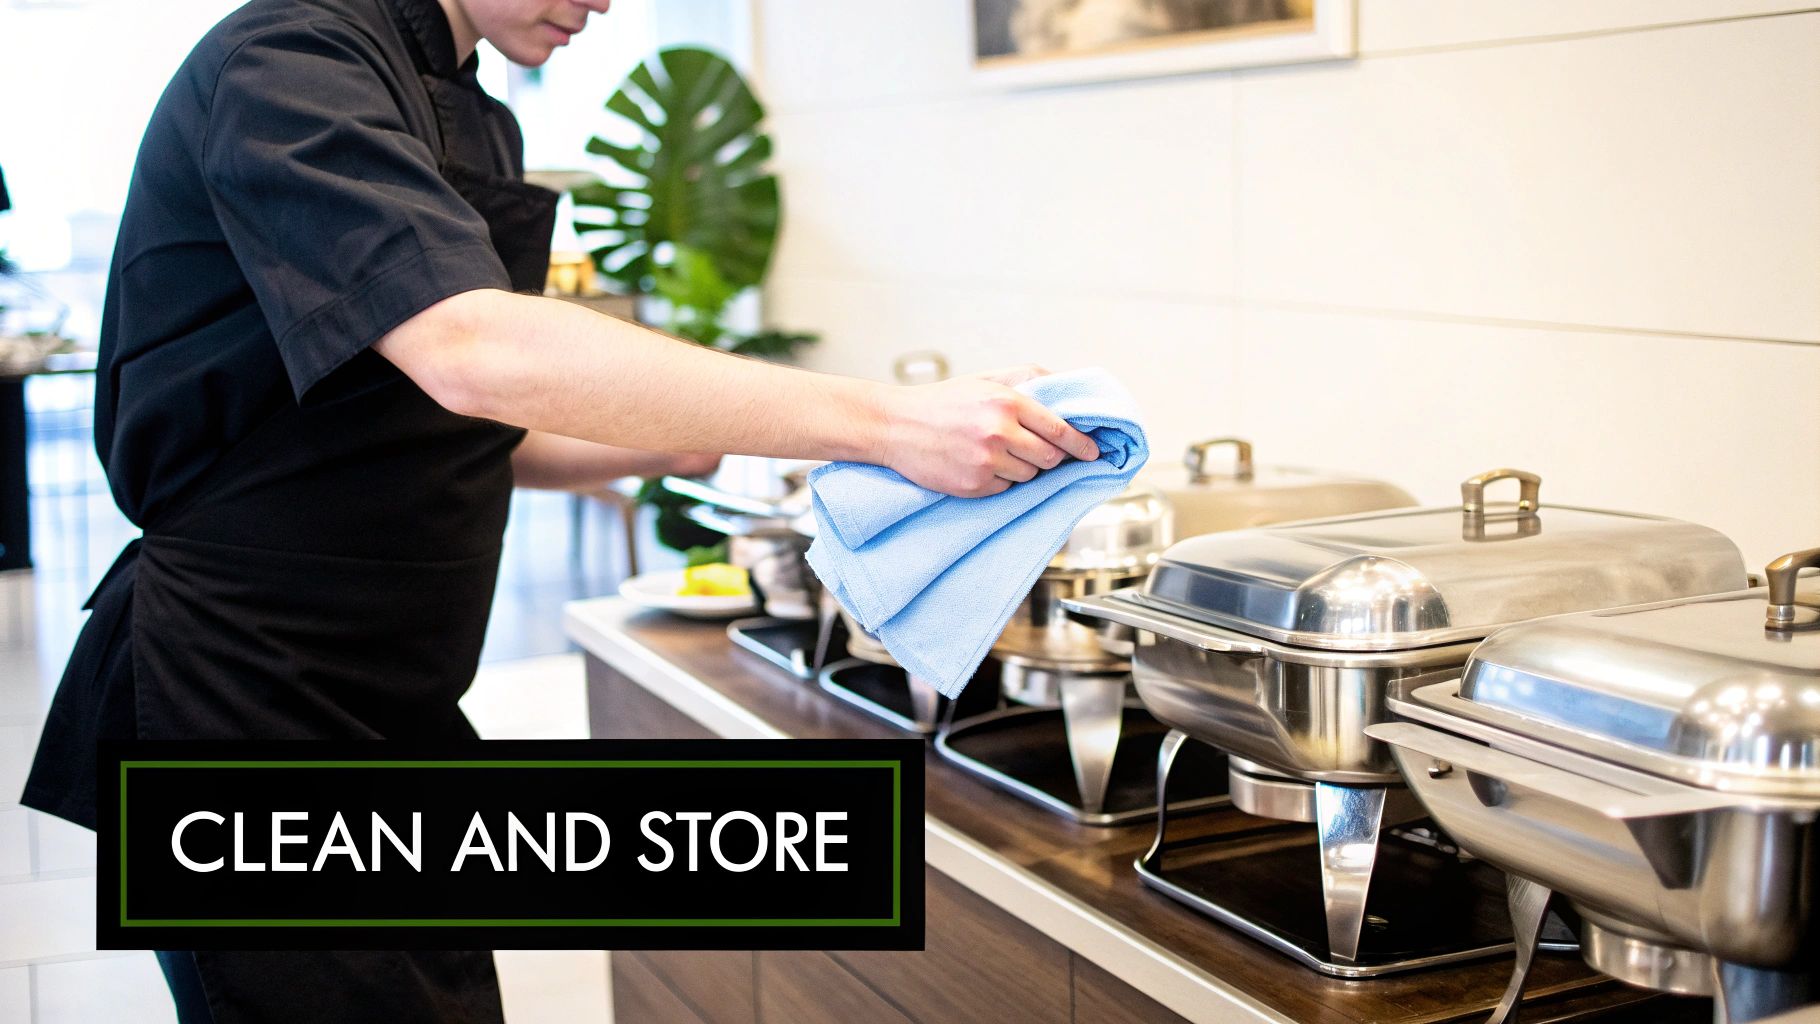
First things first: safety. Before you even think about cleaning, let everything cool down. The frame, the water pan, the food pan—all of it needs to be cool to the touch. Trying to handle hot metal is a surefire way to get burned, and plunging a hot stainless steel pan into cold water can cause it to warp, ruining it for good.
While you're waiting for things to cool, deal with the fuel. Carefully snuff out the flame on each canister using the lid or a proper snuffer—never blow it out. Once they've cooled down, remove the spent canisters. Remember, even empty cans can have fuel residue, so be sure to dispose of them according to your local hazardous waste regulations.
Best Practices for Washing Stainless Steel
When it's time to wash up, a little care goes a long way in preventing rust, pitting, and ugly discoloration. Stainless steel is tough, but it's not indestructible.
If you’re dealing with stubborn, baked-on food, the best trick is to let the pans soak for a bit in hot, soapy water. Whatever you do, resist the urge to attack them with steel wool or other harsh scouring pads. These will create tiny scratches all over the surface, which don't just dull the shine but also give bacteria a place to hide and corrosion a place to start.
Pro Tip: Always clean your chafing dish components with a soft cloth or a non-abrasive sponge and some mild detergent. For really tough spots, a simple paste of baking soda and water works wonders and won't damage the finish like harsh chemicals can.
In a commercial kitchen setting, the gold standard for sanitizing is the three-sink method. Following the proper wash, rinse, and sanitize steps is non-negotiable for food safety. If you need a refresher on the specifics, it's always a good idea to review the health code requirements for using a 3-compartment sink to make sure you're hitting every mark.
Smart Storage Solutions for Your Equipment
Once every piece is sparkling clean, the final step is to make sure it's completely dry. I can't stress this enough. Letting them air dry thoroughly prevents water spots and keeps rust at bay.
Now you’re ready for storage. Storing your chafers correctly not only saves precious space but also protects them from dents and dings between gigs.
- Stackable models? Nest the pans inside one another, but slide a thin cloth or a piece of cardboard between each one. This simple trick prevents scratching.
- Collapsible frames? Fold them down and store them flat.
For anyone in mobile catering or running a food truck, you know that every square inch of storage is prime real estate. Taking the time to break down and store your chafers properly means they’ll stay in pristine condition and be ready to deploy the moment you need them for your next event. Keeping up with the latest news on storage solutions can also help optimize your kitchen space.
Answering Common Chafing Dish Questions
Even the most experienced pros hit a snag now and then. In the middle of a busy service, you don't have time to second-guess your equipment. Here are some quick answers to the most common questions we hear about using chafing dishes, designed to get you back on track fast.
Can I Use a Chafer to Heat Up Cold Food?
That's a definite no. Think of a chafing dish as a food holder, not a food cooker. Its only job is to keep already hot food at a safe serving temperature, which is 140°F (60°C) or higher.
Trying to heat cold food in a chafer is a classic food safety mistake. It brings the food up to temperature far too slowly, leaving it lingering in the "danger zone" (40°F to 140°F) where bacteria can thrive. Always bring your food up to the proper internal temperature on a stove, in an oven, or with another primary cooking method before you place it in a preheated chafer.
How Often Do I Need to Swap Out the Fuel Cans?
As a rule of thumb, plan on changing your chafing fuel every two hours. While many fuel canisters claim they can burn for four, five, or even six hours, their heat output starts to drop off long before the flame actually goes out.
Don't wait for the flame to die completely. A weak, sputtering flame is a clear sign that the food temperature is dropping into unsafe territory. For any event longer than 4 hours, you should plan on having a full backup set of fuel for every single chafer. This is the only way to ensure your food stays hot and safe from the first guest to the last. Smart chefs look for deals on these essential restaurant supplies to stay well-stocked.
Is It Safe to Use Fuel Chafers Indoors?
This all comes down to one thing: ventilation. Standard chafing fuels produce carbon monoxide as they burn, so you absolutely need good airflow. They're fine in large, open banquet halls or spaces where fresh air circulates easily.
However, if you're setting up in a small conference room, a tight event space, or any venue with limited airflow, electric chafing dishes are your best bet. They are often the required option for these situations. With zero emissions and no open flame, they are hands-down the safest choice for indoor buffets.
What’s the Point of the Water in the Bottom Pan?
That water is the secret to a chafer's success. It creates a gentle, steaming water bath—a technique professional chefs call a bain-marie.
Here’s how it works: the fuel or electric element heats the water pan, which in turn produces a cloud of hot, moist steam. This steam then envelops the food pan above it, heating it evenly and gently. This indirect heat is crucial for preventing scorching, drying out, and sticking. It’s what keeps delicate items like scrambled eggs, pasta, and cream sauces at the perfect texture and temperature without destroying them with direct, harsh heat.
At Encore Seattle Restaurant Equipment, we know that great service starts with reliable equipment. We've got an extensive selection of new and used chafing dishes, warmers, and all the essential supplies built for the rigors of a professional kitchen. Visit us today to find the right gear for your restaurant, catering company, or event space and discover exclusive deals on top-quality restaurant equipment.