

A Practical Guide to 3 Compartment Sink Rules for Restaurants
When it comes to kitchen safety, mastering the 3 compartment sink process isn't just a suggestion—it's one of the most fundamental requirements for preventing foodborne illness and staying on the right side of the health inspector. The whole system is built on a specific sequence: washing, then rinsing, and finally, sanitizing. This isn't just about getting dishes clean; it's about making them safe.
For restaurant owners and chefs looking to stay informed about industry trends and discover exclusive deals on essential equipment and supplies, understanding these rules is the first step toward building a compliant and efficient kitchen.
The Foundation of Kitchen Safety and Compliance
Let's be real: the three-compartment sink is the unsung hero of your kitchen's food safety plan. It's your primary defense against cross-contamination and serious health code violations. This isn't just a chore to get through at the end of a shift; it's a critical control point that protects your customers, your team, and your entire business.
The stakes are high. Health inspectors are trained to spot even minor deviations from the correct procedure. A seemingly small mistake can lead to hefty fines or, in worst-case scenarios, a shutdown that could cripple your revenue and reputation. Staying informed on the latest industry standards for restaurant equipment and supplies is key to avoiding these pitfalls.
Understanding the Core Principles
The entire process hinges on one crucial distinction: the difference between 'cleaning' and 'sanitizing.' In a professional kitchen, these words are not interchangeable. Getting this right is the key to a safe operation.
-
Cleaning: This is all about removing the visible stuff—food particles, grease, and grime. The first sink, the 'Wash' basin, is where this happens, using hot, soapy water to scrub everything down.
-
Sanitizing: This is the chemical or thermal step that kills the invisible threats. After a thorough wash and rinse, the final 'Sanitize' sink reduces dangerous microorganisms to a safe level, protecting against pathogens that could make someone sick.
Think of it like this: you clean for looks, but you sanitize for health. You can't sanitize a dirty surface, which is why the order is so important. This methodical approach is the bedrock of a safe kitchen and a core part of any well-run food safety program. For a deeper dive into how this fits into a comprehensive safety plan, check out our guide on HACCP food safety principles.
To help your team visualize the process, here's a quick breakdown of what happens in each compartment.
The 3 Compartment Sink Process At a Glance
| Compartment | Primary Action | Key Requirement |
|---|---|---|
| Sink 1 | Wash | Hot water (at least 110°F) and an approved detergent. |
| Sink 2 | Rinse | Clean, warm running water to remove all soap residue. |
| Sink 3 | Sanitize | Approved chemical sanitizer at the correct concentration or hot water at 171°F. |
This table serves as a great "at a glance" reminder that can be posted near the sink area to keep the correct steps top-of-mind for everyone.
The three-compartment sink method is an FDA-approved standard for a reason. It's a proven, manual procedure for cleaning and sanitizing that predates the widespread use of automated dishwashers. Failure to follow these fundamental rules can lead directly to health code violations, fines, and even the closure of an establishment.
Setting Up Your Warewashing Station the Right Way
A clean plate starts long before it ever touches soap and water. How you set up your warewashing station is the foundation for everything that follows, and it's one of the first things a health inspector will eyeball. Getting this right from the start makes the entire process smoother and keeps you compliant with 3 compartment sink rules.
Think of it as your kitchen's mission control for sanitation. The first order of business is creating a logical workflow, beginning with a dedicated area for scraping and sorting dirty dishes. Don't skip this—it's crucial for keeping your wash water from turning into a greasy, food-clogged mess halfway through a service.
Designing a Smart and Compliant Workflow
Organizing the physical space isn't just about convenience; it's a hard-and-fast rule. Most health codes, like the detailed requirements you'll find in Wisconsin's food code(d)), mandate a three-compartment sink flanked by drain boards. This isn't just a suggestion—it's a critical system designed to prevent cross-contamination.
The flow should be instinctual: dirty dishes arrive on one drainboard, move sequentially through the wash, rinse, and sanitize sinks, and then land on the opposite drainboard to air-dry. This simple "dirty-to-clean" path is your best defense against re-contaminating freshly sanitized items.
This physical separation is a powerful visual cue for your team, constantly reinforcing the correct procedure. For any serious food business, investing in quality, NSF-certified sinks and dishwashers built for this exact workflow isn't an expense—it's an investment in food safety. Stay ahead of industry trends by choosing modern, efficient restaurant equipment that streamlines this process.
Labeling and Filling Each Compartment
With your layout set, it's time to make things crystal clear. An inspector will absolutely look for easy-to-read, waterproof labels above each sink basin. It seems small, but this simple step removes all ambiguity and ensures every team member follows the process correctly, every time.
- Sink 1: Wash
- Sink 2: Rinse
- Sink 3: Sanitize
Once labeled, you can prep the sinks. The "Wash" compartment needs to be filled with hot water and the correct detergent. And don't guess the temperature—use a thermometer to confirm it's at least 110°F.
Next, the "Rinse" sink gets filled with clean, warm water. Finally, you'll prepare your "Sanitize" sink. This could be either a hot water bath heated to a scalding 171°F or a chemical solution mixed to the precise concentration. Nailing this initial setup paves the way for a safe, efficient, and violation-free dishwashing operation.
Putting the Wash, Rinse, Sanitize Method into Practice
With your station set up, it’s time to dial in the core process. This isn’t just about going through the motions; it's a non-negotiable sequence that serves as your kitchen's frontline defense against foodborne illness. Getting the wash, rinse, and sanitize method right is the heart of complying with 3 compartment sink rules.
Before a single dish gets wet, you have to be crystal clear on the "why" behind each step. It all starts with understanding the crucial difference between sanitizing and cleaning. This isn't just a matter of semantics—it’s the entire foundation of the three-step process.
This workflow breaks down the crucial prep work that has to happen before you even start washing.
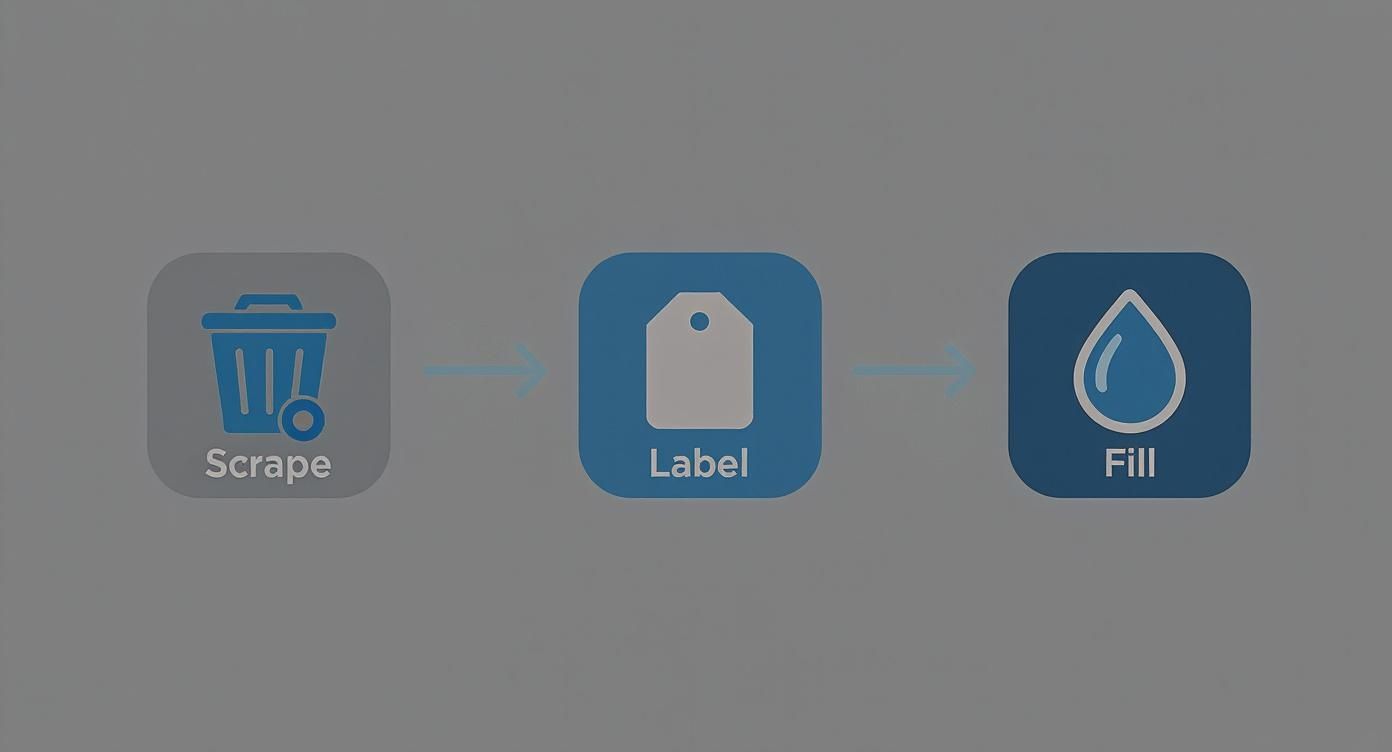
Think of scraping, labeling, and filling as setting the stage. Getting this right prevents contamination and makes sure each sink is primed for its specific job.
The Workhorse: Your Wash Sink
The first compartment is where the real work begins. Its only job is to get all the visible gunk—food, grease, and grime—off your dishes, pans, and utensils. To do that, you need two things: a good detergent and hot water.
Health codes don't mess around here. The water in your wash sink has to stay at a minimum of 110°F. That temperature is the sweet spot for helping detergent dissolve stubborn grease and caked-on food. Keep a calibrated thermometer handy and check it often, especially during a busy service.
The right detergent is just as important. You need a commercial-grade formula that's built to tackle the specific fats and residues your kitchen produces. Using a weak, generic soap will just slow you down and leave a greasy film that makes proper sanitizing impossible down the line.
The Unsung Hero: The Rinse Sink
I’ve seen it a thousand times: the rinse sink gets treated like an afterthought. People give dishes a quick dunk and move on. That’s a huge mistake. This sink’s entire purpose is to wash away every last bit of detergent residue.
Why is this so critical? Leftover soap will completely neutralize the sanitizer in the third sink. In a flash, your final, most important step becomes completely useless. Any soap left on that plate is like a shield, protecting bacteria from the sanitizer that’s supposed to kill it.
The rinse water needs to be clean and warm, ideally around the same 110°F as the wash sink to avoid shocking the dishware. Most importantly, change this water frequently. The second it starts looking cloudy, it's time for a fresh fill.
A common pitfall is thinking that "no suds" means "fully rinsed." That's rarely true. You can't just eyeball it. A thorough rinse under clean, flowing water is the only way to guarantee you've removed all the soap and prepped the surface for effective sanitizing.
The Final Line of Defense: The Sanitize Sink
This is where you eliminate the invisible threats—the bacteria and pathogens you can't see. Health codes give you two approved ways to get this done in the third sink: heat or chemicals.
1. High-Temperature Sanitizing
This method uses pure heat to kill microbes. To pull this off, you have to submerge items in water that’s held at a blistering 171°F for at least 30 seconds. It's effective but often requires a booster heater and special long-handled racks for safety. It’s not something you see in every kitchen.
2. Chemical Sanitizing
This is by far the more common approach. You’ll use an approved chemical sanitizer mixed with lukewarm water. The three workhorses of the industry are:
- Chlorine (Bleach): Needs to be at a concentration of 50-100 parts per million (PPM).
- Quaternary Ammonium (Quats): The manufacturer dictates the PPM, but it's often in the 200-400 PPM range.
- Iodine: Used less often, but typically mixed to 12.5-25 PPM.
With chemicals, it's all about concentration and contact time. Items must be fully submerged for the required duration, which is usually 30 to 60 seconds.
The only way to know your concentration is correct is by using chemical test strips. This is non-negotiable. Dipping a strip in the water and matching it to the color chart is a must-do, and you can bet it's one of the first things a health inspector will ask to see.
Getting Your Temperatures and Sanitizer Levels Just Right
If there's one area where health inspectors don't mess around, it's the sanitizing sink. Getting the numbers wrong here is probably the fastest way to get a critical violation on your report. This isn't just about following rules; it's about mastering the science of killing pathogens. Knowing your temperatures, concentrations, and contact times by heart is a non-negotiable skill for any food handler.
Your first decision is how you'll sanitize: with heat or chemicals. Hot water sanitizing is an option, but it's a tough one to manage. You have to keep the water at a blistering 171°F or higher. For most restaurants, that requires a special booster heater and a lot of energy to maintain, which is why it's not very common.
That’s why the vast majority of kitchens use chemical sanitizers. It's a reliable and effective method, but it demands precision. The wrong water temperature or a mismeasured concentration can make your sanitizer completely useless. This creates a dangerous false sense of security and a very real risk of making customers sick.
Choosing and Monitoring Your Sanitizer
The three workhorses of chemical sanitizing in foodservice each have their own specific set of rules. Think of them like a recipe—if you mess up the measurements, the final dish won't turn out right. Your choice often comes down to things like your local water hardness, cost, and what works best with your equipment.
To keep your operation compliant with 3 compartment sink rules, you have to know the exact requirements for whichever chemical you're using.
Let’s be clear: these aren't just helpful suggestions. They are hard-and-fast requirements. From an inspector's point of view, guessing at your sanitizer concentration is the same as not sanitizing at all.
To make it easy for your team to get it right every single time, here’s a quick-reference chart breaking down the three main options.
Chemical Sanitizer Compliance Chart
This table lays out the FDA-approved chemical sanitizers, their required concentrations in Parts Per Million (PPM), and the minimum time items must remain submerged to be properly sanitized.
| Sanitizer Type | Required Concentration (PPM) | Minimum Contact Time |
|---|---|---|
| Chlorine (Bleach) | 50-100 PPM | 30 Seconds |
| Quaternary Ammonium (Quats) | 200-400 PPM (Check Mfg. Label) | 30 Seconds |
| Iodine | 12.5-25 PPM | 30 Seconds |
Posting a chart like this right at the dish station is one of the smartest things you can do. It takes the guesswork out of the process and gives your team a constant, visible reminder of the standards.
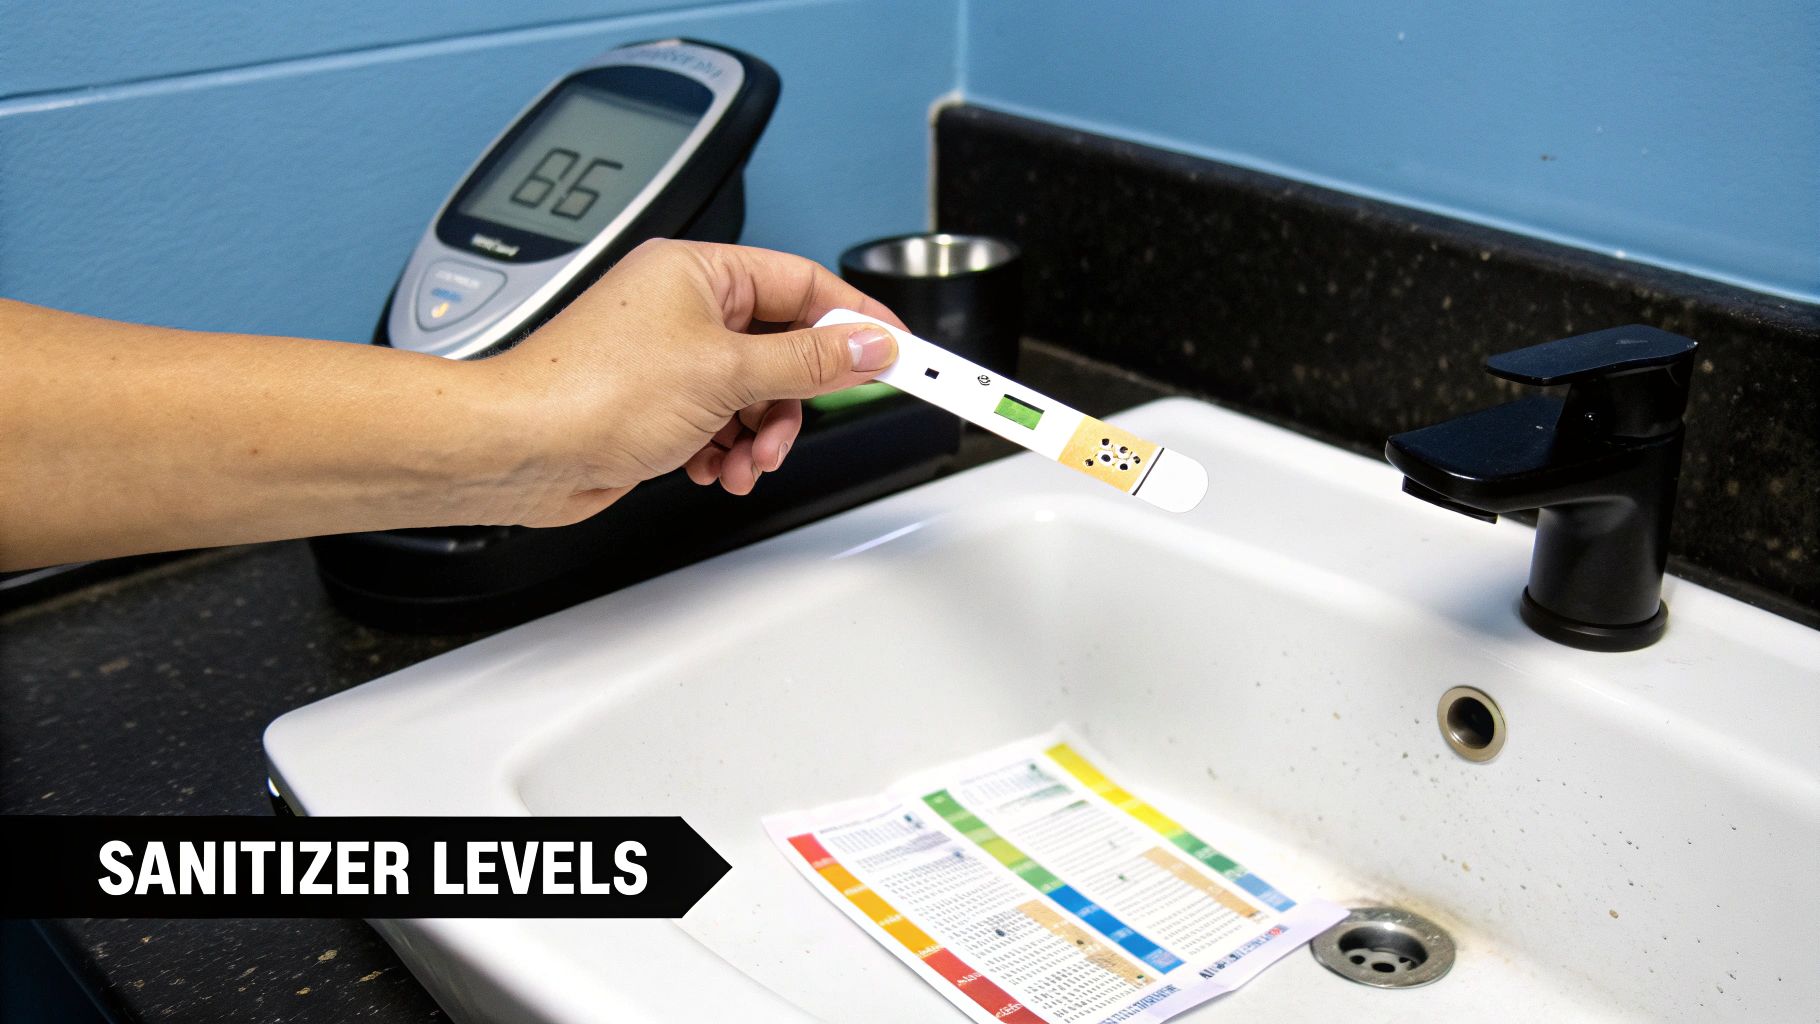
The Critical Role of Test Strips
So, how do you know for sure your sanitizer is mixed correctly? You test it. Using sanitizer test strips isn't optional; it's a mandatory part of the process. An inspector will almost certainly ask to see your test strips and will probably ask a team member to show them how they’re used.
The process is simple, but it has to be done by the book. Just dip the strip into your sanitizing sink for the time specified on the vial, pull it out (don't shake it!), and immediately compare the color to the chart on the container. This simple check needs to happen every time you fill the sink and periodically during a shift, especially after a big rush.
If the strip shows the concentration is too low, you add more sanitizer. If it's too high, you add more water. Then, you test again. Keep adjusting until you’re in that "safe" zone on the color chart. Pro tip: keeping a simple log of these checks is a fantastic way to show an inspector you're serious about active managerial control over food safety.
Common Violations and How to Ace Your Health Inspection
https://www.youtube.com/embed/Phup5jG_hYc
Instead of dreading a visit from the health inspector, start thinking like one. I’ve seen countless kitchens scramble when that clipboard comes through the door, but the best operators are always ready. Being proactive isn't just about avoiding a bad score; it's about building a rock-solid food safety culture in your kitchen.
When it comes to the three-compartment sink, the most common issues are almost always the easiest to prevent. Inspectors are trained to spot them from a mile away because they know that a breakdown at the sink can ripple through the entire operation.
Top Violations and Simple Fixes
Most violations aren’t from a lack of effort but from tiny gaps in procedure. You'd be surprised how often something as simple as missing sanitizer test strips gets flagged. To an inspector, no test strips means you're just guessing—and you can't guess when it comes to food safety.
Here are the issues I see cited time and time again, along with straightforward fixes:
-
Improper Sanitizer Concentration: This is a big one. The sanitizer is either too weak to kill pathogens or so strong it leaves a dangerous chemical film on your wares.
- The Fix: Test the water with the correct strips every single time you fill that third bay. Make it a non-negotiable step and log the result.
-
Incorrect Water Temperatures: The first sink is lukewarm, hovering below the required 110°F. At that temp, you're not cutting grease or giving your detergent the heat it needs to work effectively.
- The Fix: Keep a calibrated thermometer right at the sink. Check the temp when you fill it and periodically during a long shift.
-
Towel-Drying Dishes: I get it—you’re busy and need that pan now. But grabbing a towel to dry a freshly sanitized dish can instantly recontaminate it with whatever was on that cloth.
- The Fix: This is a process and space issue. Make sure you have enough drainboard space for everything to air-dry completely before it gets put away.
Your goal is to shift from inspection anxiety to a state of constant readiness. When you nail these fundamentals, you’re demonstrating active managerial control—a term health departments love to see in action.
Adapting the Rules for Food Trucks
Food trucks have their own set of challenges, usually boiling down to space and plumbing. The core 3 compartment sink rules absolutely still apply, but inspectors understand that the setup might look a little different.
What they won't compromise on are the fundamentals: three distinct basins for washing, rinsing, and sanitizing, a reliable hot water source, and a proper system for wastewater. The biggest mistake mobile operators make is assuming the rules are more relaxed. Honestly, the scrutiny is often higher because of the unique risks of a mobile environment.
A great way to stay ahead is by using a comprehensive restaurant health inspection checklist to do your own daily walk-throughs. This builds the muscle memory for your team, turning inspection-day readiness into just another day at the office.
Making Your Sink Operations Smooth and Efficient
Following health codes for your 3-compartment sink shouldn't feel like a drag on your kitchen's pace. In fact, the smartest operations I've seen have turned compliance into a source of efficiency. It’s all about creating a smart, repeatable workflow and using the right tools to make consistency second nature.
A huge leap forward for busy kitchens has been automated chemical dispensing. These systems hook right up to your faucets and deliver a perfectly mixed solution of detergent or sanitizer every single time. If you're running a high-volume spot, this is a must-have. It practically gets rid of the wasted chemicals and frustrating rewashes that happen when staff are just guessing at the right concentrations. You can see how these systems boost sink efficiency on stateindustrial.com.
Building a Workflow That Pays for Itself
Beyond the high-tech stuff, simple organizational tweaks can make a massive difference in your dishwashing speed and quality. I’m a big fan of visual aids—things like waterproof wall charts that lay out the wash, rinse, and sanitize steps in plain sight. This gives every member of the team, new or old, the confidence to do the job right without needing a manager looking over their shoulder.
I’ve seen it time and again: the return you get from investing in the right equipment and solid training is huge. When your process is dialed in and your team knows what they’re doing, you’re not just avoiding fines. You’re saving real money on chemicals and labor.
When you get right down to it, a smooth-running dish pit is more than just about clean plates. It’s a core part of a stable, profitable business. It solidifies your food safety foundation, freeing you up to focus on the food and guests. And don't forget the basics—a clogged drain can stop you dead in your tracks, so knowing how to fix a blocked sink is a critical skill for keeping the kitchen running.
Here at Encore Seattle Restaurant Equipment, we help restaurant owners and chefs discover the latest news and exclusive deals on the durable, NSF-certified sinks and supplies you need to build a kitchen that’s both compliant and efficient. Check out our collection and find the right gear to support your food safety goals at https://encoreseattle.com.