
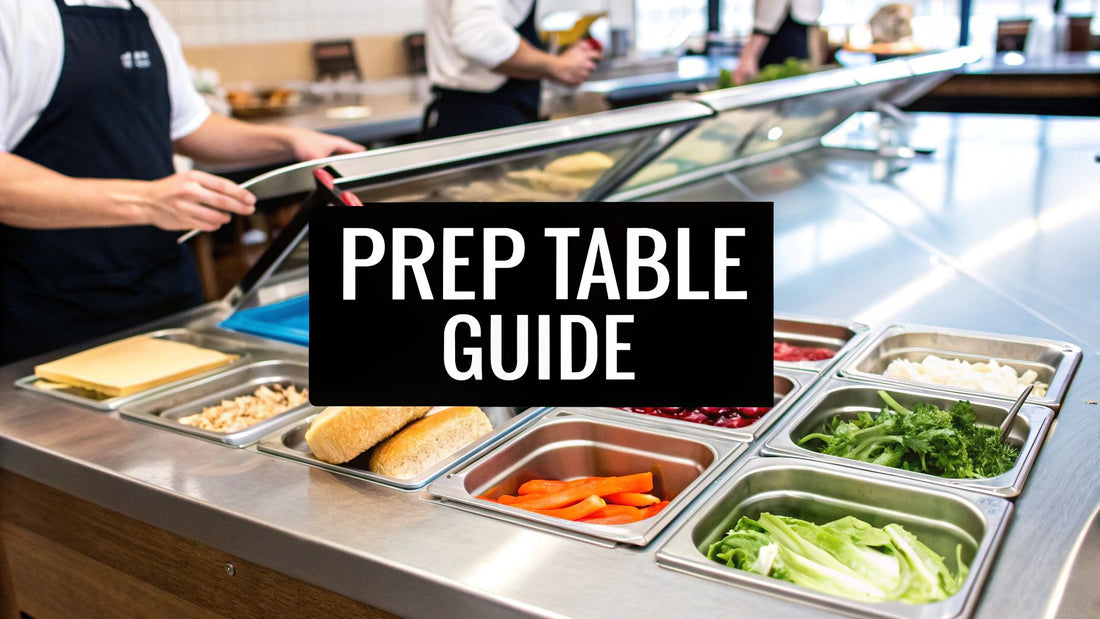
Atosa Sandwich Prep Table: The Ultimate Guide for Chefs
In any commercial kitchen, an Atosa sandwich prep table is far more than just a piece of stainless steel equipment. It’s the heart of your production line, a powerhouse designed to merge cold storage with a functional workspace. For any chef trying to run a tight ship, these tables are the key to a smoother workflow and rock-solid food safety. Stay informed about the latest industry trends and get exclusive insights that can give your kitchen an edge.
Why Smart Kitchens Run on Atosa Prep Tables
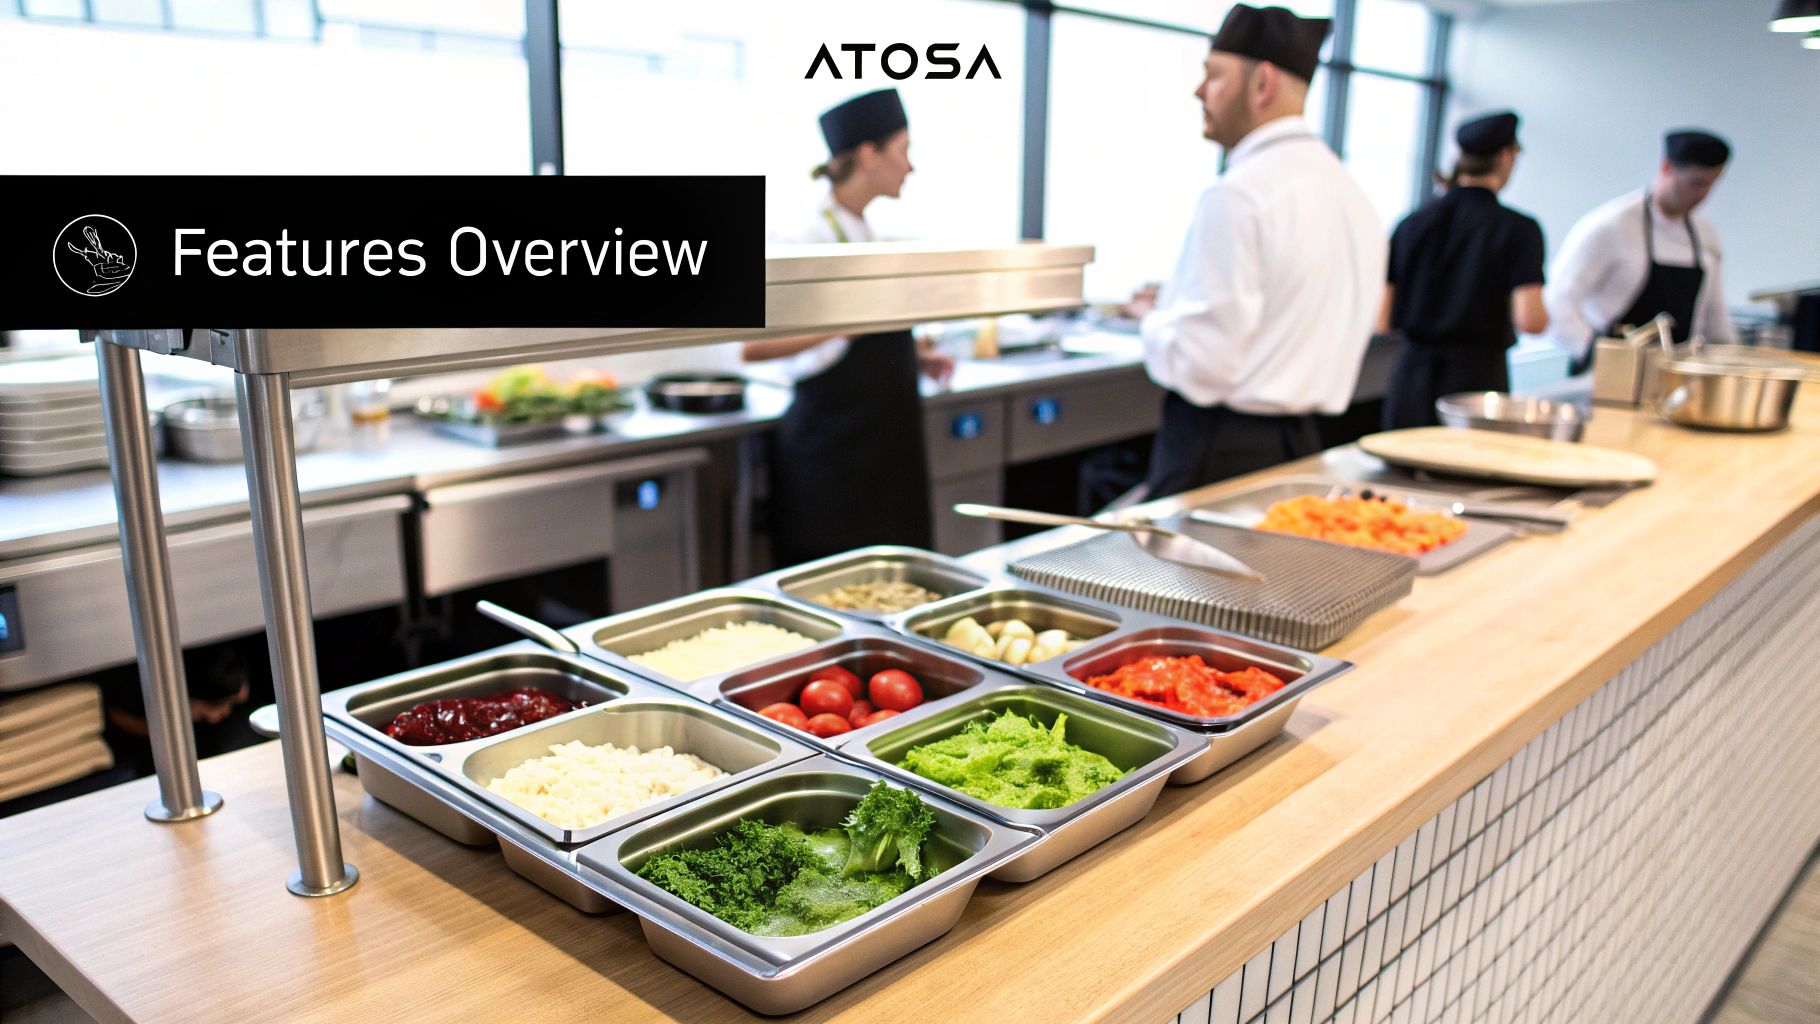
The line between a chaotic service and a controlled one often comes down to how well your prep station is organized. When the tickets start flying during the lunch rush, you need equipment that works with you, not against you. That’s why I see an Atosa sandwich prep table as less of a purchase and more of a strategic investment in your kitchen’s success.
It’s not just anecdotal, either. The numbers back it up. The global market for these types of prep tables is currently valued at around $2.13 billion and is expected to surge to nearly $3.5 billion by 2035. This industry trend isn’t surprising when you consider the boom in quick-service restaurants and the growing customer demand for fresh, made-to-order food.
The Core of Kitchen Efficiency
What really makes an Atosa table a game-changer is its design. It’s built to solve the biggest headaches in a kitchen: speed, consistency, and safety. Every ingredient is chilled and right at your fingertips, which means your line cooks can build sandwiches and salads with incredible precision and speed.
This setup cuts down on all the wasted motion—no more running back and forth to the walk-in cooler. This not only reduces staff fatigue but also slashes the risk of mistakes when things get crazy. It essentially creates an ergonomic cockpit for your sandwich and salad station.
A well-organized prep station is the silent partner of every successful chef. It allows for a seamless flow from ticket to service, ensuring every plate meets the high standards your customers expect.
A Commitment to Food Safety and Quality
Let's be blunt: keeping food at the right temperature isn't optional, it's a legal and ethical requirement. Atosa units are workhorses in this department, providing consistent, reliable refrigeration that keeps your ingredients safely below the critical 41°F danger zone.
The payoff for your business is immediate and tangible:
- Less Spoilage: When ingredients are held at their ideal temperature, you throw less food away. That's money straight back into your pocket.
- Compliance Made Easy: These tables are engineered to meet strict health codes, which means less stress when the health inspector walks in.
- Better Food, Happier Customers: Fresh, crisp ingredients make a difference your customers can taste. That’s what builds loyalty and brings people back.
To give you a clearer picture, here’s a quick breakdown of the value an Atosa prep table brings to the table—pun intended.
Atosa Sandwich Prep Table At-a-Glance
| Key Benefit | How It Helps Your Kitchen | Impact on Your Business |
|---|---|---|
| Integrated Workflow | Combines cold storage and a workspace, putting all ingredients within arm's reach. | Faster ticket times and increased order capacity during peak hours. |
| Reliable Temperature Control | Keeps ingredients consistently below the 41°F food safety threshold. | Reduced food waste, lower costs, and confident health inspections. |
| Ergonomic Design | Minimizes unnecessary movement and bending for staff on the line. | Less staff fatigue, fewer errors, and a more productive team. |
| Durable Construction | Built with high-quality stainless steel to withstand tough commercial use. | Long-term reliability and a better return on your equipment investment. |
Ultimately, choosing the right prep table is a decision that impacts every part of your operation. It affects your kitchen's rhythm, your financial health, and your reputation for serving quality food.
For a closer look at how different models can fit your unique setup, I highly recommend exploring our detailed guide on refrigerated sandwich prep tables. Making an informed choice here is one of the smartest moves you can make for your kitchen.
Choosing the Right Atosa Model for Your Menu
Picking the perfect Atosa sandwich prep table goes way beyond just measuring a spot on your line. It's about finding a unit that truly understands the rhythm of your kitchen. The right table will make your team faster and more efficient, but the wrong one? It's a recipe for daily frustration and bottlenecks.
When I talk to clients, I always tell them to focus on two things above all else: your menu and your customer volume. A cozy café that sells a handful of classic sandwiches has completely different needs than a slammed downtown deli that’s churning out dozens of custom orders every hour. The café can probably get by with a small, single-door unit, but that same model would absolutely cripple the deli during a lunch rush.
Assess Your Menu Complexity
First things first, let's talk ingredients. Pull out your menu and physically count every single cold topping, protein, and sauce you need to have on hand. This number is your starting point for figuring out how many food pans you need in the top refrigerated rail.
- Simple Menu (5-10 ingredients): For a coffee shop, a small bar, or a restaurant with just a few sandwiches on the menu, a smaller 27" or 36" single-door model is usually the sweet spot. It gives you enough pan slots without taking up unnecessary space.
- Moderate Menu (10-18 ingredients): When your menu expands, so should your table. A two-door, 48" prep table is a fantastic middle ground. It provides more room for a wider array of toppings and gives you more cold storage below, which means fewer trips to the walk-in.
- Complex Menu (18+ ingredients): If you're running a high-volume deli or a build-your-own salad bar, you need to go big. A three-door, 60" or 72" table is a must. These units are designed to put a massive number of ingredients right at your fingertips, and they're wide enough for two or even three people to work together without bumping elbows.
Pro Tip: Don't just plan for the menu you have today. Think about where you want to be in a year. Getting a table with a little extra capacity is a smart investment that prepares you for growth, so you aren't forced into another big purchase sooner than you'd like.
Which Atosa Prep Table Fits Your Business?
To make it even clearer, here’s a quick guide I use to help restaurant owners pinpoint the right size for their operation.
| Business Type | Recommended Model Size | Key Considerations |
|---|---|---|
| Coffee Shop or Small Bar | 27" - 36" Single-Door | Perfect for limited sandwich/salad offerings. Focus on maximizing a small footprint. |
| Mid-Sized Café or Pizzeria | 48" Two-Door | A versatile workhorse for a diverse menu with moderate volume. Balances pan space and storage. |
| High-Volume Deli or Salad Bar | 60" - 72" Three-Door | Essential for complex menus and high throughput. Allows multiple staff to work efficiently. |
This table should give you a solid starting point. The goal is always to match the equipment directly to your daily operational reality.
Match Storage to Daily Volume
Next up is the refrigerated base. You need to think about how much backup product you go through in a typical day. A prep table with standard cabinet-style doors gives you flexible, open space for storing bulk items like cambros of sliced meats or cases of cheese.
On the other hand, if your kitchen relies heavily on smaller, portion-controlled items, drawers might be a game-changer. They keep everything organized and easy to grab, which can seriously streamline your team's movements and cut down on wasted time. It’s all about analyzing your prep process.
Of course, a prep table is just one piece of the puzzle. Creating a comprehensive list of all your needs is a critical step in setting up an efficient kitchen. To help with that, our commercial kitchen equipment checklist is a great resource to make sure nothing gets overlooked.
Ultimately, you want to find that seamless connection between your menu, your crew, and your equipment. A well-chosen Atosa sandwich prep table does more than just keep things cold—it becomes an active part of your workflow, speeding up service and supporting your kitchen's unique demands.
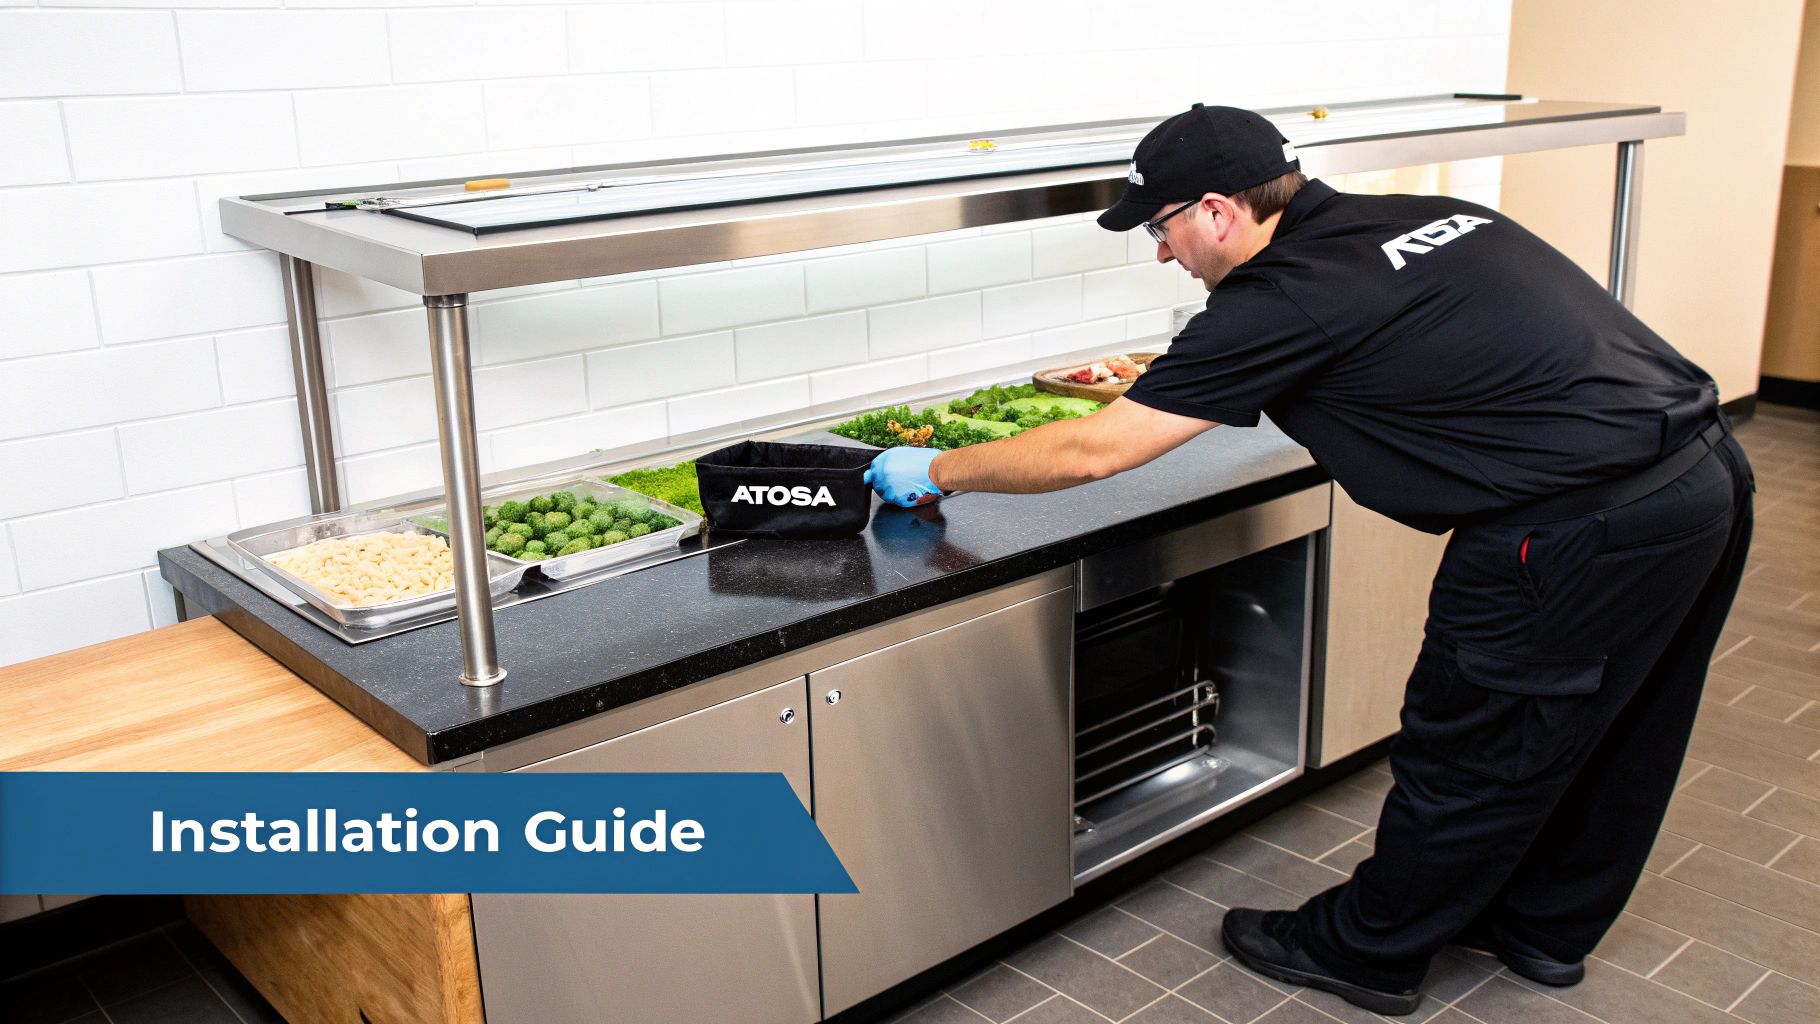
Getting Started: A Smooth Installation From Day One
You’ve made a great investment in an Atosa prep table. Now, let’s make sure it runs perfectly from the moment it’s wheeled through your door. A proper installation isn't just a formality; it's the foundation for years of reliable service and can save you from some serious headaches down the line.
The process actually starts before the delivery truck even arrives. I can't tell you how many times I've heard horror stories about a beautiful new unit being stuck in a hallway. Grab a tape measure and check every single doorway, corner, and tight spot on the delivery path. It’s a simple five-minute check that prevents a massive, entirely avoidable problem.
Don't Skip These Pre-Installation Checks
Once you know it will fit, the next thing to verify is your electrical setup. Your Atosa sandwich prep table is a piece of commercial equipment with specific power needs—usually a dedicated circuit. Check the manufacturer's specs and make sure your outlet matches the voltage and plug type. Plugging it into the wrong circuit can trip breakers, cause poor cooling, and even burn out the compressor.
As soon as the unit is uncrated, give it a thorough once-over. Look for any damage that might have happened in transit. Check for dents on the body, scratches, and pay close attention to the condenser coils and door gaskets. If you spot anything, take pictures and contact your supplier before you sign off on the delivery. Once you accept it, filing a claim becomes much harder.
My Biggest Tip: After you get the table into its final spot, just let it be. Don't plug it in for at least 24 hours. The refrigerant oil needs time to settle back into the compressor after being jostled around during shipping. Firing it up too soon is one of the top causes of early compressor failure.
Finally, think about where the unit will live. Your Atosa table needs room to breathe. The compressor pulls in air to cool itself, so it needs good airflow. As a rule of thumb, leave at least 4-6 inches of clearance around the back and sides. If you shove it right up against a wall, you're essentially suffocating the compressor, making it work harder, use more energy, and wear out faster.
This image really highlights how Atosa’s design choices, like its full stainless steel build and smart component layout, make both installation and daily cleaning much easier. The smooth, non-porous surfaces are designed to be wiped down quickly and thoroughly—a huge plus for any busy kitchen.
Getting these initial steps right is a small time investment that pays off big, setting you up for a long and productive life with your new prep table.
Getting Your Daily Workflow Dialed In
Alright, your new Atosa sandwich prep table is set up and humming along. Now for the fun part: making it the workhorse of your kitchen. This is where you move beyond just having a nice piece of equipment and start building a system that keeps your line flying, especially when you're slammed during the lunch rush.
Think of your refrigerated rail as prime real estate. You wouldn't just throw things anywhere, would you? It's all about strategic placement. I’ve seen kitchens shave precious seconds off every single order just by thinking through where their ingredients live. Your most popular items—the lettuce, tomatoes, bacon, whatever sells best—need to be front and center, right where your hands naturally go. It seems small, but over hundreds of orders, those saved seconds turn into faster ticket times and happier customers.
Building an Assembly Line, Not Just a Prep Station
Once you've got your high-volume ingredients sorted, think about the journey of a sandwich. If every build starts with bread, then cheese, then meat, then veggies, your layout should tell that same story. You're building an intuitive flow.
- Like with Like: Group all your cheeses, all your meats, and all your veggies together. It’s a simple rule that prevents staff from grabbing the wrong thing and minimizes the risk of cross-contamination.
- Prime vs. Fringe: Put the stars of the show—your top sellers—in the middle. The less-common add-ons, like that special aioli or banana peppers, can live on the ends.
- Keep it Comfortable: Watch your team work. Are they constantly reaching, twisting, or straining? A little ergonomic adjustment goes a long way. A comfortable team is a fast, efficient team.
When you nail this, your prep table stops being just a cold box and becomes a true high-performance workstation.
Temperature is Everything: Safety and Quality
Your Atosa unit is built to hold a steady, cold temperature, but you can't just set it and forget it. That digital thermostat is your best friend for food safety. Your target is to keep every ingredient in that rail at or below a rock-solid 40°F (4°C).
Here’s a pro tip: don’t just trust the unit's air temperature display. At the start of every shift, grab a probe thermometer and spot-check the actual food. It's the only way to be 100% sure you're in the safe zone. Today's Atosa tables have great features like digital controls and auto-defrost, which are part of a larger industry push for smarter, more efficient equipment. If you're curious about the market trends, you can dig deeper into strategic business reports on food prep tables.
I once worked with a chef who was a master of the "first-in, first-out" (FIFO) method. He had his team label every single pan with the prep date and time. It’s a simple habit, but it completely eliminated guesswork, ensured nothing but the freshest product went out, and slashed their food waste. That's turning a potential loss right back into profit.
This isn't just about passing a health inspection; it's about serving food you can be proud of.
Using the Whole Machine
Finally, remember the entire unit is your workspace. The cutting board, the rail, and the refrigerated base below are all part of one system. Keep that cutting board spotless and clear for action. Organize the refrigerated cabinet below with the same logic you used for the top rail. Keep backup pans of your heavy hitters right at the front for lightning-fast restocks.
When you create that seamless flow between prepping, building, and restocking, your team will have the confidence to handle anything you throw at them.
Essential Maintenance to Extend Equipment Life
Your Atosa sandwich prep table is a workhorse, built to withstand the daily grind of a busy kitchen. But even the most durable equipment needs a little TLC to keep it running smoothly for years to come. Think of this routine care not as a chore, but as the cheapest insurance policy you can buy against unexpected breakdowns and expensive emergency service calls.
A consistent maintenance schedule is about more than just keeping things shiny. When you let the small stuff slide, it snowballs. Poor cooling performance is often the first sign of trouble, which puts a huge strain on the compressor and sends your energy bills through the roof. Before you know it, you’re looking at premature equipment failure—a headache no restaurant owner needs.
Your Daily Maintenance Checklist
These are the non-negotiables. The tasks you need to build into your closing routine every single day. They only take a few minutes but are absolutely critical for food safety and peak performance.
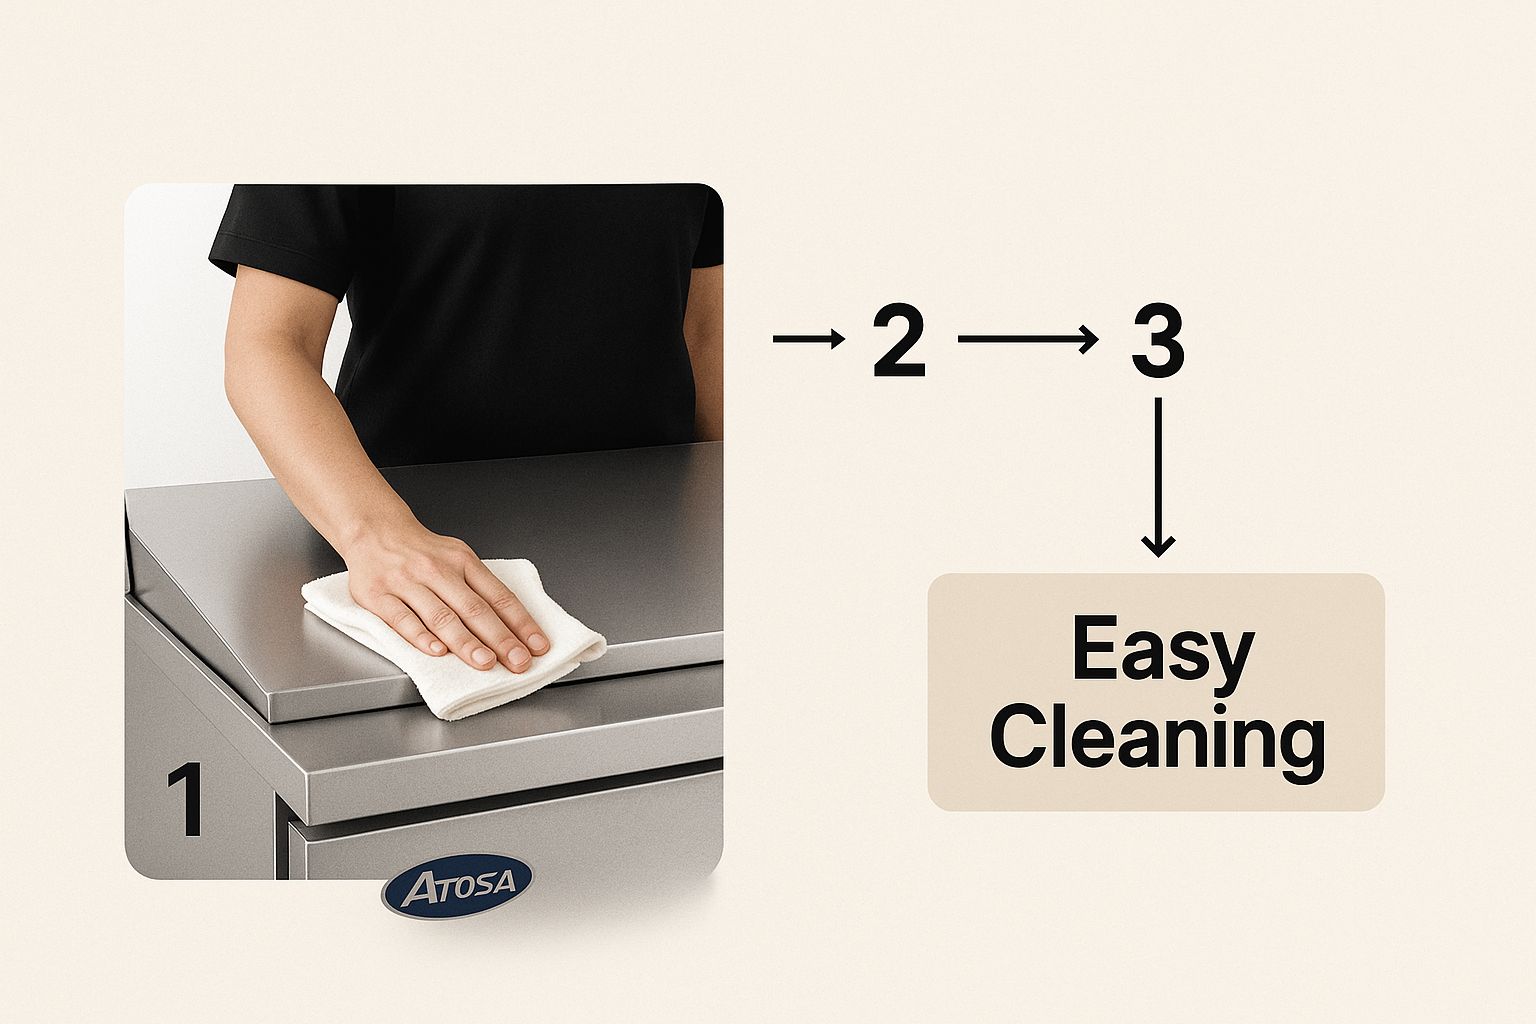
- Wipe Down All Surfaces: Grab a soft cloth and a simple mix of mild soap and water. Clean the exterior, the interior, and that all-important cutting board. Steer clear of harsh, chlorine-based cleaners—they can cause pitting and rust on your stainless steel.
- Clean the Door Gaskets: Food bits and grime love to hide in the door seals, preventing them from creating a tight seal. A leaky gasket makes the compressor work overtime. A quick daily wipe-down and a visual check for cracks will save you a lot of trouble.
- Tackle Spills Immediately: Don't let spills linger. Acidic ingredients from things like vinaigrettes or tomato sauce can eat away at the stainless steel finish if they sit for too long.
Weekly and Monthly Deep Dives
While daily wipe-downs handle the surface-level sanitation, your weekly and monthly tasks are all about the mechanical health of your Atosa sandwich prep table. This is where you really add years to its life and keep it running efficiently.
I’ve seen it a hundred times: a simple, clogged condenser coil leads to a frantic service call and a hefty repair bill. Taking just 15 minutes once a month to clean it can literally prevent hundreds of dollars in repairs. It’s the best return on investment you’ll get.
Here's what you should focus on.
Once a Week:
- Deep Clean the Interior: Pull out all the food pans and shelves. Give them a thorough wash and wipe down every nook and cranny inside the unit. You'll be surprised what daily cleanings can miss.
- Inspect Door Hardware: Take a close look at the hinges and self-closing mechanisms. You want to be sure those doors are swinging shut completely and sealing tight every single time.
Once a Month:
- Clean the Condenser Coil: This is, without a doubt, the most important maintenance task you can do. A condenser coil caked in dust and grease can't release heat, forcing the compressor into overdrive. Unplug the unit, then use a stiff brush and a shop vac to carefully clean the fins.
- Check and Calibrate the Thermometer: Don't just trust the external display. Use a calibrated food thermometer to check the actual temperature inside. If there's a significant difference, you may need to adjust the thermostat to ensure food is always held at a safe temperature below 40°F.
Taking good care of your equipment is a cornerstone of a well-run kitchen. The way you place and maintain major appliances like your prep table is fundamental to an efficient workflow. To dive deeper into this, check out our guide on how to master your commercial kitchen design layout and create a more productive space.
Your Atosa Prep Table Questions, Answered
When you're in the middle of a busy service, you need straight answers, not complicated manuals. We get it. Over the years, we've heard just about every question you can imagine from chefs and kitchen managers about their Atosa sandwich prep tables. Stay informed with these answers to keep your kitchen running smoothly.
Here are the practical, no-fluff answers to the questions that pop up most often.
How Often Should I Clean the Condenser Coil?
This is the big one. If you only do one maintenance task, make it this. For an average kitchen, cleaning the condenser coil once a month is a good rule of thumb. But let's be real—if your prep table is next to a bank of fryers, you've got a lot more grease in the air. In that case, you need to check it every two weeks.
A dirty, clogged coil is the number one killer of refrigeration units. It’s like forcing your compressor to run a marathon in a sauna. It has to work way harder, your energy bills creep up, and eventually, it just gives out. A quick once-over with a stiff brush and a shop vac can literally save you from a thousand-dollar repair bill.
What's the Right Temperature for the Top Rail?
Food safety is everything. Your ingredients in that top refrigerated rail must be kept at or below 40°F (4°C). There's no wiggle room here—this is a critical health code requirement to stop bacteria from growing on your meats, cheeses, and dressings.
Pro Tip: Don't just rely on the digital display. At the start of every single shift, take a calibrated food thermometer and stick it directly into the food. That's the only way to know the actual product temperature, which is what the health inspector cares about. Then you can adjust the thermostat accordingly.
Can I Use Bleach or Harsh Chemicals on the Stainless Steel?
Please don't. Stay far away from any cleaners with chlorine, bleach, or gritty abrasive powders. These will eat right through the protective layer on the stainless steel, causing rust spots and pitting. It’s not just ugly; those little pits become a perfect hiding spot for bacteria.
For daily wipe-downs, all you need is a simple mix of mild soap and warm water. If you want a bit more shine, grab a cleaner made specifically for food-grade stainless steel. And always remember to wipe with the grain of the steel, not against it, to prevent tiny scratches.
Help! My Prep Table Isn't Getting Cold. What Do I Check First?
Before you panic and call for a repair technician, take a deep breath and run through this quick checklist. More often than not, one of these three things is the culprit, and you can fix it yourself in minutes.
- The Condenser Coil: Is it caked with dust and grease? Seriously, check it first.
- The Door Gaskets: Are the seals around the doors tight? Try the dollar bill test. Close the door on a dollar bill. If you can pull it out easily, your gasket is shot and needs to be replaced. A poor seal lets all the cold air leak out.
- Airflow: Can the unit breathe? It needs at least 4-6 inches of clear space on all sides, especially the back, to push out hot air. If it's shoved right up against a wall, it can't cool itself down.
Tackling these simple points will solve the vast majority of cooling problems and save you the cost and headache of a service call for your atosa sandwich prep table.
Ready to find the right prep table to anchor your line? The team at Encore Seattle Restaurant Equipment has the hands-on experience to guide you. Discover exclusive deals and the latest news on equipment that can transform your kitchen. Explore our full range of commercial kitchen solutions today!