
Natural Gas to Propane Conversion Kit for Stove: A Pro's Guide
For restaurant owners and chefs, staying informed about industry trends and finding exclusive deals on equipment is key to success. One trend gaining traction, especially for mobile kitchens, is fuel flexibility. A natural gas to propane conversion kit for a stove is your ticket to freedom, letting you switch from a fixed utility connection to portable propane tanks. This simple-sounding change is what allows food trucks, caterers, and pop-up kitchens to fire up their equipment just about anywhere, a vital strategy in today's dynamic culinary scene.
The process itself isn't magic—it's about swapping out a few key parts to safely handle propane's unique properties. But the result? Total operational flexibility and a competitive edge.
Why Convert Your Commercial Stove to Propane?
For any chef or restaurant owner, being adaptable is the name of the game. Having the ability to cook wherever your customers are—whether it's a downtown food festival or a private catering gig in the middle of nowhere—is a massive advantage. This is exactly where propane shines, and a conversion kit is what gets you there. For the latest on equipment that supports this kind of agility, savvy operators keep an eye out for news and deals on restaurant supplies.
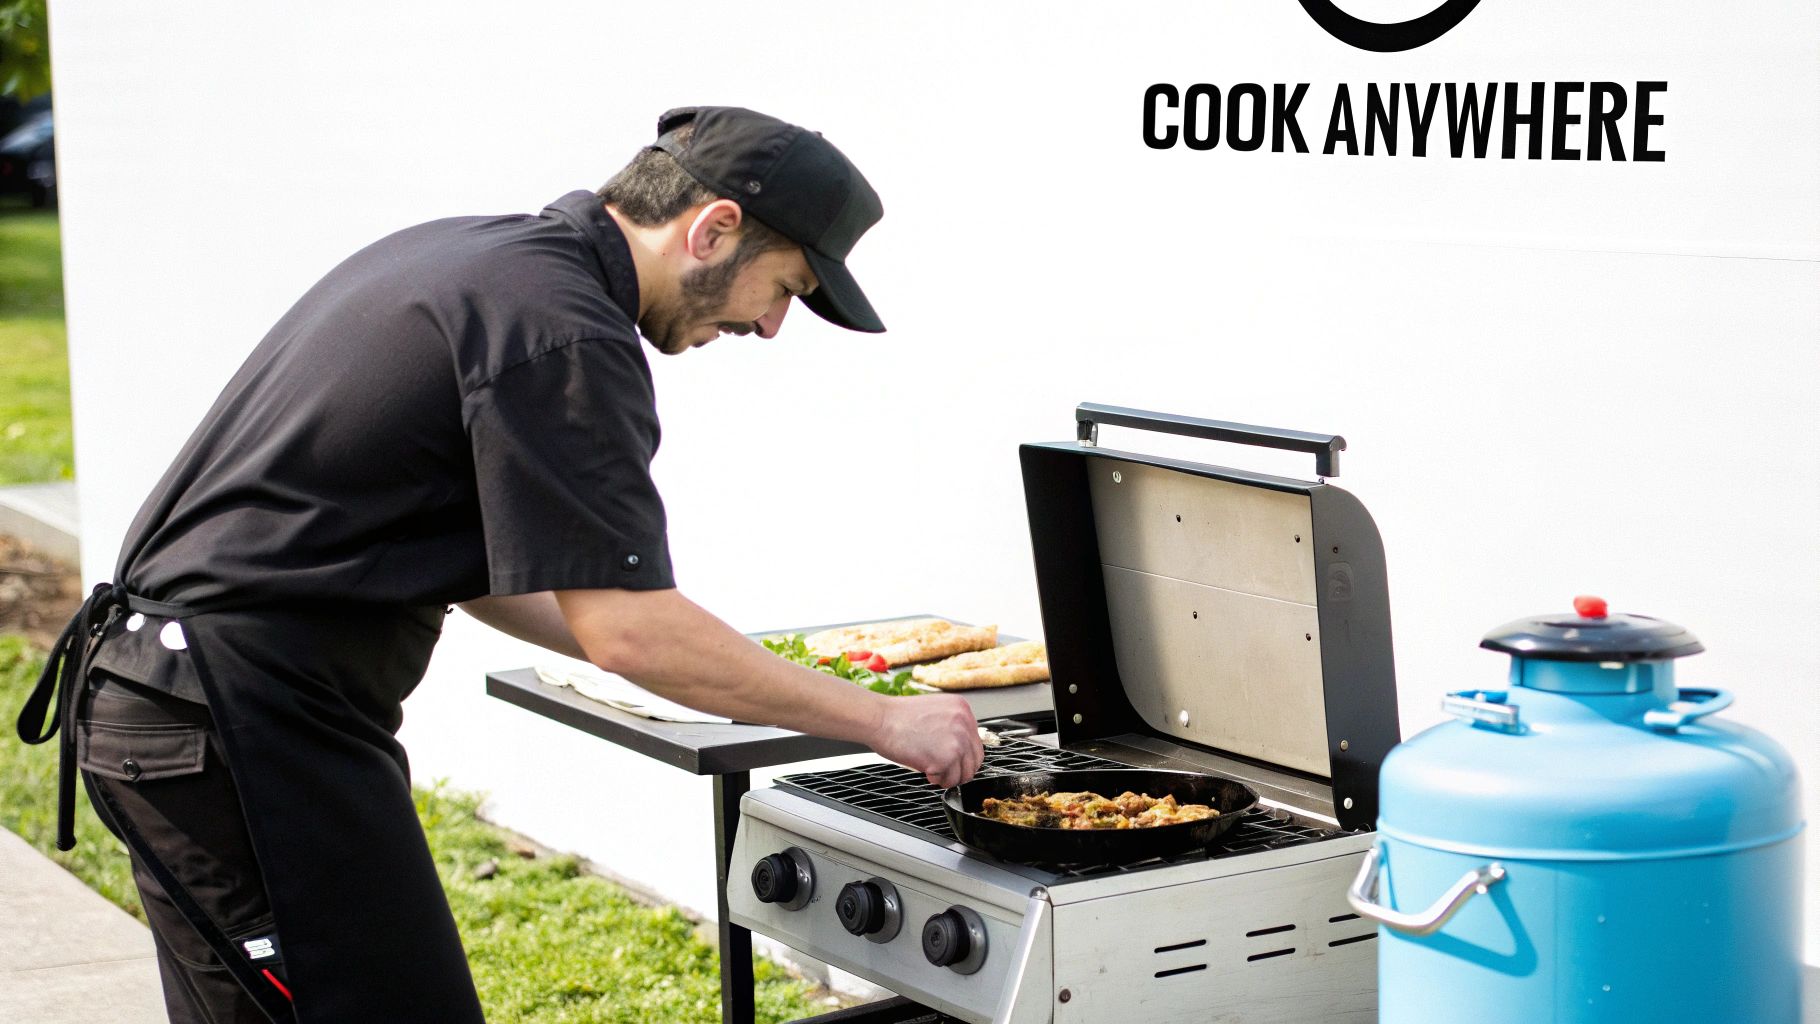
Go Mobile, Get More Power
Think about it. You’re a food truck owner who just scored a killer spot at the weekend farmer's market. There are no natural gas hookups in sight, but with a propane-converted stove, you’re serving up dishes without a hitch. Or maybe you're catering a wedding miles from the city. Propane’s portability makes these gigs not just possible, but profitable. This is an industry trend that directly impacts your bottom line.
It's not just about where you can cook; it's also about how well you can cook. Propane packs a bigger punch than natural gas. A cubic foot of propane gives you about 2,516 BTUs, while natural gas only delivers around 1,030 BTUs. That extra energy density means your grill heats up faster and your fryer recovers quicker, which is a lifesaver during a dinner rush.
This conversion is especially critical for kitchens in areas without reliable pipeline access. In fact, 46% of the 267 million tonnes of global LPG (which includes propane) is used for cooking, largely because it can be trucked in where pipelines can't go.
A conversion isn’t just a technical swap; it’s a business decision. It's about ensuring you can deliver your culinary vision anywhere, anytime, without being tethered to a fixed gas line. Savvy chefs stay informed to make these smart equipment choices.
When Does a Conversion Make Sense?
So, when is it really time to grab a natural gas to propane conversion kit for a stove? Here are the most common scenarios I see, all reflecting current industry trends:
- Food Truck Operations: This is the classic example. Propane is the lifeblood of nearly every food truck, powering everything from flat-tops to deep fryers.
- Outdoor Catering and Events: From company picnics to huge music festivals, propane lets you build a professional-grade kitchen in any outdoor space.
- Rural or Off-Grid Restaurants: For businesses built beyond the reach of municipal gas lines, propane is a powerful and dependable primary fuel source.
- Pop-Up Restaurants: These temporary dining concepts depend on setting up and tearing down a kitchen fast. Portable propane is perfect for that.
Ultimately, converting gives you control over your fuel supply. Just remember that safety comes first. When you're planning a conversion, you absolutely must comply with all relevant commercial property fire safety regulations. Ensuring your setup is fully compliant is just as important as the conversion itself.
Your Pre-Conversion Safety and Parts Checklist
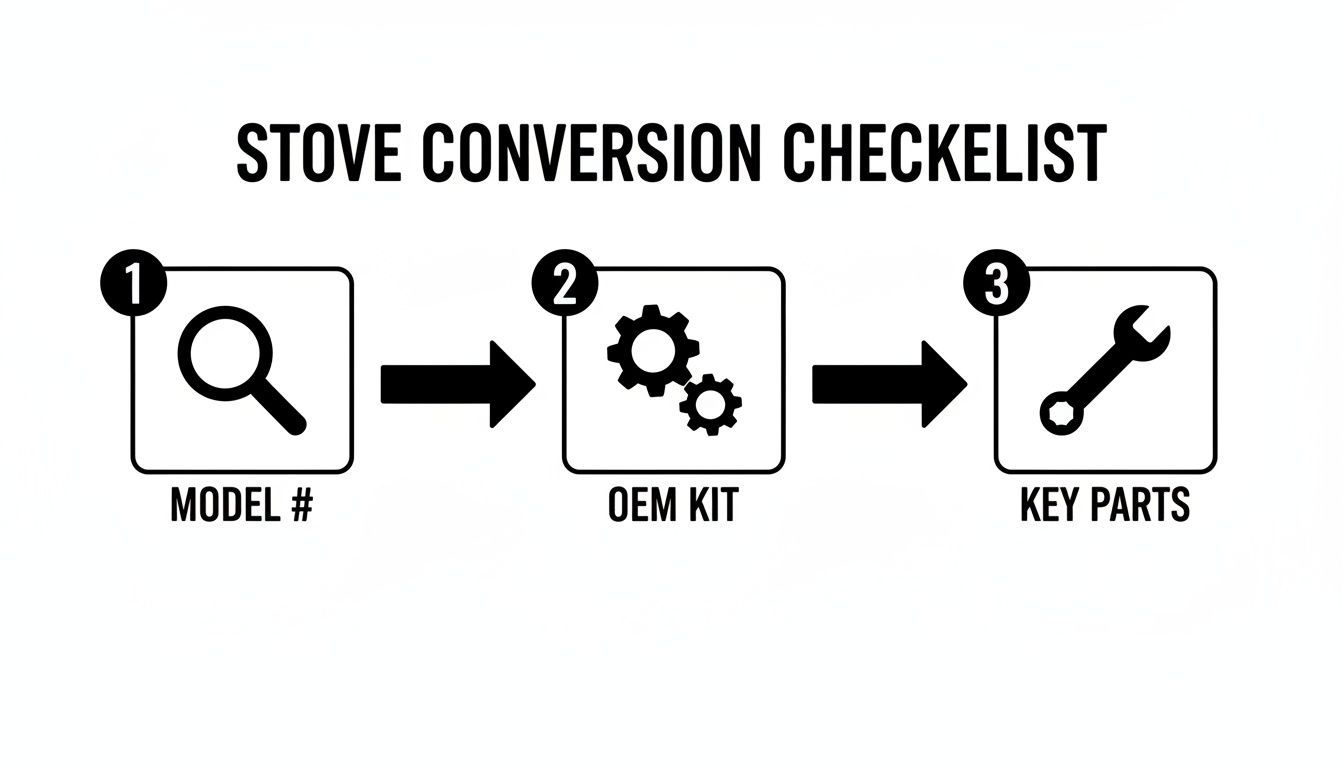
Any seasoned pro will tell you that a successful stove conversion is 90% preparation. If you just jump in and start turning wrenches without the right parts or a clear plan, you're asking for trouble—anything from a damaged stove to a dangerous gas leak. Think of this checklist as your game plan for getting everything squared away before you even think about touching the gas line. For restaurant owners, this diligence is part of managing your restaurant equipment and supplies effectively.
The absolute first thing you need to do is confirm your stove can even be converted. Believe it or not, not every commercial stove is built for it, and trying to force a conversion on an incompatible model is a massive safety risk.
Finding Your Stove's Identity
To find the right natural gas to propane conversion kit for stove, you've got to know its exact model and serial number. This is basically your stove's fingerprint; without it, you can't get the specific parts needed for a safe switch.
Start hunting for a metal data plate or sticker on the unit. I usually find them in a few common spots:
- On the back of the stove, typically near the gas inlet.
- Just inside the oven door frame.
- Under the cooktop (you might need to lift it up).
- On one of the side panels.
With those numbers in hand, hop onto the manufacturer’s website or give their support line a call. They can tell you definitively if a conversion kit exists for your model. If they say no, that's a hard stop. Your stove isn't meant to be converted.
Sourcing the Correct OEM Conversion Kit
Once you have your model number, the next step is getting the right kit. This is one of those times you can't cut corners: you must use an Original Equipment Manufacturer (OEM) kit. These are the parts made and certified by the same company that built your stove.
It’s tempting, I know. You see those generic, one-size-fits-all kits and think you can save a few bucks. For a commercial kitchen, that’s a huge mistake. Generic parts aren't engineered for your stove's specific BTU output or design. Using one will almost certainly void your warranty and could create major problems with your insurance if an accident ever happens. Staying informed about quality restaurant equipment means choosing OEM parts for safety and reliability.
An OEM kit is engineered for one thing: to safely and efficiently run your exact stove model on propane. A generic kit is a gamble with your equipment, your kitchen's safety, and your business.
What’s Inside a Proper Conversion Kit
When you finally get your OEM kit, don't be surprised by how few parts are in the box. It’s a small, specialized collection, but every single piece plays a crucial role. Knowing what they are and what they do makes the whole process much less intimidating.
Here’s what you’ll almost always find inside:
- Propane Orifices (Spuds): These are little brass fittings with a tiny, precisely drilled hole. Propane is more energy-dense and under higher pressure than natural gas, so it needs a much smaller opening to flow through. These orifices are drilled to the exact thousandth of an inch required to deliver the right amount of fuel for a clean, hot flame.
- A New Gas Pressure Regulator: This is the heart of the whole operation. Natural gas and propane regulators work at completely different pressures. The kit will either have a brand new regulator or a conversion spring for your existing one, preset to the standard 11 inches of water column that propane requires.
- Burner Air Shutters or Adjustment Screws: You might also see new air shutters or instructions on adjusting the current ones. These little things control the air-to-fuel mix, which is what gives you that perfect, stable blue flame.
When you break it down, you can see you’re not really rebuilding the stove. You’re just changing how it breathes and measures its fuel. Of course, proper ventilation is also a big piece of the safety puzzle, both during and after the job. For a deeper dive on that, take a look at our guide on commercial kitchen ventilation requirements.
By making sure you have the right OEM parts from the get-go, you're setting yourself up for a safe, successful, and professional-grade conversion.
The Hands-On Guide to a Safe Stove Conversion
Alright, you've got the right OEM kit and you've confirmed your stove's model number. Now for the main event: the actual conversion. This isn't a race. It’s a job that demands patience, precision, and a serious focus on safety. Let's walk through it logically to make sure you get a leak-proof, reliable result you can count on.
Before a single tool touches that stove, you have to do the most important thing: shut off the gas supply. Find the valve on the wall behind the stove and turn it completely off. If you have any doubt at all about which valve it is, play it safe and shut off the main gas line to the kitchen. There is zero room for compromise here.
Swapping Out the Orifices
With the gas safely off, your first hands-on task is to replace the orifices, sometimes called spuds. These little brass nozzles are what meter the gas flowing to each burner. Because propane is delivered at a higher pressure, it needs a much smaller opening to flow through than natural gas does.
To get at the cooktop orifices, you’ll start by taking off the burner grates and caps, then lifting the burner heads out of the way. Look down into the burner assembly—you'll see the small brass orifice screwed into the gas tube at the bottom.
Here's a tip from experience: use a nut driver, not a wrench. Brass is incredibly soft, and the hex head on an orifice is easy to strip with an adjustable wrench. If you round it off, you're in for a world of hurt trying to get it out. A correctly sized nut driver grips all sides evenly and lets you unscrew the old orifice without any drama.
A Quick, Non-Negotiable Safety Check Before you start wrenching, always try to light a burner. It shouldn't light, and you shouldn't smell any gas. This simple check confirms the gas is truly off and is an absolute must-do step.
The oven and broiler orifices are usually trickier to reach. You might need to pull out the oven floor or remove a back panel. This is where your stove's manual becomes your best friend, as it will pinpoint their exact location. The process is the same: carefully unscrew the old one and thread in the new propane orifice from your kit. Just get it snug; there's no need to overtighten.
This is exactly why doing your homework first is so critical. Having the right parts from the start makes the whole job go smoothly.
Installing the New Pressure Regulator
Once the orifices are swapped, it's time to tackle the pressure regulator. Think of this as the brains of the gas system—it controls the fuel pressure before it ever gets to the burners. Propane needs a higher delivery pressure, typically around 11 inches of water column, which is much more than natural gas.
Your kit will either come with a brand-new regulator or a small conversion pin or spring to modify your existing one. If you're replacing the whole unit, it's a matter of unscrewing the old one from the stove's main gas inlet pipe.
When you connect the regulator, getting a perfect seal is everything. This is where leaks happen.
Tips for a Leak-Proof Seal
- Choose the Right Sealant: Use a pipe thread sealant (pipe dope) that is specifically rated for both natural gas and propane. Don't cheap out here.
- Apply to Male Threads Only: Put a thin, even coat of sealant on the male threads of the pipe. If you put it on the female threads, the excess can get pushed inside and clog up your brand-new orifices.
- Leave the First Two Threads Bare: Keep the sealant off the first couple of threads at the very end of the pipe. This is another trick to prevent it from getting inside the gas line.
Use two wrenches to tighten the regulator—one to hold the pipe steady and the other to turn the regulator itself. This keeps you from putting stress on the gas line. And make sure the arrow on the regulator is pointing in the direction of the gas flow, which is toward the stove.
Making the Initial Adjustments
The last mechanical tweak is to adjust the air shutters on the burners. These are small, movable plates at the base of the burner tubes, right where the gas comes out of the orifice. Their job is to control how much air mixes with the gas. Propane needs more air than natural gas to burn cleanly and efficiently.
The instructions in your kit will tell you where to set them initially—it might be fully open or a specific gap size. Just loosen the screw, slide the shutter to the right spot, and lightly tighten it back down. You'll fine-tune this later when you're testing the flames, but this gets you in the ballpark.
The popularity of these conversion kits speaks volumes, a key industry trend for commercial kitchens. The global market for LPG conversion kits, which is directly related to a natural gas to propane conversion kit for stove, is growing. This is driven by restaurant owners looking for fuel savings and ways to meet environmental regulations. This trend shows just how reliable these kits are when they're installed correctly. For more details on this growth, you can explore market data from Dataintelo.
Now that all the new hardware is in place, take a moment to double-check every connection you touched. The next step is the moment of truth: turning the gas back on for testing and calibration to get those perfect blue flames.
Calibrating Your Stove for Perfect Flames
Alright, the mechanical work is done, but don't get ahead of yourself. The job is far from over. Just swapping out the parts from your natural gas to propane conversion kit for stove isn't enough to call it a day. Now comes the part that truly matters for safety and performance: the final calibration. This is where we turn a collection of new fittings into a finely tuned cooking machine.
Before you even think about lighting a burner, you have to do a leak test. I can't stress this enough—this step is absolutely non-negotiable. Skipping it is just asking for trouble. The good news is, the professional method is incredibly simple. All you need is some soap and water.
Grab a spray bottle and mix a 50/50 solution of dish soap and water. Now, with the main gas valve to the stove turned back on, get in there and spray every single connection you touched. I mean every one: the fittings at the regulator, the main gas inlet, and where each new orifice meets the burner tube.
Watch those connections like a hawk. If you see bubbles forming—even tiny ones—shut the gas off immediately. You have a leak. Give the fitting another quarter-turn to snug it up, turn the gas back on, and re-test with your soapy solution. Don't move on until every connection is bone dry and bubble-free.
The Art of Flame Adjustment
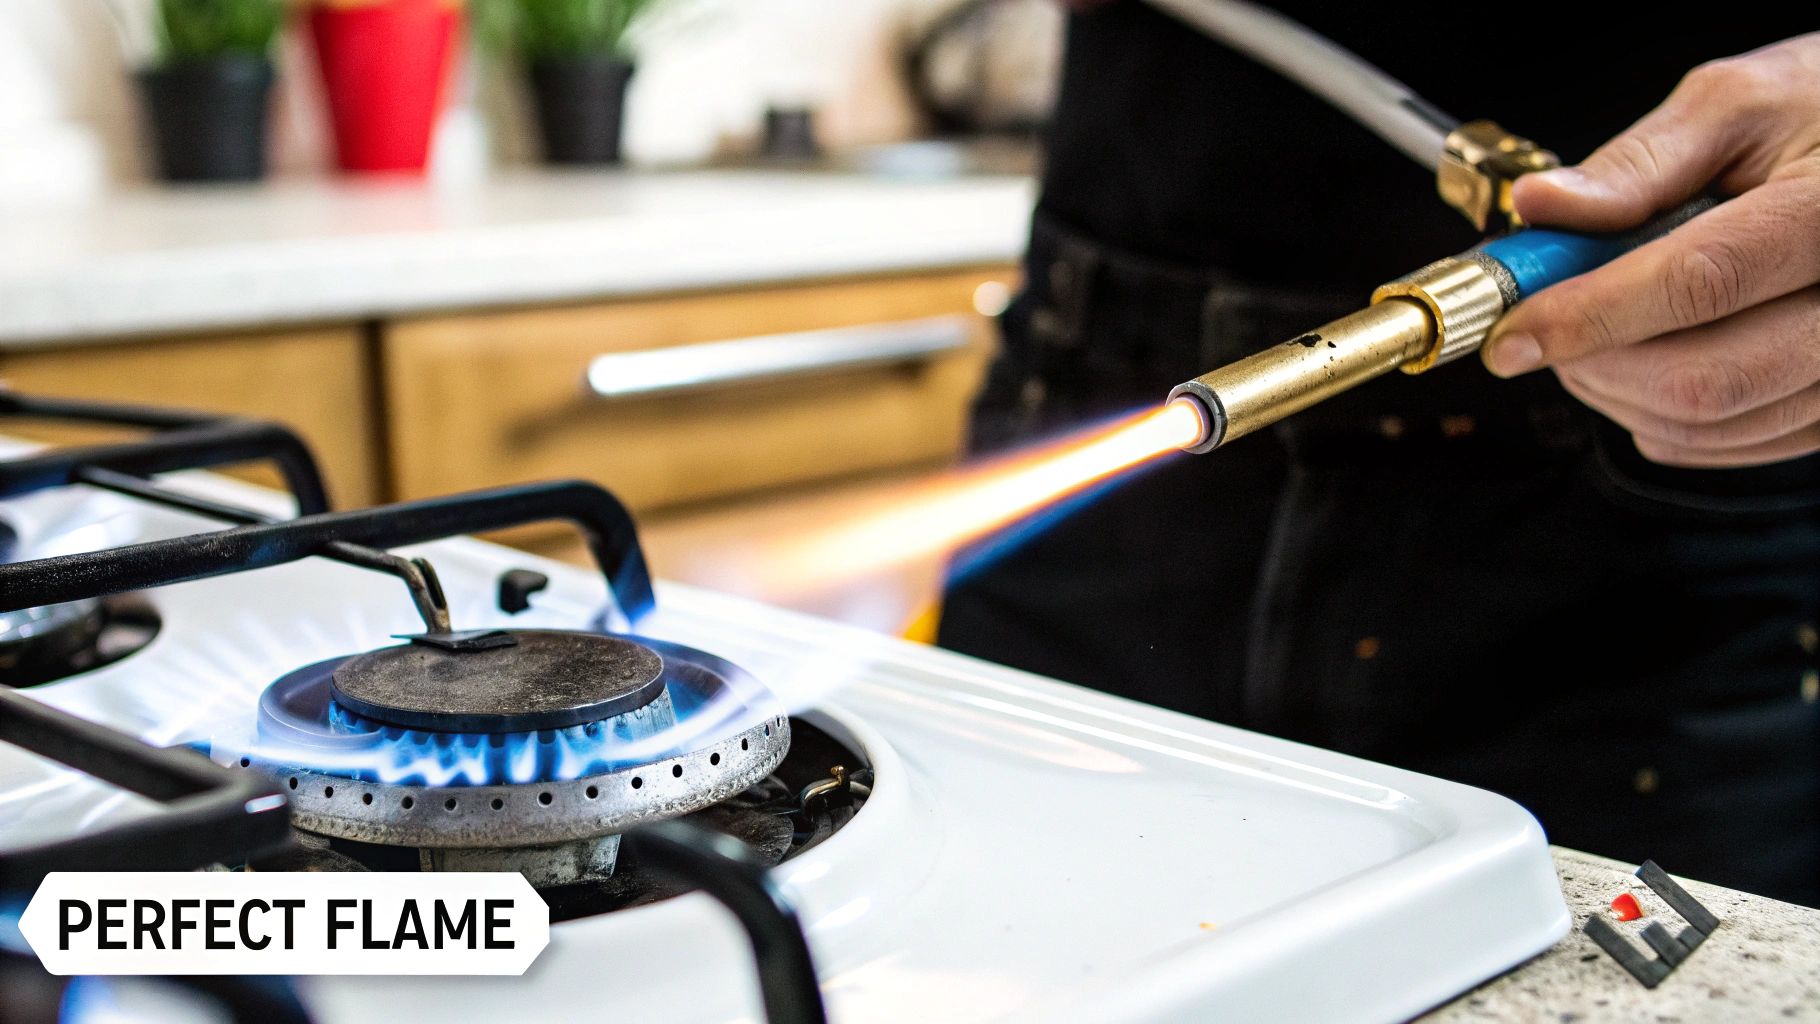
Once you're 100% certain there are no leaks, it's time to light the burners and see what we're working with. A proper flame is your visual confirmation of a successful conversion. The wrong kind of flame is a red flag for inefficiency and, more importantly, a potential source of carbon monoxide.
Fire up one of the cooktop burners and crank it to high. You're looking for a steady, confident, mostly blue flame with a well-defined inner blue cone. With propane, it's perfectly normal to see very slight yellow tips flickering at the top—that's your sweet spot.
Here’s what you don't want to see:
- A lazy, yellow/orange flame: This means the fuel-to-air mixture is too rich (not enough air). This kind of flame burns inefficiently, will leave black soot all over your pans, and is a major carbon monoxide producer.
- A noisy, "lifting" flame: If the flame looks like it's jumping off the burner ports and making a roaring sound, the mix is too lean (too much air). This flame is unstable and can easily blow out, allowing raw propane to fill the room.
To fix either of these issues, you'll need to fine-tune the air shutter at the base of the burner tube—the one we made a preliminary adjustment on earlier.
- Loosen the set screw: Find the small screw holding the air shutter in place and just loosen it slightly.
- Adjust the opening: If your flame is too yellow, you need more air, so slowly open the shutter. If the flame is lifting and noisy, you need less air, so start closing it.
- Observe and secure: Make tiny adjustments and give the flame a few seconds to settle each time. Once you’ve dialed in that perfect blue flame with faint yellow tips, carefully tighten the set screw to lock it in.
You'll need to repeat this process for every single burner on the cooktop. Each one behaves a little differently and needs its own individual calibration.
Calibrating Low Flame and Oven Settings
We're not done yet. Getting a high flame right is one thing, but precise control on the low end is what separates a great stove from a mediocre one.
Turn a burner down to its lowest setting. The flame should be small but completely stable, with an even ring of fire around the entire burner head. If it sputters, flickers, or goes out, you’ll need to adjust the low-flame set screw. You can usually find this tiny screw right inside the valve stem after you pull the control knob off. A small, thin flathead screwdriver is your tool here. A very slight turn is typically all it takes to stabilize that simmer flame.
Calibrating the oven is a similar game, but the adjustment screw is often located on the thermostat itself. Your stove’s manual is your best friend here, as the location can vary wildly between models. The goal is the same: ensure the oven burner ignites smoothly and maintains a stable, blue flame on both its high and low settings.
Taking the time for this final calibration phase is what makes for a professional, reliable conversion. It ensures your stove doesn't just work, but works safely, efficiently, and with the precision you need.
When You Absolutely Need to Call a Professional
Look, I'm all for rolling up your sleeves and getting things done yourself. But when it comes to gas lines in a commercial kitchen, knowing when to call a pro is the smartest move you can make. It's a key part of managing your restaurant equipment responsibly.
Some situations are just too risky for a DIY approach. A single misstep can have catastrophic consequences. Calling a licensed gas fitter isn't throwing in the towel; it's being a responsible business owner who prioritizes the safety of your staff, your customers, and your livelihood. If you hit any of the snags below, stop what you're doing, turn off the gas, and make the call.
Recognizing the Red Flags
The big one, the one you absolutely cannot ignore, is the persistent smell of gas. If you’ve double-checked your connections with soapy water and can still smell that unmistakable rotten-egg scent of mercaptan (the chemical added to propane), you have a leak. Don't hunt for it. Immediately learn what to do if your home has a gas leak—the steps are identical for a restaurant kitchen and could save lives.
Another serious red flag is a flame you just can't tame. If you've tinkered with the air shutters and adjusted the low-flame settings but still see big, lazy, yellow flames leaving soot everywhere, something is fundamentally wrong. Same goes for burners that sputter out or refuse to stay lit. This points to a deeper issue—maybe a faulty regulator, an internal blockage, or the wrong conversion kit entirely.
Your insurance policy almost certainly has a clause about professional installation for gas appliances. A DIY conversion that leads to a fire could give your provider grounds to deny your claim, leaving you with a catastrophic financial loss. The cost of a technician is a small price for peace of mind and full coverage.
Finally, if you run into damaged or stripped parts, it’s time to stop. Trying to muscle a rounded-off orifice or force a cross-threaded fitting is a recipe for disaster. You can permanently damage the stove or create an imperfect seal that’s guaranteed to leak. A pro has the right tools and know-how to fix these problems without making them worse.
Navigating Codes and Legal Requirements
Beyond the hands-on problems, you've got local laws to think about. Commercial kitchens are held to a much higher standard than home kitchens, and for good reason. In many places, it's flat-out illegal for anyone other than a licensed gas fitter to work on gas appliances in a commercial space.
Here’s why that’s so critical:
- Permits and Inspections: A professional knows the local code inside and out. They'll pull the necessary permits and ensure the work is done right so it passes inspection with flying colors. A failed inspection can shut you down.
- Liability: If an accident happens and the investigation points to an improper conversion, all the legal and financial fallout lands on your shoulders. Hiring a licensed, insured professional transfers that enormous risk.
- Insurance Compliance: As mentioned above, your business insurance carrier expects you to play by the rules. If you're required to use a pro and don't, you've just given them a reason to void your policy when you need it most.
In the end, deciding whether to use a natural gas to propane conversion kit for stove yourself or call a pro is a simple risk assessment. Weigh the few hundred dollars you might save against the staggering cost of a fire, a code violation, or a denied insurance claim.
If you're still exploring the process, our full guide on converting a natural gas range to propane has more details. But when doubt creeps in, calling a professional is always the right answer.
Burning Questions About Stove Conversion Kits
Even the most detailed guide can't cover every question. When you're dealing with gas lines, it's natural to have a few things you want to double-check. Here are some of the most common questions I hear from restaurant owners and chefs when they're getting ready to tackle this conversion.
Can I Just Use a Conversion Kit From a Different Stove Brand?
I get this question all the time, and the answer is a hard no. You absolutely must use the specific Original Equipment Manufacturer (OEM) kit made for your stove's exact model number. It's not a "one size fits most" situation.
Think of it this way: the tiny orifices in a natural gas to propane conversion kit for stove are drilled with incredible precision. Those measurements are calculated based on your stove's specific BTU output and the unique burn properties of propane. Grabbing a generic kit or one from another brand is asking for trouble. It can lead to dangerously high flames, the production of lethal carbon monoxide, and it's a surefire way to void your warranty and even your business insurance.
How Can I Tell if the Flame Is Adjusted Correctly for Propane?
You can tell a lot just by looking. A perfectly adjusted propane flame is mostly blue, with just a little bit of yellow at the very tip. When you turn it up to high, it should be stable and quiet.
If your flame looks off, you’ve got an issue with the air-to-fuel ratio:
- A big, loud, mostly yellow or orange flame? That's a "rich" burn, meaning too much gas and not enough air. It's inefficient, wastes fuel, and will leave a black layer of soot all over your pots and pans.
- A small blue flame that seems to lift or "dance" off the burner? That's a "lean" burn—too much air. This kind of flame is unstable and can easily blow out, which would let raw, unburned gas escape into your kitchen.
The fix is to adjust the air shutter, usually a small collar on the burner's venturi tube. You'll need to tweak it back and forth until you get that steady, mostly blue flame with a stable yellow tip.
A clean, efficient burn is the goal here. An improperly adjusted flame isn't just a performance problem; it's a major safety hazard. Getting the flame color just right is arguably one of the most critical parts of the whole conversion.
What's the Real Difference Between Gas and Propane Regulators?
The short answer is pressure. They look similar, but they are not interchangeable, which is why swapping the regulator is a mandatory step in the conversion.
Natural gas comes into the building at a pretty low pressure, and its regulator brings it down even further to about 4-7 inches of water column for the stove. Propane, on the other hand, is stored under extremely high pressure in a tank. The propane regulator has the tough job of stepping that pressure way down, delivering it to the stove at a higher pressure than natural gas—usually around 11 inches of water column. This difference in delivery pressure is fundamental to making the stove work safely and correctly.
Stay ahead of industry trends and discover exclusive deals on restaurant equipment and supplies with Encore Seattle Restaurant Equipment. We have the expertise and inventory to help your restaurant, food truck, or catering business succeed. From cooking equipment to refrigeration, we offer top brands at unbeatable prices.
Explore our selection and find the perfect solutions for your culinary needs at https://encoreseattle.com.