
How to Convert a Gas Oven to Propane for Your Commercial Kitchen
Converting a gas oven to propane in a professional kitchen really boils down to two main things: you have to swap out the natural gas orifices for smaller ones designed for propane, and you've got to adjust the pressure regulator. Propane packs a much bigger punch in terms of pressure, so these steps are non-negotiable for making sure your restaurant's oven runs safely and efficiently. Stay informed on industry trends like this to keep your kitchen at the cutting edge.
Why Convert Your Commercial Oven to Propane?
For most chefs and restaurant owners, the choice of fuel often comes down to what's available at their location. Natural gas is the standard in most commercial buildings, but what happens when you don't have a gas line? This is where knowing how to convert a commercial oven to propane becomes a massive advantage. It gives you a level of flexibility and power that can make or break a mobile or off-site business, a key industry trend for growing your brand.
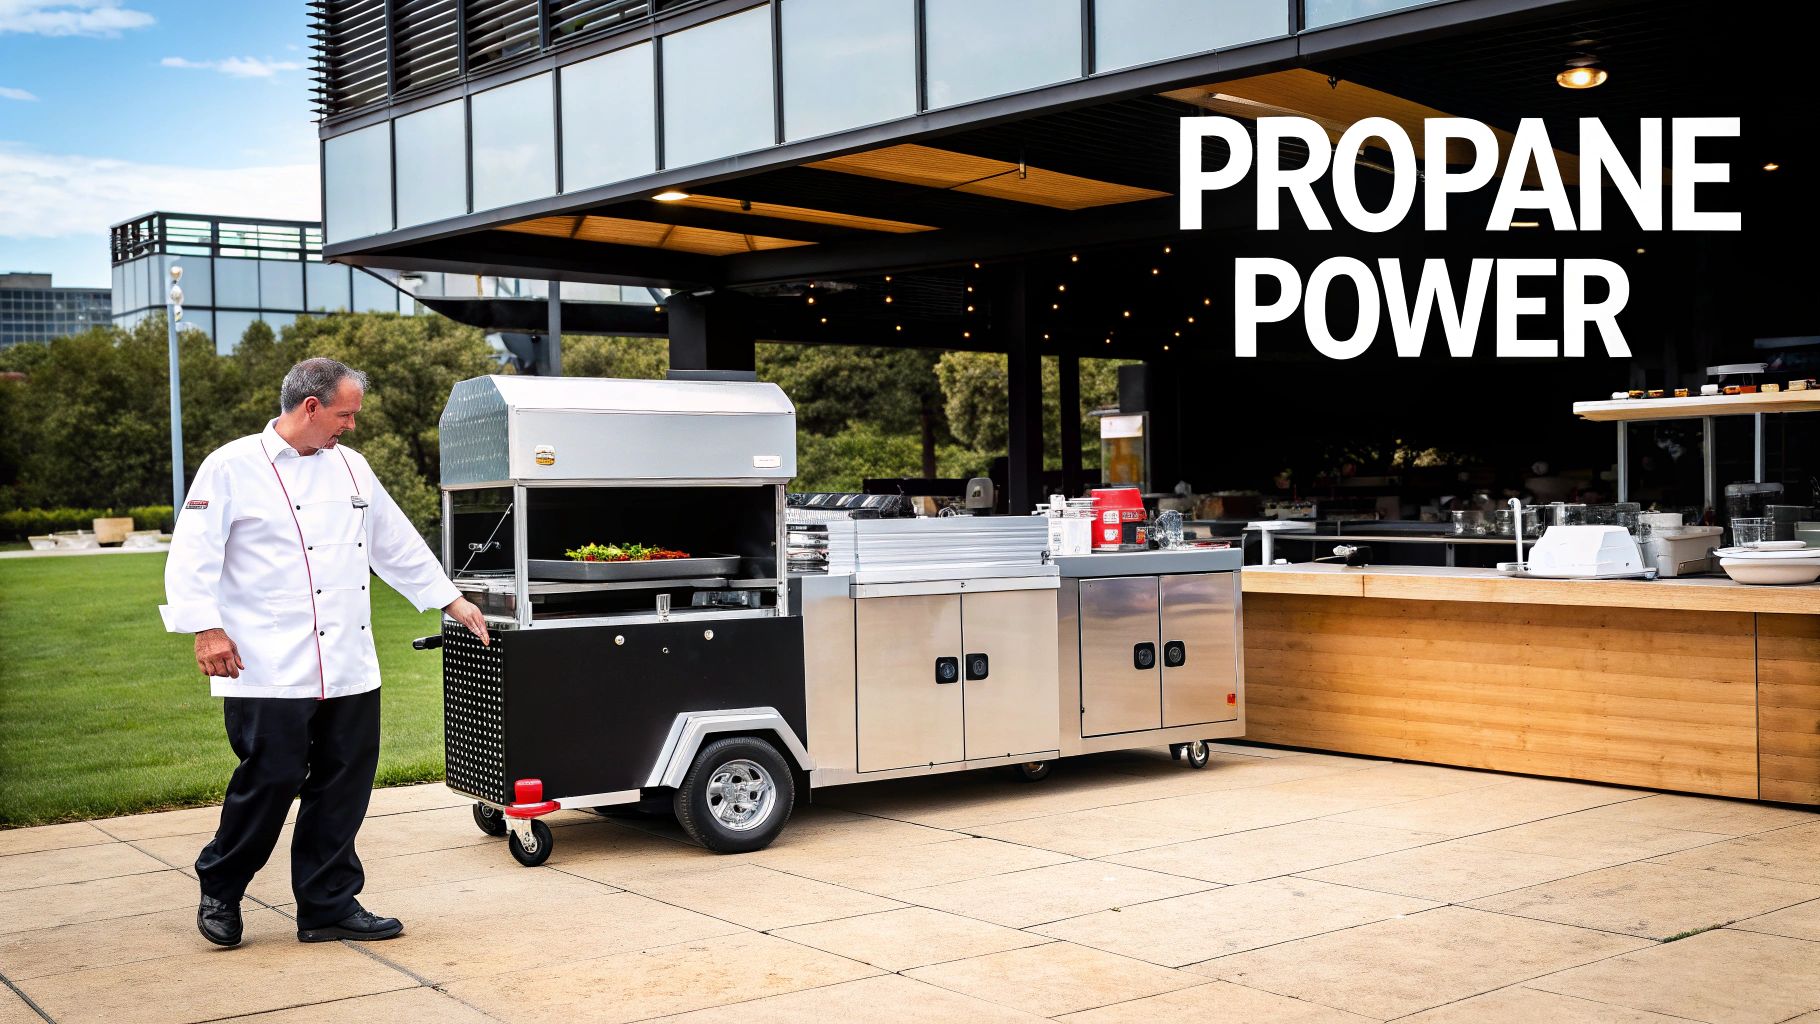
Think about a food truck pulling up to a packed music festival, miles from the nearest utility hookup. Or a catering team setting up for a high-end wedding in a remote barn. In these situations, propane isn't just a fuel—it's the lifeblood of the entire operation. A properly converted propane oven means you can deliver the exact same quality and consistency you would in your brick-and-mortar kitchen, no matter where you are. This flexibility is a major trend in the restaurant industry.
Unlocking Greater Efficiency and Control
The decision to switch isn't just about being mobile; it's also about pure performance. The core difference between natural gas and propane is how much energy they contain. This isn't just a minor detail—it's a huge gap that savvy restaurant owners are leveraging.
A single cubic foot of propane kicks out a massive 2,516 BTUs, which is more than double the 1,030 BTUs you get from natural gas. Because it's so much more energy-dense, propane burns hotter and faster. That’s why you need smaller orifices in the burners—to choke back the flow and keep the flames at a safe, usable size. For any chef keeping an eye on the bottom line, this efficiency is a big deal. You use almost half the amount of fuel for the same heat, which can significantly cut down on fuel delivery costs, especially when natural gas prices are unpredictable. You can find more great insights on gas conversion at The Restaurant Warehouse.
This performance boost shows up right in your kitchen's workflow. Ovens running on propane tend to preheat faster and react more quickly when you crank the dial up or down. During a chaotic dinner service, that responsiveness is gold. When you need to get a perfect sear or a quick bake, the intense, on-demand heat from propane gives you a level of control that's hard to beat.
For a busy pizzeria, faster preheat times can easily translate to dozens of extra pizzas sold during peak hours. For a baker, it means you get that perfect, consistent browning on your crusts, batch after batch. Switching to propane is a direct investment in your kitchen’s output, a smart move that follows current industry trends.
Gaining Operational Freedom
At the end of the day, knowing how to convert your equipment gives you freedom. It opens up doors and lets you:
- Go mobile. You can outfit a food truck, a pop-up kitchen, or a festival stand with powerful, commercial-grade ovens that perform flawlessly.
- Expand your catering game. Say "yes" to any event, no matter the venue's setup. You'll never have to compromise your menu because of a lack of a gas line.
- Operate anywhere. You can open a restaurant in a promising location that lacks natural gas service, turning what others see as a limitation into your opportunity.
Getting a handle on the why and how of propane conversion empowers your business to be more agile and profitable. It’s a practical skill that sets you up for growth, whether you're taking your food on the road or just making your home base kitchen as efficient as it can be.
Your Pre-Conversion Safety and Compatibility Checklist
Diving into a propane conversion without a solid game plan is a classic rookie mistake. It's like a chef trying to run a dinner service without any prep work—it's just asking for trouble. Before you even think about picking up a wrench, we need to walk through a few crucial safety and compatibility checks. This isn't just about avoiding a headache; it's about keeping your kitchen, your staff, and your expensive restaurant equipment and supplies safe.
First thing's first: is your oven even meant to be converted? Not all of them are. The only way to know for sure is to check the manufacturer's data plate. This is a little metal plate or sticker, usually tucked away on the back of the unit or just inside the oven door frame.
You're looking for specific phrases like "LP Convertible," "Field Convertible to LP," or instructions for both Natural Gas (NAT) and Liquid Propane (LP). If it only mentions natural gas, full stop. Don't go any further. Trying to force a conversion on an appliance not designed for it is incredibly dangerous and will kill your warranty on the spot.
The Problem with Generic "One-Size-Fits-All" Kits
Once you've confirmed your oven is convertible, you need the right parts. This is a huge stumbling block where people try to save a few bucks and end up paying for it tenfold down the road. Keep an eye out for exclusive deals on OEM parts to ensure you get the right fit.
I remember a pizzeria owner who set up shop in a building without a gas line. He was in a hurry to get his new deck oven fired up, so he hopped online and bought a cheap, generic propane conversion kit. The orifices didn't seat properly, and he could never get the regulator dialed in just right. The result? Weak, sooty flames, half-cooked pizzas during the dinner rush, and a faint, constant smell of gas.
When a pro was finally called in, the news was bad. The ill-fitting parts had actually damaged the burner assembly, voiding the oven's $5,000 warranty. That hundred-dollar "savings" on a generic kit ended up costing him a fortune in out-of-pocket repairs.
The lesson here is simple: Always, always use the Original Equipment Manufacturer (OEM) conversion kit made for your oven's specific model and serial number. It’s the only way to be certain every single component is engineered to work safely and efficiently.
Assembling Your Toolkit
With the proper OEM kit in your hands, let's get your tools ready. Having everything you need laid out beforehand makes the whole process smoother and keeps you from scrambling mid-job. You don't need a giant rolling toolbox, just a few key items from your restaurant equipment supplies.
- Nut Driver Set: You'll find a 7mm magnetic-tip driver is your best friend for swapping out those tiny cooktop orifices.
- Adjustable Wrenches: Have at least two on hand. You'll need one to hold the fitting steady while you use the other to turn the gas line connector.
- Needle-Nose Pliers: Invaluable for getting into tight spaces to place and retrieve small parts, especially the oven and broiler orifices.
- Gas-Rated Thread Sealant: Make sure you're using the yellow PTFE tape or a pipe dope specifically formulated for gas. This is non-negotiable for a leak-proof seal.
- Leak Detector Solution: You can buy a bottle, but a simple 50/50 mix of dish soap and water in a spray bottle works perfectly for checking your connections.
Before you start the conversion, it’s a good idea to get familiar with all the components that make up a safe propane system. Understanding how things like RV propane gas regulators work to manage pressure and flow is fundamental to doing this job right and staying compliant.
The parts in an OEM kit are precision-engineered. Here’s a quick look at what you’ll typically find and why each piece matters.
Essential Conversion Kit Components
| Component | Function | Why It's Critical |
|---|---|---|
| LP Orifices (Spuds) | Controls the amount of gas flowing to each burner. | LP gas requires smaller openings than natural gas due to its higher pressure. Using the wrong size leads to dangerous, inefficient flames. |
| New Regulator Spring | Adjusts the internal diaphragm of the gas regulator to the correct pressure for LP (typically 10"-11" WC). | A natural gas regulator (4"-5" WC) will not work. This spring ensures the correct pressure is delivered to the burners. |
| Conversion Decal/Sticker | A metal or foil sticker to place on the data plate, indicating the unit has been converted to LP. | This is a safety and compliance requirement. It informs future technicians that the appliance is running on propane, not natural gas. |
| Pilot Orifice | A tiny, specific orifice for the pilot light assembly. | Ensures the pilot flame is the correct size—not too large to waste fuel and not too small to be extinguished easily. |
| Blocker Screws/Pins | Used to block off air shutters or adjustment screws that are only applicable to natural gas setups. | Prevents improper air/fuel mixture adjustments that could lead to soot production (carbon monoxide) or poor performance. |
Having these correct, manufacturer-supplied parts is the only way to ensure a safe and successful conversion.
Don't Forget the Paperwork
Finally, there's one last bit of due diligence that people often skip: checking your local codes. This is especially critical if you're running a food truck or any kind of mobile operation.
Gas appliance regulations can be surprisingly different from one town to the next. Your food truck might have entirely different inspection rules than the brick-and-mortar restaurant down the street. Some cities might even require any and all gas line work—including a fuel conversion—to be done and signed off by a licensed technician. You may also need to review your commercial kitchen fire suppression system to make sure it's set up correctly for your new fuel source.
Blowing this off can result in failed health inspections, hefty fines, or even a shutdown order. It only takes one quick call to your local fire marshal or building department to get the answers you need. It’s a small bit of effort that gives you massive peace of mind and keeps your business fully compliant from the get-go.
Getting Your Hands Dirty: The Conversion Process
Alright, you've done your homework, confirmed your oven is convertible, and you've got the manufacturer-approved OEM kit sitting on the counter. Now comes the part where we get down to business. Precision is the name of the game here. We're going to walk through this step-by-step, just like a pro would, to make sure everything is done safely and correctly.
First thing's first, and this is non-negotiable: kill the gas supply. Find the shut-off valve for the oven—it’s usually a lever handle on the wall or floor behind it—and turn it completely off. Now, grab two adjustable wrenches to disconnect the flexible gas line. Why two? You’ll use one to hold the oven’s fitting perfectly still, preventing any strain on the internal piping, while the other loosens the nut on the gas line. This is the professional way to do it.
The Heart of the Matter: Swapping Out the Orifices
The core of any gas-to-propane conversion is changing out the burner orifices. You might hear old-timers call them "spuds" or "jets." These little brass fittings are what control the flow of fuel to each burner. Since propane packs more of a punch and is delivered at a higher pressure, the new orifices in your kit will have much smaller holes. You'll see the difference immediately.
This tiny part is a big deal in a global market where 180 million propane stoves are sold every year, powering a $5 billion industry. Propane is popular because it's incredibly efficient, delivering more than twice the BTUs per cubic foot compared to natural gas. For a busy pizzeria, that means an oven that can preheat 20-30% faster—a massive advantage during the dinner rush. Swapping a natural gas jet of 0.125 inches for a precise 0.070-inch propane jet is where that power gets harnessed.
To get to the cooktop orifices, lift off the heavy grates, the burner caps, and the burner heads. Look down into the base, and you’ll spot the small, hexagonal brass orifice.
- Get the Right Tool: A 7mm magnetic-tip nut driver is your best friend here. It'll grip that tiny orifice so it doesn't vanish into the guts of the appliance. Trust me, it's a common and frustrating mistake.
- Match Them Up: Your kit instructions will tell you exactly which new orifice goes to which burner (e.g., high-output front-right). They are not one-size-fits-all, as each burner has a specific BTU rating.
- Don't Overtighten: These fittings are made of soft brass. If you crank down on them, you risk stripping the threads or cracking the orifice. You're aiming for snug and secure, not brute force.
The orifices for the oven bake and broiler burners are usually trickier to reach. You'll likely need to remove the bottom panel inside the oven. Always check your oven's manual to find their exact location. A good pair of needle-nose pliers can be a lifesaver for getting the new orifice started in those tight spots before you snug it up with a wrench.
Adjusting the Pressure Regulator
With the new orifices in place, the next critical step is to adjust the gas pressure regulator. This device ensures the burners get gas at the correct pressure. If you skip this, you’ll be sending high-pressure propane through those tiny new openings, which leads to poor flame quality and creates a serious safety hazard.
The chart below shows the essential safety checks you should have already knocked out before getting to this point.
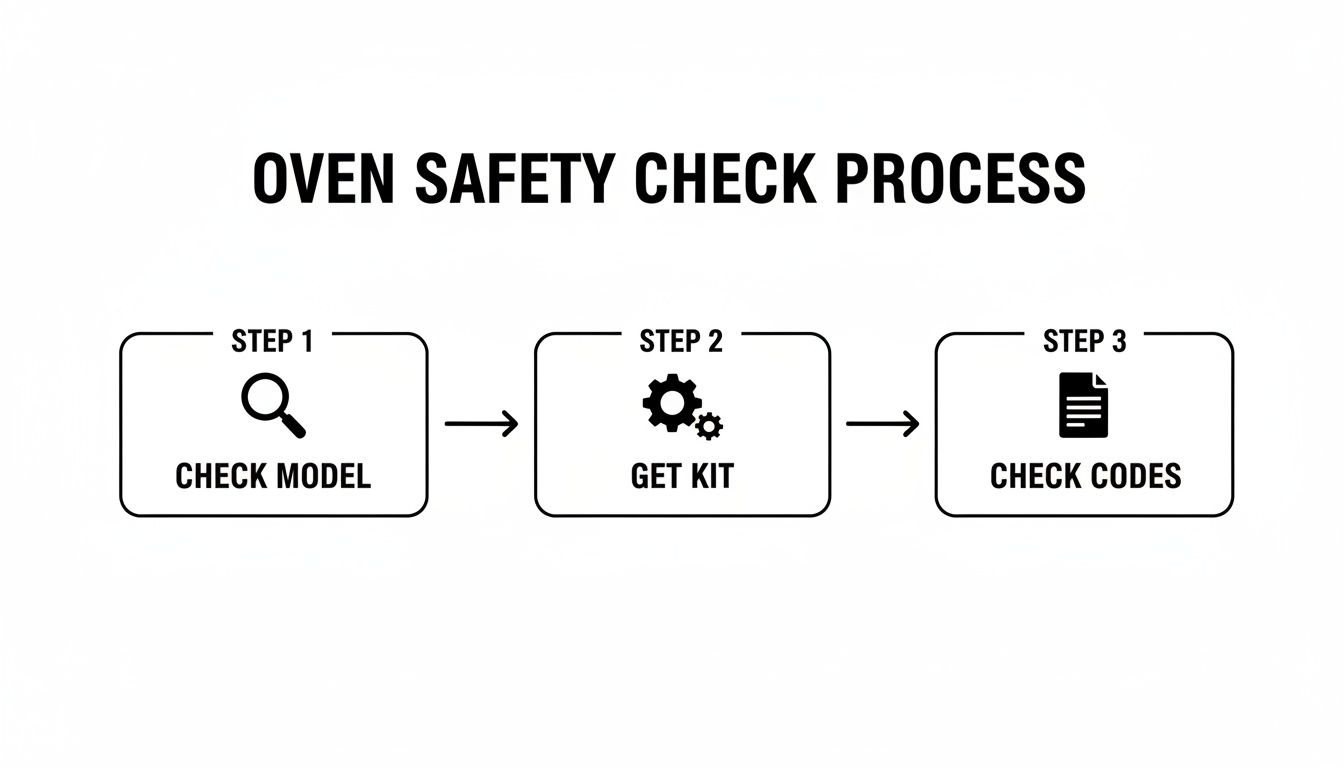
Following this flow—checking the model, getting the right kit, and knowing your local codes—is what a safe conversion is built on.
You'll find the regulator on the back of the oven, right where the gas line connects. It has a cap you'll need to unscrew.
Heads Up: Before you touch that regulator, double-check that the main gas supply is still off. You never, ever make adjustments to a pressurized gas system.
Pop the cap off, and you'll see a small plastic or metal insert inside. This little piece is designed to be flipped. One side is marked "NAT" for natural gas, the other "LP" for liquid propane. Just pull it out, flip it over so "LP" is facing out, and put it back in the cap. Screw the cap back on, and you're done. That simple flip adjusts the internal spring, bumping the pressure from the natural gas standard of about 4 inches of water column (W.C.) up to the 10-11 inches W.C. needed for propane.
Sealing the Deal: A Gas-Tight Connection
Now you’re ready to reconnect the gas line. This is another moment where you need to be meticulous to prevent dangerous leaks.
You need to use a pipe thread sealant that is specifically rated for gas—look for yellow PTFE tape or a pipe dope compound designed for gas fittings. Apply the sealant to the male threads of the connector, making sure to wrap or brush it in the same direction you'll be tightening the fitting. This keeps the sealant from getting pushed out as you tighten.
Grab your two wrenches again and reconnect the line, holding the oven's fitting stationary while tightening the connector nut. This prevents you from accidentally putting torque on the internal gas manifold and causing damage. The process is very similar to installing a gas cooktop; it demands precision and a healthy respect for safety.
Once everything is tight, you need to purge the air from the line. Slowly turn the main gas valve back on and let it run for about a minute before trying to light anything. This pushes out all the air that got in, ensuring only propane reaches the burners for a clean, stable flame. It’s a crucial step that many people forget. This whole job requires careful work, and for a deeper dive, check out our other article on converting a natural gas range to propane.
Post-Conversion Testing and Flame Calibration
You’ve done the heavy lifting, swapping out orifices and adjusting the regulator. It’s tempting to call it a day, but the most critical steps are still ahead. Think of this as the final quality check before sending a dish out to a customer—it’s all about precision, safety, and guaranteeing a perfect result.
These final checks are absolutely non-negotiable. They ensure every connection is airtight and every burner is calibrated to burn propane cleanly and efficiently, protecting your kitchen, your staff, and your investment in quality restaurant equipment.
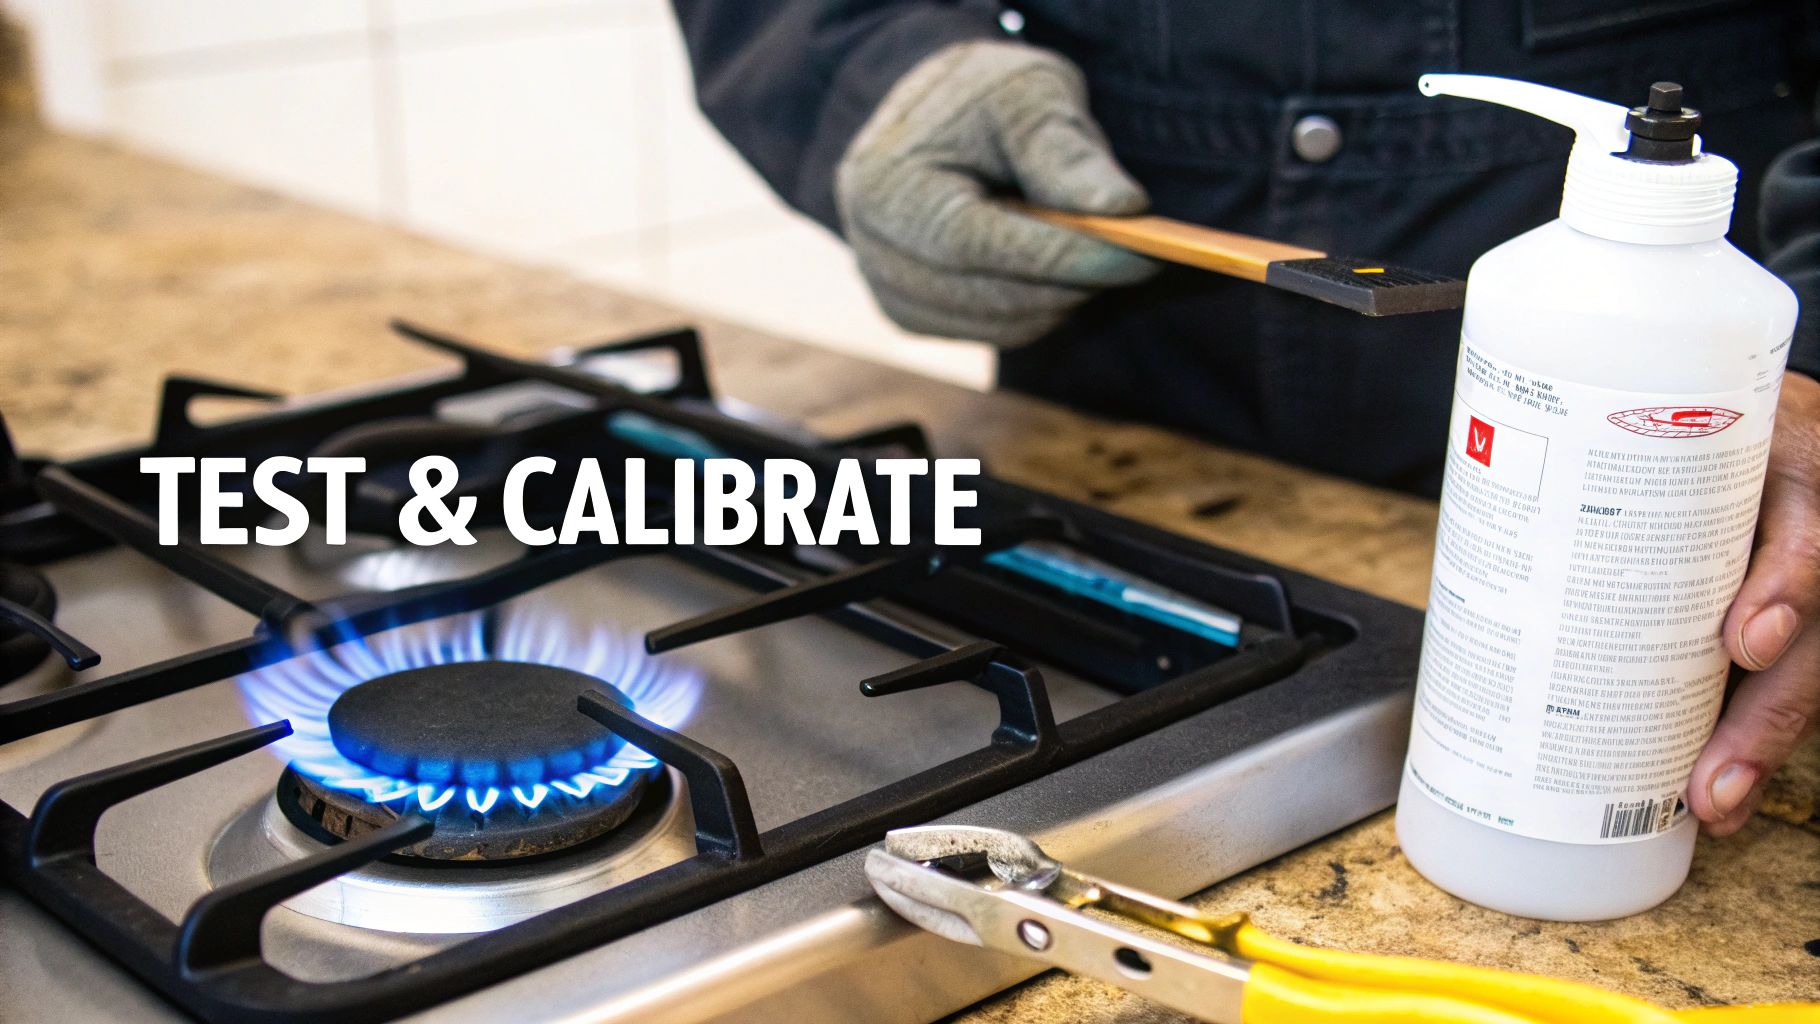
Skipping this part is a dangerous gamble that no restaurant owner can afford to take. Let's get it done right.
Performing a Thorough Leak Test
Before you even think about lighting a burner, you have to hunt for leaks. The most reliable method is still the old-school soapy water test. It’s simple, it's effective, and it requires nothing more than a bit of dish soap.
Mix a 50/50 solution of dish soap and water in a spray bottle or a small bowl. You want a nice, bubbly mixture that will instantly reveal any escaping gas. With the main gas supply turned on, generously spray or brush this solution onto every single connection point you touched.
Be methodical here. Check everywhere:
- The main connection where the flex line meets the oven’s regulator.
- The fitting that connects the regulator to the oven's internal manifold.
- The base of every single cooktop orifice you replaced.
- Any other fittings you loosened to access the oven and broiler burners.
Now, watch each connection like a hawk for at least a minute. If you see bubbles forming, growing, or expanding, you have a leak. Shut off the gas supply at the source immediately. Don't panic—it's usually just a fitting that needs another quarter-turn with a wrench. Tighten it, turn the gas back on, and reapply the soapy solution to test again.
Key Takeaway: Never, ever move on until every connection is completely bubble-free. In a commercial kitchen, there’s no such thing as a "small" or "acceptable" gas leak. Absolute certainty is the only standard.
Calibrating for the Perfect Blue Flame
Once you are 100% confident there are no leaks, it's time to light it up and calibrate the flame. This is where you fine-tune the air-to-fuel ratio, which is different for propane than for natural gas. This adjustment is made using the air shutters, which are small, adjustable collars found at the base of each burner tube.
Turn on one of the cooktop burners to a medium setting and just look at the flame. What you see tells you everything you need to know about how well it's burning. You’re aiming for a quiet, stable flame that’s almost entirely blue, maybe with just a tiny flicker of yellow at the very tip.
Understanding these visual cues is crucial. CPSC data shows that improper fueling was a factor in 12% of oven fires between 2020-2024. Proper conversions using manufacturer-approved kits drastically reduce this risk by ensuring the correct fuel-to-air mixture and pressure. You can dive deeper into market dynamics and safety standards from these industry insights.
To help you get it just right, here's a quick guide to what you might see and how to fix it.
Troubleshooting Common Flame Issues
| Flame Appearance | Potential Problem | How to Fix It |
|---|---|---|
| Yellow or Orange, Sooty Flame | Starving for air (fuel-rich mixture). | Loosen the shutter set screw and slowly open the shutter to allow more oxygen into the mix. |
| Lifting, Noisy "Whooshing" Flame | Getting too much air (fuel-lean mixture). | Slowly close the shutter to restrict the airflow until the flame settles down and becomes quiet. |
| Quiet, Stable, Mostly Blue Flame | The ideal air/fuel mixture. | No adjustment needed. This is the perfect flame you are aiming for. |
Take your time and repeat this adjustment process for every single burner, including the main oven bake burner and the broiler. Each one has its own air shutter that needs to be dialed in perfectly.
This final calibration not only keeps your kitchen safe but also guarantees your oven will run at peak efficiency, saving you money in the long run. Speaking of efficiency, you'll also want to make sure your temperature readings are spot on—check out our guide on how to calibrate an oven thermometer for another essential kitchen task.
When It's Time to Call in a Professional Technician
Look, I get it. As a restaurant owner, doing things yourself is often how you keep costs down. But I’ve learned over the years that one of the most valuable skills you can have is knowing when to put down the tools and pick up the phone. A botched gas conversion isn't just a simple mistake; it's a direct threat to your business, your staff, and your customers.
Recognizing the red flags that signal a job is over your head isn't a sign of failure—it's just smart business. The end goal is a safe, efficient oven, and sometimes the surest path there is to bring in a licensed and insured pro. For the latest news on service standards, be sure to connect with trusted industry sources.
The Hard Stops: When to Call for Help Immediately
Some situations should be an immediate, no-questions-asked stop to your DIY project. These aren’t just minor bumps in the road; they’re serious risks that a trained technician is specifically equipped to handle safely.
-
You Can't Find the Right OEM Kit: If you're working on an older oven and the manufacturer has discontinued the specific conversion kit, you've hit a wall. Don't even think about piecing together a generic kit. A professional often has access to certified parts suppliers or can definitively determine if a safe alternative even exists. It's just not worth the gamble.
-
You Find Damaged Parts During the Swap: You're taking things apart and discover a valve with stripped threads, a cracked burner tube, or a frayed wire on an ignition component. Patch-up jobs are out of the question here. A licensed technician can properly diagnose the full extent of the damage and source the correct, certified replacement parts, ensuring the entire system is solid.
-
You're Unsure About Anything: Gas work has zero room for guesswork. If you're staring at a part you can't identify, feeling uncertain about a connection, or you've adjusted the burner a dozen times and still can't get that perfect blue flame, it's time to stop.
Think of a professional technician as an investment in safety and compliance, not just an expense. The cost of a service call is a drop in the bucket compared to the potential cost of a fire, property damage, or a forced shutdown.
A Cautionary Tale from the Field
Let me tell you a quick story about a café owner who was converting a convection oven for their new pastry line. While tightening a fitting on the new regulator, they accidentally cross-threaded it. Instead of backing it out, they just forced it into place, figuring as long as it was tight, it was sealed.
It wasn't. The result was a slow, almost undetectable gas leak. The next morning, one of the bakers came in and flicked on the lights. The spark from the switch ignited the propane that had built up overnight, causing a dangerous flash fire.
Thankfully, no one was seriously hurt, but the damage was done. The oven was a total loss, the kitchen had significant smoke and fire damage, and the café had to shut down for two weeks for repairs and new inspections. That one simple mistake snowballed into thousands of dollars in lost revenue and repair costs.
This is exactly what can happen when you convert a gas oven to propane without the right expertise. Bringing in a pro ensures every connection is perfect, every part is installed correctly, and your kitchen remains a safe place for everyone.
Answering Your Questions About Commercial Oven Conversions
Even with the best instructions, you’ll always have questions when you’re elbow-deep in a project. For a restaurant owner, every choice ties back to safety, kitchen flow, and your budget. Let’s clear up some of the most common questions I hear about converting a gas oven to propane, so you can move forward with confidence.
How Much Will an Oven Conversion Cost Me?
The total cost really boils down to two things: the parts and the labor. Your biggest line item will be the official OEM conversion kit from the manufacturer. I've seen these run anywhere from $25 for a simple model to well over $150 for a high-end convection oven. Keep an eye out for exclusive deals to get the best price on these essential restaurant equipment supplies.
Now, let's talk labor. If you bring in a licensed gas technician (which I strongly recommend), you're looking at another $150 to $300. That number can shift depending on your location and if your oven is a particularly complex beast. While the DIY route saves you that labor cost upfront, paying a pro protects your warranty, keeps your insurance happy, and ensures the job is done safely and correctly the first time.
Can I Really Convert Any Natural Gas Oven to Propane?
This is a big one, and the answer is a hard no. Not all ovens are built to be converted, and guessing is not an option.
Before you do anything else, you absolutely must check the appliance's data plate or get your hands on the manufacturer's manual. You're looking for specific wording that confirms it's certified for LP (propane) conversion. If it only lists natural gas, that’s your final answer. Trying to force a conversion on an unapproved oven isn't just a bad idea—it's incredibly dangerous and can lead to fires or carbon monoxide issues.
Think of it this way: an unapproved conversion isn't just a technical goof; it's a massive liability. If an accident happens, your insurance provider will almost certainly deny the claim, leaving you on the hook for everything.
How Long Does This Whole Process Take?
For a seasoned technician or someone with real-world mechanical skills, the hands-on part of the job on a standard commercial oven usually takes between 1 to 3 hours.
That window covers everything from shutting down the gas and swapping the orifices to adjusting the regulator, reconnecting the lines, and doing the critical leak tests and flame adjustments. Don’t forget to add in the research time and waiting for the right OEM kit to arrive—that alone can take a few days.
Will My Oven Cook Differently on Propane?
When the job is done right, your oven's performance should be just as good—if not a little better—than it was on natural gas. Propane actually packs more energy per unit, which often means you'll see faster preheat times. In a busy kitchen, that’s a real win.
The whole point of swapping to smaller orifices and adjusting the pressure is to make sure the burners get the exact same BTU output they were designed for. This is what keeps your cooking temperatures consistent and reliable. A botched conversion, on the other hand, will give you nothing but poor performance, wasted fuel, and serious safety risks.
At Encore Seattle Restaurant Equipment, we live and breathe the demands of a commercial kitchen. Whether you're upgrading your line or building out a new food truck, our team has the hands-on expertise and equipment to help you succeed. Stay informed about the latest news and industry trends with our help.
Find the perfect equipment for your restaurant and explore our wide selection of new and used gear today.