
How to Calibrate Oven Thermometer for Perfect Results
In a bustling commercial kitchen, an oven that’s off by even 25°F isn't just a minor headache. It's a direct threat to your profitability, capable of ruining expensive ingredients, botching service times, and putting your reputation on the line. Getting a handle on your oven's real temperature is one of the most fundamental skills for any professional kitchen, a key industry trend that separates top-performing restaurants from the rest.
Why an Inaccurate Oven Costs You More Than Just Food
When you can't trust your oven's temperature dial, the problems snowball quickly, affecting everything from your food costs to your five-star reviews. Inconsistent heat leads straight to wasted inventory when entire trays of food have to be thrown out. This is a massive drain on resources, and finding ways for reducing food waste in restaurants is crucial for protecting your margins.
But it goes beyond the direct financial hit. An unreliable oven creates a stressful, unpredictable environment for your team and, worst of all, for your diners. Staying informed about your equipment's performance is as critical as knowing the latest culinary trends.
The Hidden Costs of Poor Calibration
A kitchen that can't depend on its core equipment is a kitchen fighting an uphill battle. Just think about the real-world consequences:
- Damaged Reputation: Serve one undercooked piece of chicken or a burnt pastry, and that customer might never come back. Consistency is what separates the pros from the amateurs.
- Skyrocketing Food Waste: An entire batch of prime rib or a sheet of delicate macarons can be lost in a flash, driving up your operating costs with every mistake.
- Serious Food Safety Risks: If your oven is running too cool, you risk not hitting safe internal temperatures for proteins. That's a direct path to a failed health inspection and a public relations nightmare.
It's not uncommon for ovens, even top-tier commercial models, to be off by as much as 25 to 50°F. You might set the dial to 350°F, but the oven could be cruising along at 366°F. That kind of temperature gap completely changes how a dish cooks, impacting everything from quality to safety.
The real problem isn't just one burnt tray of croissants. It's the slow burn of inconsistent results, wasted ingredients, and unpredictable prep times that chips away at your profits and your kitchen's morale. Mastering your oven's true temperature is a foundational step toward running a truly excellent operation.
Putting Together Your Calibration Kit
Before you can figure out what’s really going on inside your oven, you need the right tools. For a busy kitchen where every degree matters, professional-grade accuracy isn't a luxury—it's essential. Think of this as putting together a small but powerful diagnostic kit for your most-used appliance, a smart investment for any serious chef.
Sure, a simple hanging dial thermometer can give you a general idea, but they often lack the precision needed for a true calibration. If you want data you can trust, nothing beats a high-quality digital probe thermometer that comes with a grate clip.
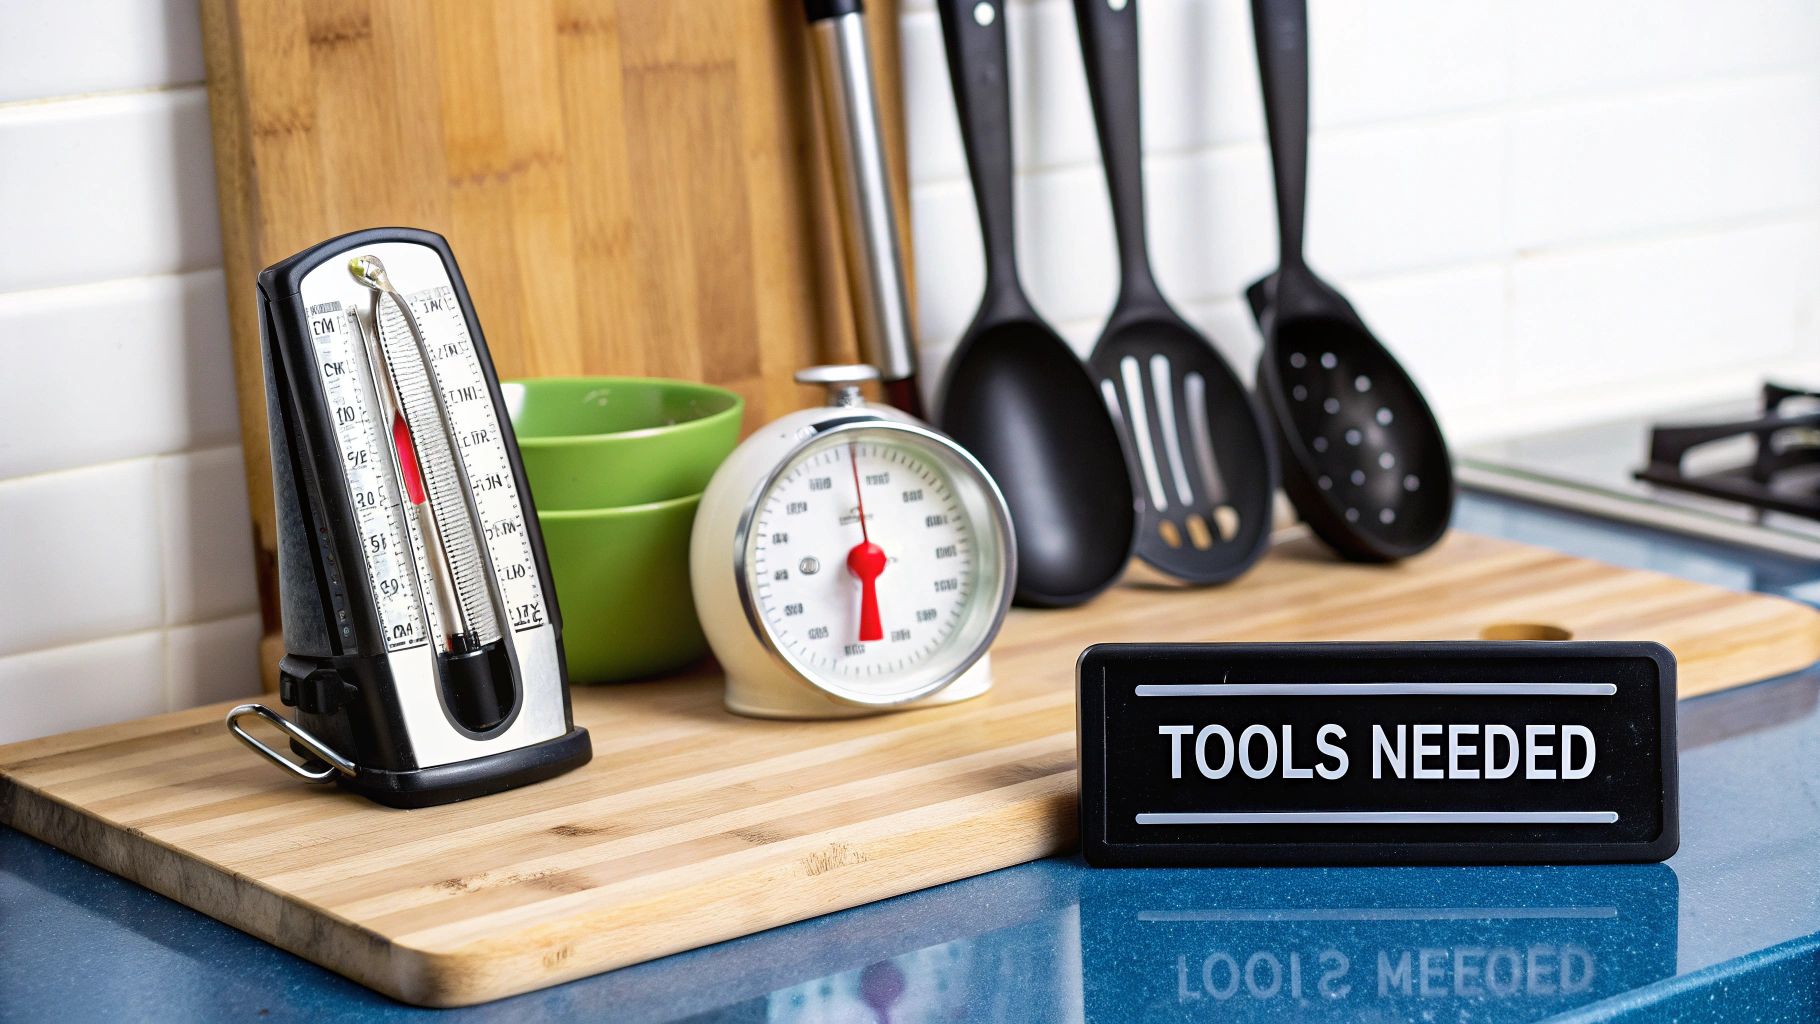
What You'll Absolutely Need for an Accurate Test
Your toolkit doesn't need to be complicated, just effective. Here are the must-haves:
- A Solid Digital Thermometer: Go for one with a leave-in probe and a grate clip. I've found that thermocouple probes give the fastest, most accurate readings, which is crucial for catching those small temperature fluctuations as the oven cycles on and off.
- An Ice Bath: Grab a glass or small bowl, fill it with crushed ice, and add just enough cold water to fill the gaps. This is for testing your thermometer against a known constant: 32°F (0°C).
- A Calibration Logbook: Seriously, just a simple notebook will do. You'll want to track readings over time. This historical data is invaluable for spotting industry trends in your own kitchen and knowing when it might be time to call in a professional.
Having the right gear isn't just about getting a number; it's about gathering data you can actually trust. A quality digital probe is the cornerstone of any accurate test, giving you the confidence to adjust your recipes or your oven's settings correctly.
Verifying Your Thermometer with the Ice-Point Method
Before you even think about testing your oven, you need to be sure your thermometer is telling you the truth. If it's not accurate, you’ll end up chasing your tail, trying to "fix" an oven that might be working perfectly.
The ice-point method is the go-to industry standard for this. It's a simple, reliable way to establish a baseline by using a physical constant: the freezing point of water. By creating a proper ice bath, you can quickly see if your thermometer correctly reads 32°F (0°C). If it's off, you know your tool is the problem, not your oven.
Creating the Perfect Ice Bath
Making a proper ice bath isn't just about throwing ice in a cup; there’s a bit of a science to it. If you get it wrong, the slurry won't hold a stable temperature, and you'll get a false reading right from the start.
Here’s how to do it right:
- Fill a glass completely with crushed ice. Crushed ice is better because it minimizes the air pockets you get with larger cubes.
- Add just enough cold water to fill the gaps between the ice. You want the ice to be surrounded by water, not swimming in it.
- Stir the mixture for about a minute, then let it sit for another minute or two. This is crucial for letting the temperature stabilize throughout the bath.
Think of a perfect ice bath as more like wet sand than a swimming pool. This ideal ratio is what ensures the water temperature is uniformly at its freezing point, giving you a stable environment for an accurate test.
Once your ice bath is ready, submerge the thermometer’s probe at least two inches deep. Be careful not to let it touch the sides or the bottom of the glass. Give it at least 30 seconds for the reading to stabilize.
If it reads 32°F (0°C), congratulations—your thermometer is accurate. If not, it's time for a quick adjustment.
Making the Right Adjustments
For a classic dial thermometer, look for a small calibration nut on the back of the dial. You can use a small wrench or pliers to gently turn it until the needle points exactly to 32°F.
If you have a digital model, check the manufacturer's instructions. Most have a reset or calibration button to make the adjustment simple.
Taking a minute to do this quick check is non-negotiable for anyone serious about cooking or baking. In fact, the Food Safety and Inspection Service (FSIS) recommends using the ice-point method for weekly checks to ensure consistent accuracy. It's a cornerstone of food safety, confirming your equipment is giving you the reliable data you need to hit critical temperatures.
To learn more about how equipment checks fit into a complete food safety strategy, see our breakdown of the principles of a HACCP food safety system. Consistent calibration is just one piece of a much larger puzzle.
Testing Your Oven's True Performance
Now that you've got a thermometer you can trust, it's time to figure out what your oven is really doing. This isn't about getting a single temperature reading. It's about learning your oven's personality—how it cycles, where its hot spots are, and what temperature it actually settles on. Think of it like a performance review for your most important piece of kitchen equipment.
Getting Set Up for an Accurate Reading
First things first, let's talk placement. Slide an oven rack right into the center of the oven. This is your stage. Now, clip your calibrated thermometer probe to the very middle of that rack.
You want to avoid getting too close to the walls, the floor, or the door. Those spots can give you wonky readings because they're either getting blasted with direct heat from the elements or losing heat to the outside world. The center is where the magic happens.
Charting the Highs and Lows
Time to collect some data. Set your oven to a temperature you use all the time, say 350°F (177°C), and let it preheat. When that preheat light clicks off, don't jump the gun! Let it sit for another 20 minutes. Ovens often overshoot the target temperature during the initial preheat, so you need to give it time to settle into a more stable rhythm.
An oven doesn't just sit at one temperature; it cycles. The heating elements kick on and off to maintain the average temperature, creating gentle waves of hotter and cooler air. Your job is to measure these peaks and valleys to find out what your food is actually cooking at.
For the next half-hour, you're going to take a temperature reading every five minutes. The key here is don't open the door. Just peek through the window. Every time you open the door, you let a rush of heat escape and ruin your test.
This method of checking an oven's set point against an independent, reliable thermometer is a classic calibration technique. It's a foundational practice that has been used for decades to ensure precision in all sorts of applications, as detailed in resources like the U.S. Bureau of Reclamation guidelines.
Before you even start the oven test, you can double-check your thermometer's accuracy with the boiling water test, as this simple visual guide shows.
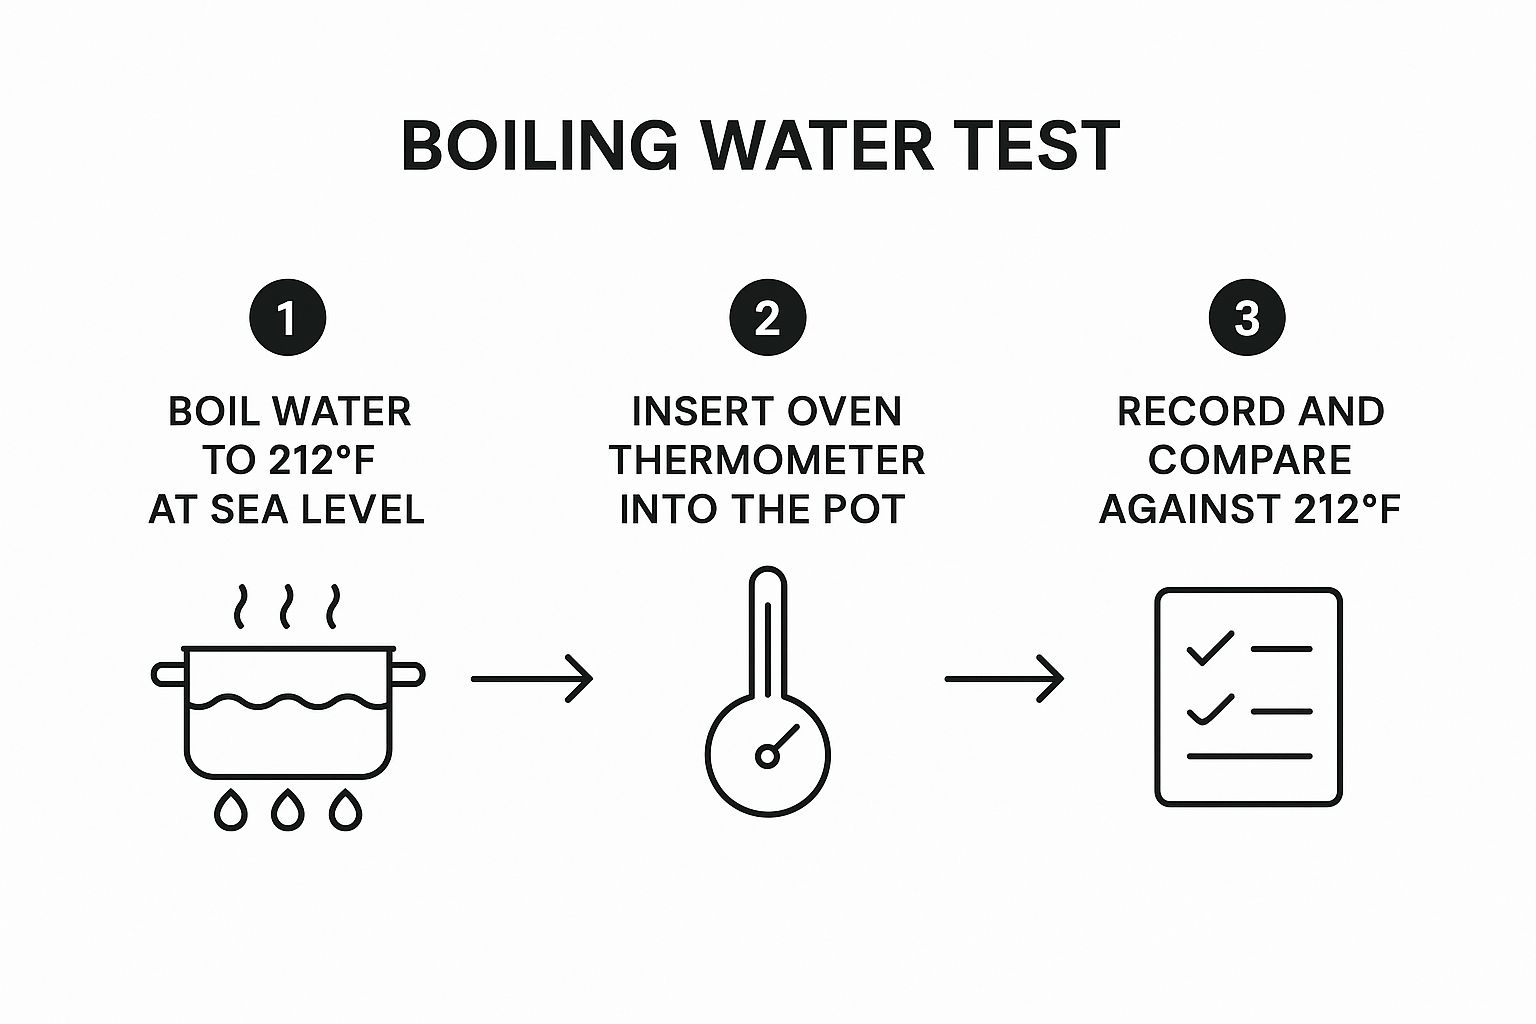
The image breaks down how to confirm your thermometer reads 212°F (at sea level) in boiling water. It's a quick, old-school way to make sure your primary tool is telling you the truth.
Finding Your Oven's "Magic Number"
To make sense of all this data, a simple log is your best friend. It helps you organize your readings and see the patterns clearly.
Oven Temperature Testing Log
Use this table to record your oven's performance at different temperature settings and times to identify the average offset.
| Time Point (Minutes) | Oven Set Temperature (°F) | Thermometer Reading 1 (°F) | Thermometer Reading 2 (°F) | Thermometer Reading 3 (°F) | Average Actual Temperature (°F) | Temperature Offset |
|---|---|---|---|---|---|---|
| 0 (after stabilizing) | 350 | 345 | ||||
| 5 | 350 | 355 | ||||
| 10 | 350 | 340 | ||||
| 15 | 350 | 360 | ||||
| 20 | 350 | 342 | ||||
| 25 | 350 | 358 | ||||
| 30 | 350 | 340 |
Once you've collected several readings, you can average them out. That final number gives you a clear picture of how your oven operates and reveals the exact offset you'll need to account for. If your oven consistently runs 15°F cool, you know to set it to 365°F when a recipe calls for 350°F. This is the secret to repeatable, consistent results.
Making Adjustments for Long-Term Accuracy
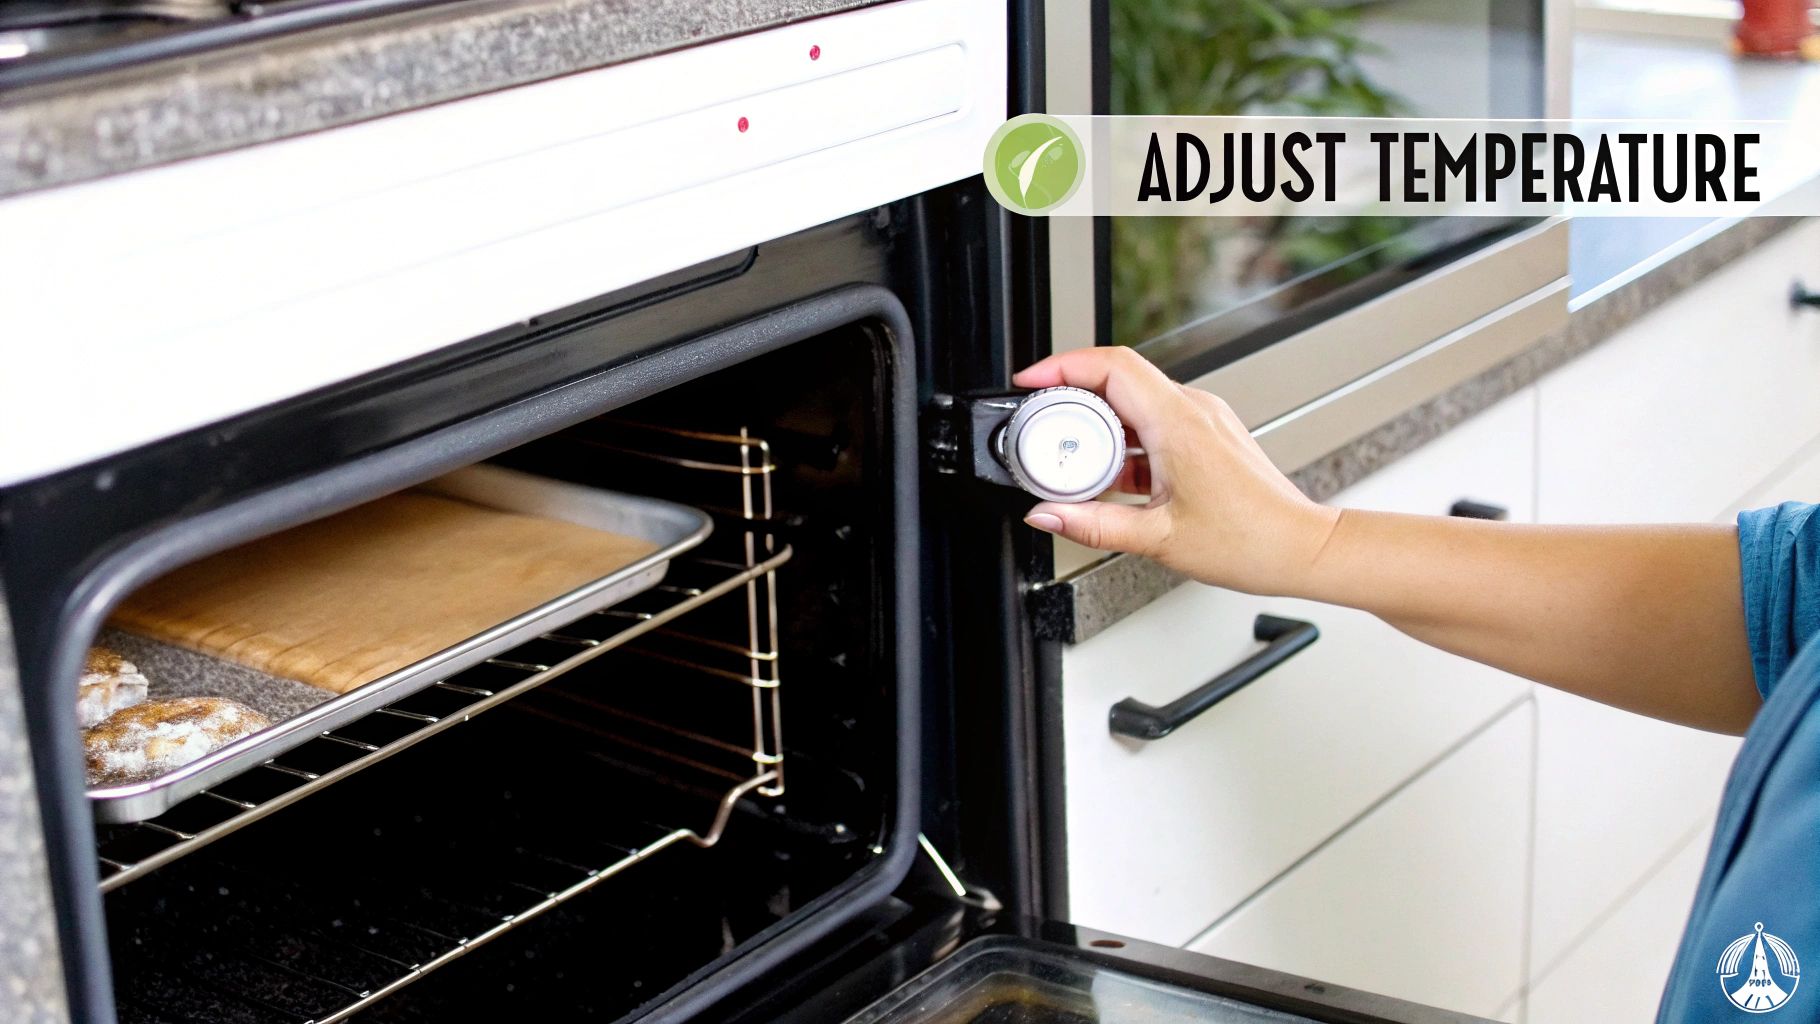
So, you've figured out your oven runs 20°F too hot. That's the easy part. Fixing it is where you protect your food quality and your bottom line. Once you know the average temperature difference, you can take a couple of different routes.
The best-case scenario? Your oven has a built-in calibration feature. A lot of commercial ovens have a tiny adjustment screw or dial tucked away behind the main temperature knob. Gently pull the knob straight off its post and take a look. If you see a screw, you’re in luck.
Expert Tip: Adjustments should be tiny. I mean really small. A slight turn can swing the temperature by 10-15°F, so it's easy to overdo it. If the oven is running hot, turn the screw just a hair toward the "Cooler" or "-" marking. Then, you'll need to run your temperature test all over again to make sure you nailed it without overcorrecting.
When You Can't Adjust the Dial: The Compensation Method
If you pull off the knob and find nothing to adjust, don't sweat it. The next best thing is the compensation method, which is all about process, not parts.
Simply create a conversion chart and post it right on the oven where no one can miss it. This becomes the new source of truth for your kitchen staff. It's a low-tech but highly effective solution that turns a potential equipment issue into a simple, manageable procedure.
Your chart might look something like this:
- For 325°F, set dial to 305°F
- For 350°F, set dial to 330°F
- For 400°F, set dial to 380°F
This way, any chef or cook on your team can get the right temperature every single time, eliminating guesswork and inconsistency from the equation.
Make it a Routine for Consistent Quality
A one-time fix is great, but in a busy kitchen, oven temperatures can drift over time. To maintain that hard-won accuracy, you need to make this a regular part of your operations.
I always recommend keeping a simple logbook. Schedule a full calibration check for your ovens every quarter and quick spot-checks with your handheld thermometer every week. This proactive mindset is a cornerstone of any solid commercial kitchen equipment maintenance plan.
By documenting everything, you'll start to see patterns. If an oven starts drifting more frequently, you'll know it's time to call in a professional for service—long before it fails you during a dinner rush.
Answering Your Oven Calibration Questions
Once you get the hang of calibrating your oven, you'll find it's pretty straightforward. Still, a few common questions always seem to pop up in the heat of service. Here are some quick answers to the things I get asked most often.
How Often Should I Be Calibrating My Commercial Oven?
In a busy kitchen, a quarterly check is a solid rule of thumb. That's the bare minimum. I also recommend running a quick test anytime you notice your food is cooking unevenly, right after the oven gets moved, or following any major repairs.
As for your standalone oven thermometer? Test that little guy much more often. Use the ice-point method to verify its accuracy weekly. Think of it as part of your regular food safety checklist—it ensures your most important diagnostic tool is never lying to you.
My Oven’s Temperature Keeps Swinging. Is That Normal?
Yes, a little bit of fluctuation is completely normal. Ovens don't just hold a static temperature; they work by cycling the heating elements on and off to maintain an average. A temperature swing of 15-25°F above and below your set point is pretty standard for most commercial ovens.
Now, if you're seeing wild swings of 50°F or more, that's a red flag. A jump that big usually points to a bigger problem, like a failing thermostat, a bad sensor, or a dying heating element. When you calibrate, you're just confirming the average temperature is correct, not trying to stop the natural cycling process.
Can I Just Use My Infrared Gun to Check the Temp?
That’s a hard no. An infrared thermometer is the completely wrong tool for this job and will give you a wildly inaccurate reading.
Here's why: IR guns measure the surface temperature of whatever you point them at—the oven walls, the racks, the door. They don't measure the ambient air temperature inside the oven, which is what actually does the cooking.
To get a true reading, you need a proper oven thermometer designed to measure air temperature, like a digital probe or a classic dial thermometer, placed right in the middle of the oven. And while you're at it, keeping a good oven temperature conversion table handy is always smart, especially when you're dealing with recipes from all over the world.
At Encore Seattle Restaurant Equipment, we help restaurant owners and chefs discover the latest news and exclusive deals on restaurant equipment and supplies. From convection ovens to ranges, find the gear you need to deliver consistent results every time. Explore our inventory today at https://encoreseattle.com to stay informed about industry trends.