
Draft Beer System Installation Made Simple
A great draft beer system isn't just about the equipment; it's about the planning that happens long before a single tool comes out of the box. Getting that blueprint right from the start is the key to a perfect pour and avoiding the kind of expensive mistakes that can haunt you for years. This guide will help restaurant owners and chefs stay informed about the latest trends in draft beer systems, ensuring you get the best equipment for your establishment.
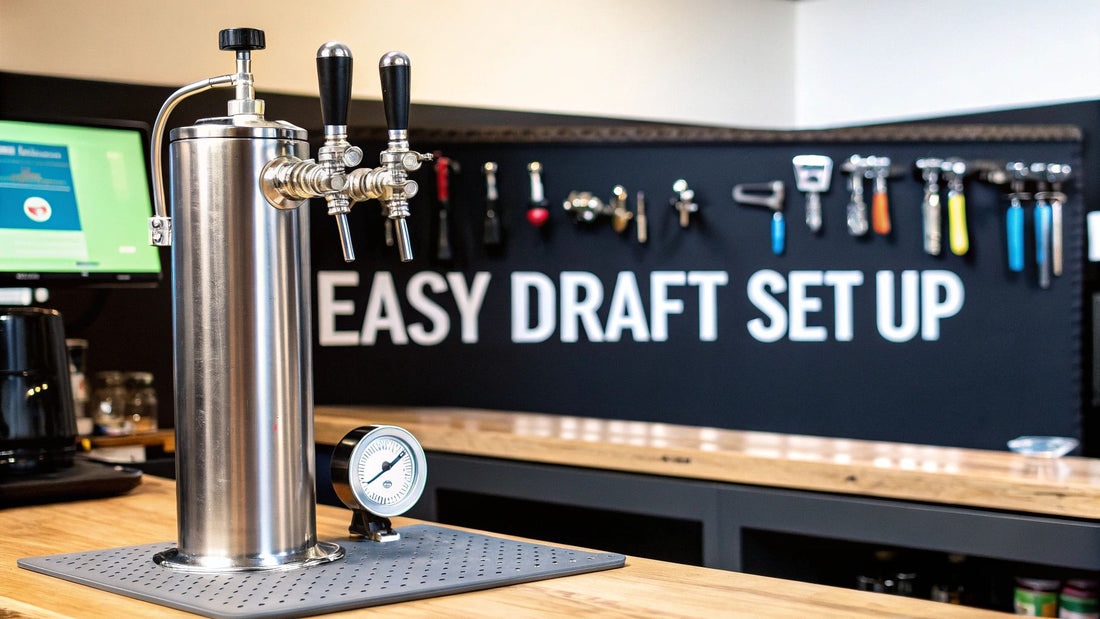
Your Blueprint for the Perfect Pour
Putting in a new draft system is a serious investment, and with customers increasingly seeking out top-notch beer experiences, it's one you want to get right. The demand is definitely there—the global market for commercial beer tap systems was valued at around $2.4 billion in 2025 and is on track to hit nearly $3.8 billion by 2035. That growth tells you one thing: a quality draft setup is no longer a luxury, it's a necessity.
The secret to a flawless installation isn't just about technical skill; it's about thinking through every detail before you drill the first hole. You have to start by taking a hard look at your bar's physical layout, which will lead you to the most important decision you'll make: what kind of system you actually need.
Choosing the Right System for Your Space
The single biggest factor that dictates your system choice is the distance from your cooler to your taps. It really comes down to one of three setups, each designed for a specific layout.
Not sure which one fits your bar? This quick comparison should help point you in the right direction.
Choosing Your Draft Beer System Type
| System Type | Best For | Key Feature | Installation Complexity |
|---|---|---|---|
| Direct-Draw | Kegs stored directly under the bar in a kegerator | Simplest setup; beer travels a very short distance | Low |
| Short-Draw | Walk-in cooler is close to the bar (within 25 feet) | Uses forced, chilled air to keep beer lines cold | Medium |
| Long-Draw | Cooler is located far from the taps (25+ feet) | Uses a glycol power pack to actively chill the lines | High |
Each system has its place, and choosing the right one is fundamental to serving consistently cold, perfectly carbonated beer. A direct-draw system is fantastic for its simplicity, but a long-draw glycol system is the undisputed workhorse for most modern, high-volume bars.
I can't tell you how many times I've seen people underestimate their line run. They measure the straight-line distance and forget to account for every bend, drop, and turn. Always measure the exact path the trunk line will take. That extra 10 feet you didn't plan for can easily be the difference between a simple air-cooled setup and needing a much more complex glycol system.
Mapping Your Installation Path
Once you've settled on the right system, it's time to get out the tape measure and map the precise route for your trunk line. You need to think about every potential obstacle—walls, support beams, plumbing, and electrical conduits. If you want to learn more about the basics of planning for a major equipment install, this guide on understanding general system installation offers some good foundational knowledge.
Pay close attention to ventilation. Your refrigeration equipment—whether it's a kegerator or a glycol power pack—needs to breathe. Cramming it into a tight, unventilated closet is a recipe for overheating, which leads to system failure and warm, foamy beer. A detailed map of your installation path will save you a world of headaches when it's time to get to work.
Gathering Your Essential Tools and Components
Any seasoned pro will tell you that a successful draft beer system installation is 90% preparation. Before you drill a single hole or run a single line, having every tool and component accounted for is the key. It’s the difference between a smooth, methodical process and a chaotic mess filled with last-minute trips to the hardware store.
Think of this as setting up your workshop. The right gear not only makes the job easier but also sets you up for simpler maintenance and troubleshooting down the road. Stay informed about the best tools and supplies to ensure a professional result.
Specialized Tools of the Trade
You'll need your standard hand tools, of course, but a few specialized items are absolutely non-negotiable for getting a draft system right. These tools are built specifically for the unique fittings and pressures you'll be working with.
- Faucet Wrench: You need this to tighten or remove beer faucets from the shanks without leaving ugly scratches on that beautiful chrome finish.
- Hex Nut Wrench: Often called a beer wrench, this is your go-to for securing the hex nuts that connect couplers and shanks to your beer and gas lines.
- Pressure Gauge Tester: This is critical. It lets you confirm the pressure at the keg coupler itself, ensuring the number you see on the regulator is what's actually hitting the keg.
- Line Cleaning Kit: While technically for maintenance, you should have this from day one. It's best practice to give the new lines a good flush before that first pour.
While you’re grabbing the draft-specific gear, don't forget the basics. Many steps in the process rely on general plumbing know-how. This list of essential plumbing tools is a great resource to make sure your toolbox is fully stocked.
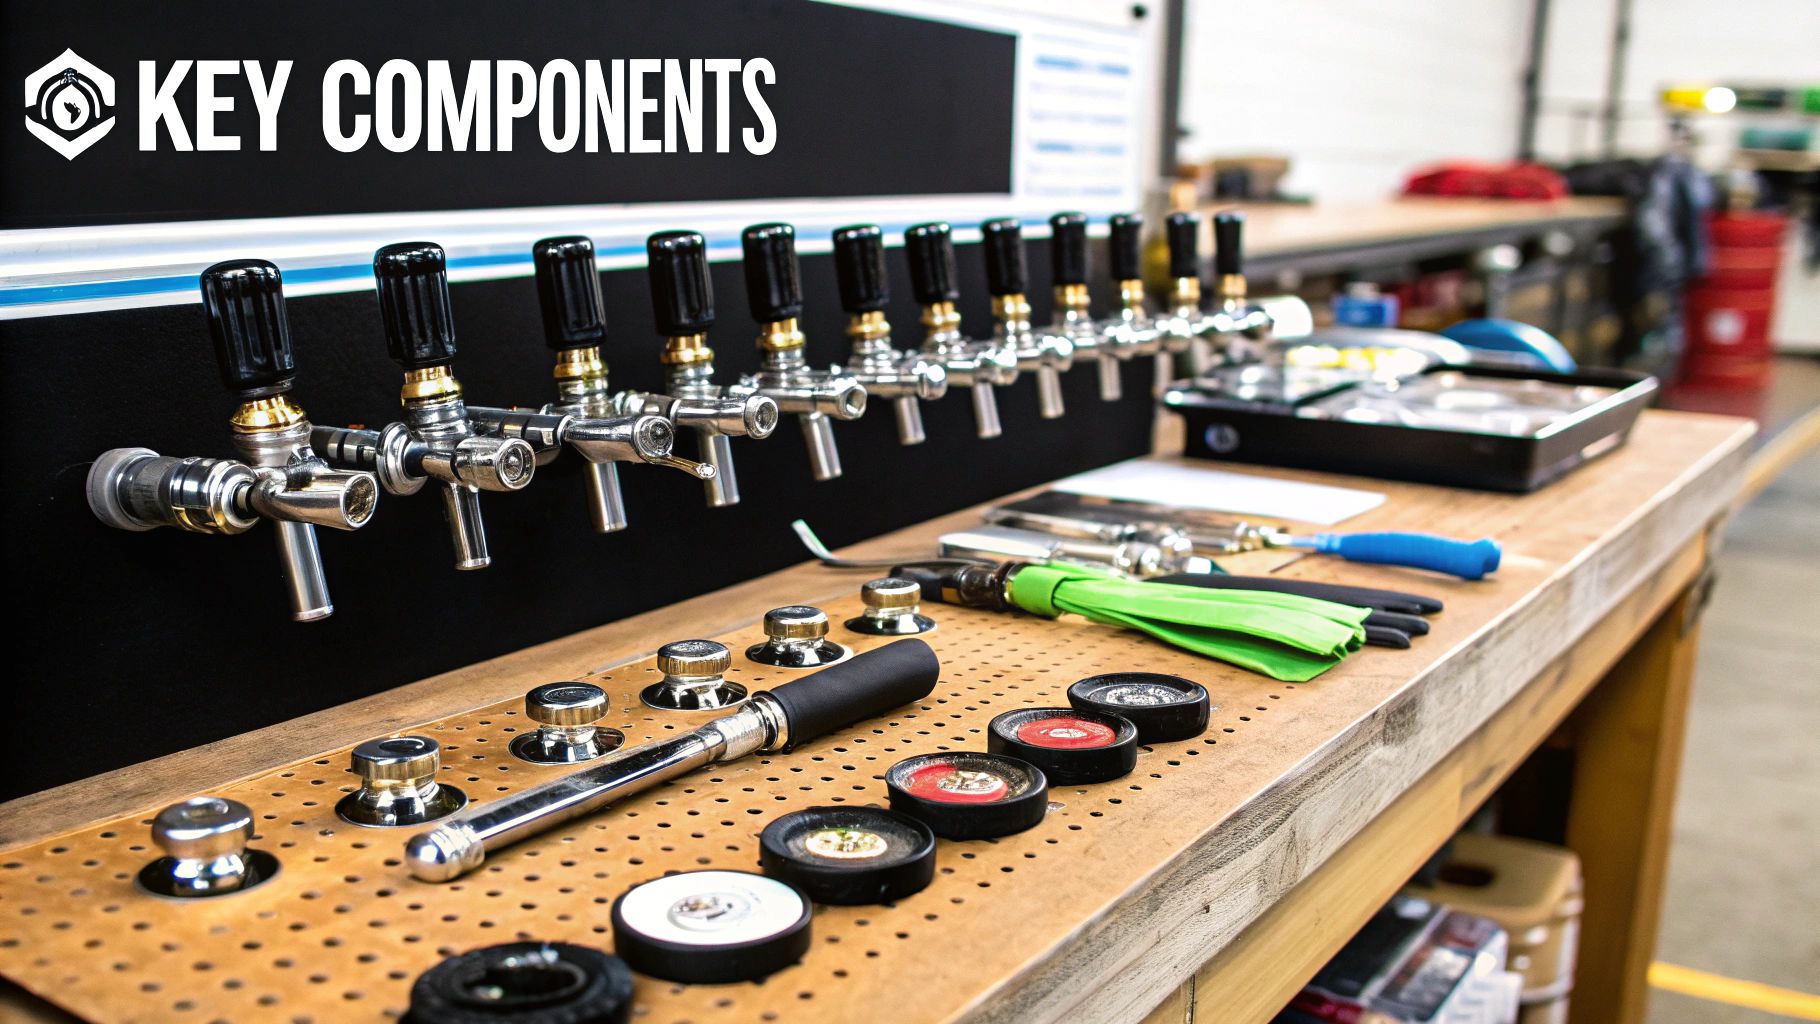
Core System Components Breakdown
Now, let's talk about the hardware. A draft system is a collection of critical parts that have to work together perfectly to pour a great beer. Each piece has a specific job, and getting the right restaurant equipment and supplies for your specific setup is everything.
Choosing the right components isn't just about getting things to fit; it's about future-proofing your bar. Mismatched couplers or undersized gas lines will cause endless headaches. For instance, trying to hook up a standard American "D" System Sanke coupler to a German "A" System keg simply won't work. Always match your couplers to your beer menu.
Here’s a quick rundown of the essential hardware you'll need to have on hand:
- Cooler/Kegerator: This is the heart of the operation. It's where your kegs live, and it must hold a rock-steady 38°F.
- Gas Tank & Regulator: This is your power source, usually CO2 or a nitrogen/CO2 blend. The regulator is the brain that controls the dispense pressure.
- Keg Couplers: This is the valve that taps the keg, connecting the gas-in and beer-out lines. The type (D-style, S-style, etc.) has to match the keg brand.
- Beer & Gas Lines: You need specific tubing rated for beverages and gas. The inside diameter and length are critical for balancing the system and preventing foamy pours.
- Shanks & Faucets: The shank is the threaded tube that passes through your cooler wall or tower, and the faucet is what the bartender actually uses to pour the beer.
- Tap Tower: This is the dispenser mounted on your bar, housing the shanks and faucets for a clean, professional look.
Nailing these details is a huge part of the battle. Keep an eye out for exclusive deals on these components to get the best value for your investment.
Assembling Your Draft Beer System
Alright, your plan is solid and you've got all the parts laid out. Now for the fun part: putting it all together. This is where your careful prep work pays off and you start to see your draft system come to life. We’ll begin where the beer does—in the cooler—and build our way out to the faucet.
First things first, let's get your gas supply set up. Your CO2 or blended gas tank needs to be secured upright inside your walk-in or kegerator. Don't just lean it in a corner; make sure it's stable. Grab your primary regulator and attach it to the tank valve. You want a good, snug fit, but don't go crazy cranking on it. Over-tightening can wreck the O-rings and cause a leak right from the start.
Connecting at the Cooler
With the regulator on, it's time to introduce the kegs to the system. Run your gas line from the regulator's output barb to the gas-in port on your keg coupler. Use a hose clamp to lock it down tight.
Next up is the beer line, which attaches to the top port of that same coupler. Now you’re ready to tap the keg. It's a simple motion: place the coupler on the keg valve, give it a twist to lock it in, then pull the handle out and push it down firmly to engage. You're listening for a satisfying click that tells you it's properly connected.
I’ve seen this happen a hundred times: someone turns the gas on before engaging the coupler. Always tap the keg first. Then, open the main valve on the gas tank, and only then should you dial in your pressure on the regulator. This simple sequence prevents a nasty surge of gas from hitting your keg and causing problems down the line.
Now, let's hunt for leaks. Mix some soapy water in a spray bottle and give every connection a spritz, from the tank all the way to the coupler. If you see any bubbles forming, that’s a gas leak. Tighten that connection and test it again.
Running and Connecting Your Lines
The next big step is getting the beer from the cooler to the bar. If you're installing a long-draw glycol system, this means carefully running your insulated trunk line. This bundle contains all your beer lines plus the glycol lines that keep everything chilled. Be mindful of the path you take—any sharp bends or kinks will restrict flow and give you headaches later.
Once your trunk line is at the bar where the tower will sit, you can shift your focus there. Mount the draft tower securely to your countertop. You absolutely need it to be level and stable, so take your time with this. The shanks, those threaded tubes that poke through the tower, are your next connection point.
This image gives you a good sense of how to map out your bar's workflow before you even start drilling.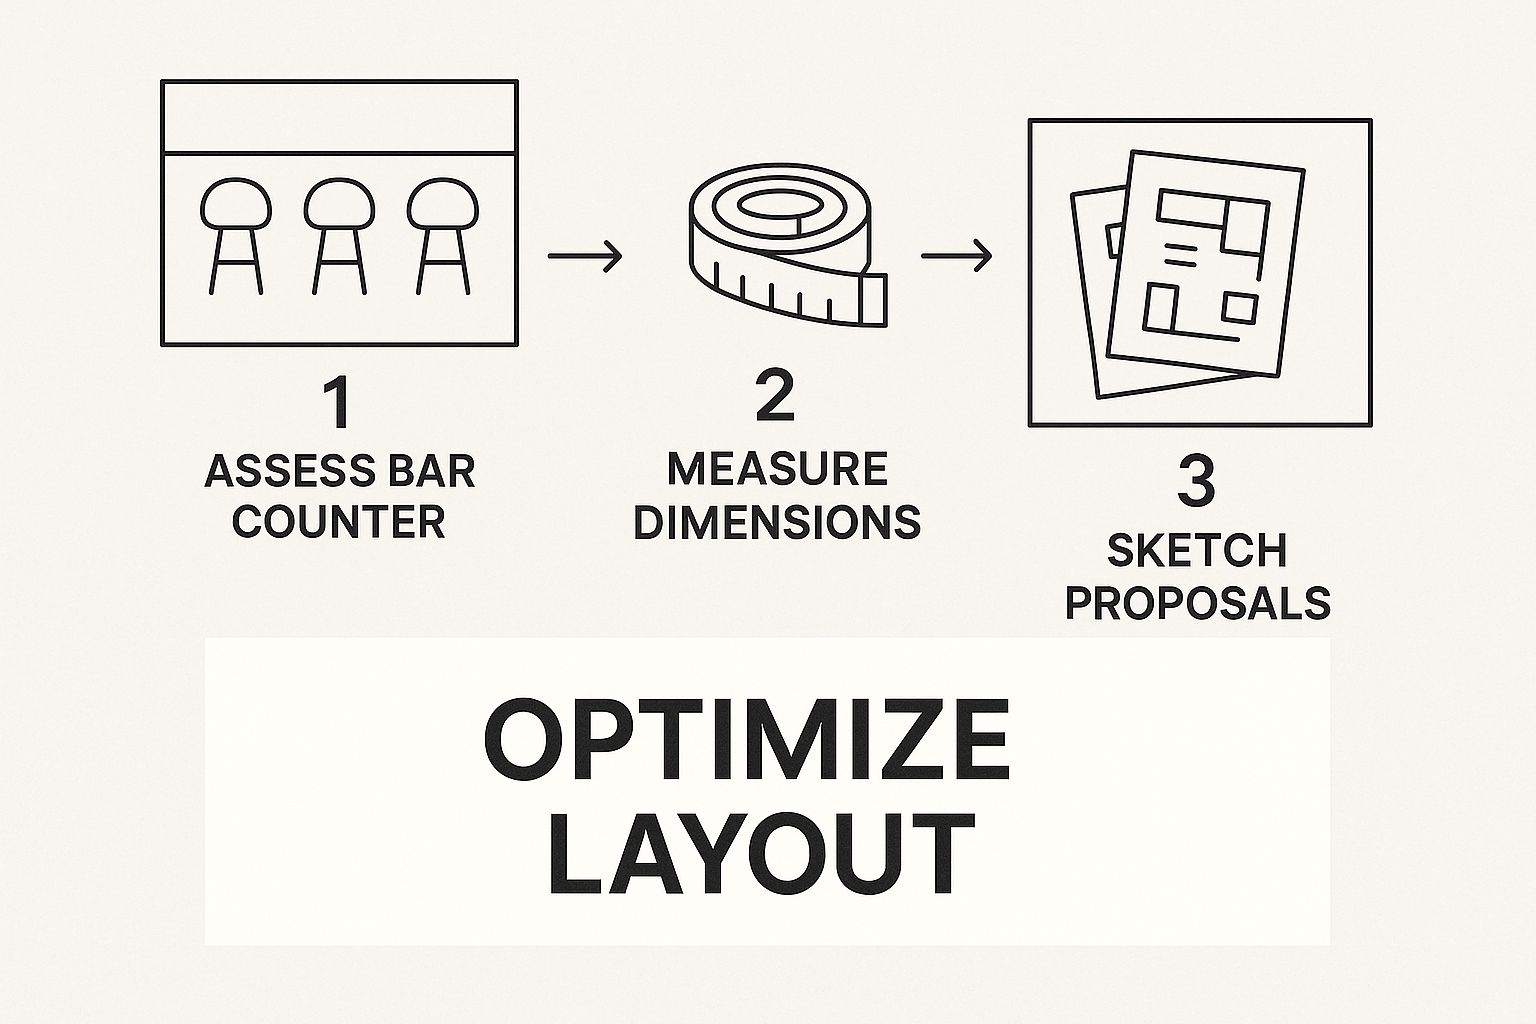
Thinking through the entire journey from keg to glass helps you account for every single inch of the run, which is absolutely critical for balancing the system correctly.
Finalizing the Tap Connections
Time to make the final connections. Feed the beer lines up through the tower and connect them to the back of the shanks. Just like you did with the gas lines, use a hex nut and a proper beer wrench to get a tight, leak-proof seal against the washer.
The last piece of the puzzle is attaching the faucets to the front of the shanks. Screw them on by hand to get them started, then grab a faucet wrench for a final, gentle turn. You're aiming for a firm seal, not a stripped thread or a scratched chrome finish. All that's left is to screw on your tap handles. For a full range of dispensing gear, from faucets to complete towers, you can browse our selection of beverage equipment.
Getting these details right is more important than ever. The beer keg system industry was already valued at USD 1,210.2 million in 2025 and is only getting bigger, thanks to global demand and new keg technologies. With every connection secured, your system is now fully assembled. The next crucial step is getting it properly balanced.
Balancing Pressure and Temperature
https://www.youtube.com/embed/YMfZi3eEqHI
Getting all the hardware put together is a huge step, but the real craft of serving great draft beer comes down to balancing two invisible forces: pressure and temperature. This is the part of the job that separates a merely functional system from an exceptional one that pours a perfect pint, every single time.
If you get this balance wrong, you're in for a rough time. You'll either be fighting endless foam and wasting product or serving flat, uninspired beer that doesn't do the brewer's work justice.
It all starts inside your cooler. Your number one goal is to hold a consistent, unwavering temperature of 38°F (3°C). I can't stress this enough—temperature swings are the enemy. Even a shift of a few degrees can cause the CO2 dissolved in the beer to break out, creating foam in the lines before the beer even has a chance to see the faucet.
Setting Your Regulator Pressure
Once your cooler's temperature is locked in and stable, you can dial in your CO2 pressure. The idea is simple: you need just enough pressure to keep the beer's existing carbonation from going flat, while also providing the push needed to get it from the keg to the glass.
Different beers need different amounts of pressure. A bubbly, highly carbonated Belgian Tripel, for example, needs a higher pressure setting to maintain that signature fizz than a much smoother, creamier English-style ale. This is where a good carbonation chart becomes an indispensable tool. It lets you find the sweet spot by cross-referencing your beer's required "CO2 volume" with your cooler's temperature to pinpoint the exact Pounds per Square Inch (PSI) you need.
Here's how I think about it: The CO2 pressure you apply from the regulator has to perfectly counteract all the forces working against the beer—gravity, the friction from the beer lines, and the temperature itself. Too much pressure, and you force extra CO2 into the beer, causing a fast, foamy pour. Too little, and the beer's own carbonation breaks out in the line, which also causes a foamy pour. It’s a true balancing act.
Understanding System Resistance
Every single component in your draft system adds a bit of friction, or resistance, that the beer has to push through. Every foot of beer line, every elbow, and the faucet itself—it all adds up. Your regulator's pressure setting has to be just right to overcome this total resistance.
Longer draft lines or lines with a narrower diameter naturally create more resistance, meaning you'll need to dial up the PSI to get a balanced flow rate at the tap. Getting the installation right is critical for managing this resistance and preventing issues; for more general tips on this, you can look into best practices for installing liquid delivery systems and avoiding leaks.
As a rule of thumb, standard 3/16" vinyl beer line (the most common type) adds about 3 lbs of resistance for every foot of length. So, a simple direct-draw kegerator with a 5-foot line will need a very different—and much lower—pressure setting than a long-draw system running 50 feet of tubing from a walk-in cooler. Properly calculating this resistance is a fundamental step in any professional draft beer system installation.
Recommended PSI and Temperature by Beer Style
To help you get started, here's a quick reference table for some common beer styles. Remember, this is a starting point—your specific system's resistance will require you to fine-tune from here.
| Beer Style | Ideal Temperature (°F) | Typical CO2 Volumes | Target Pressure (PSI) at 38°F |
|---|---|---|---|
| American Lagers | 36-40°F | 2.5 - 2.7 | 12 - 14 PSI |
| IPAs & Pale Ales | 38-45°F | 2.4 - 2.6 | 11 - 13 PSI |
| Stouts & Porters | 42-50°F | 2.2 - 2.4 | 10 - 12 PSI |
| Wheat Beers / Hefeweizen | 40-45°F | 2.7 - 3.2 | 14 - 18 PSI |
| Belgian Ales | 40-50°F | 2.8 - 3.5 | 15 - 20 PSI |
Always check the brewer's recommendation if you can, but this chart will get you in the right ballpark for most pours.
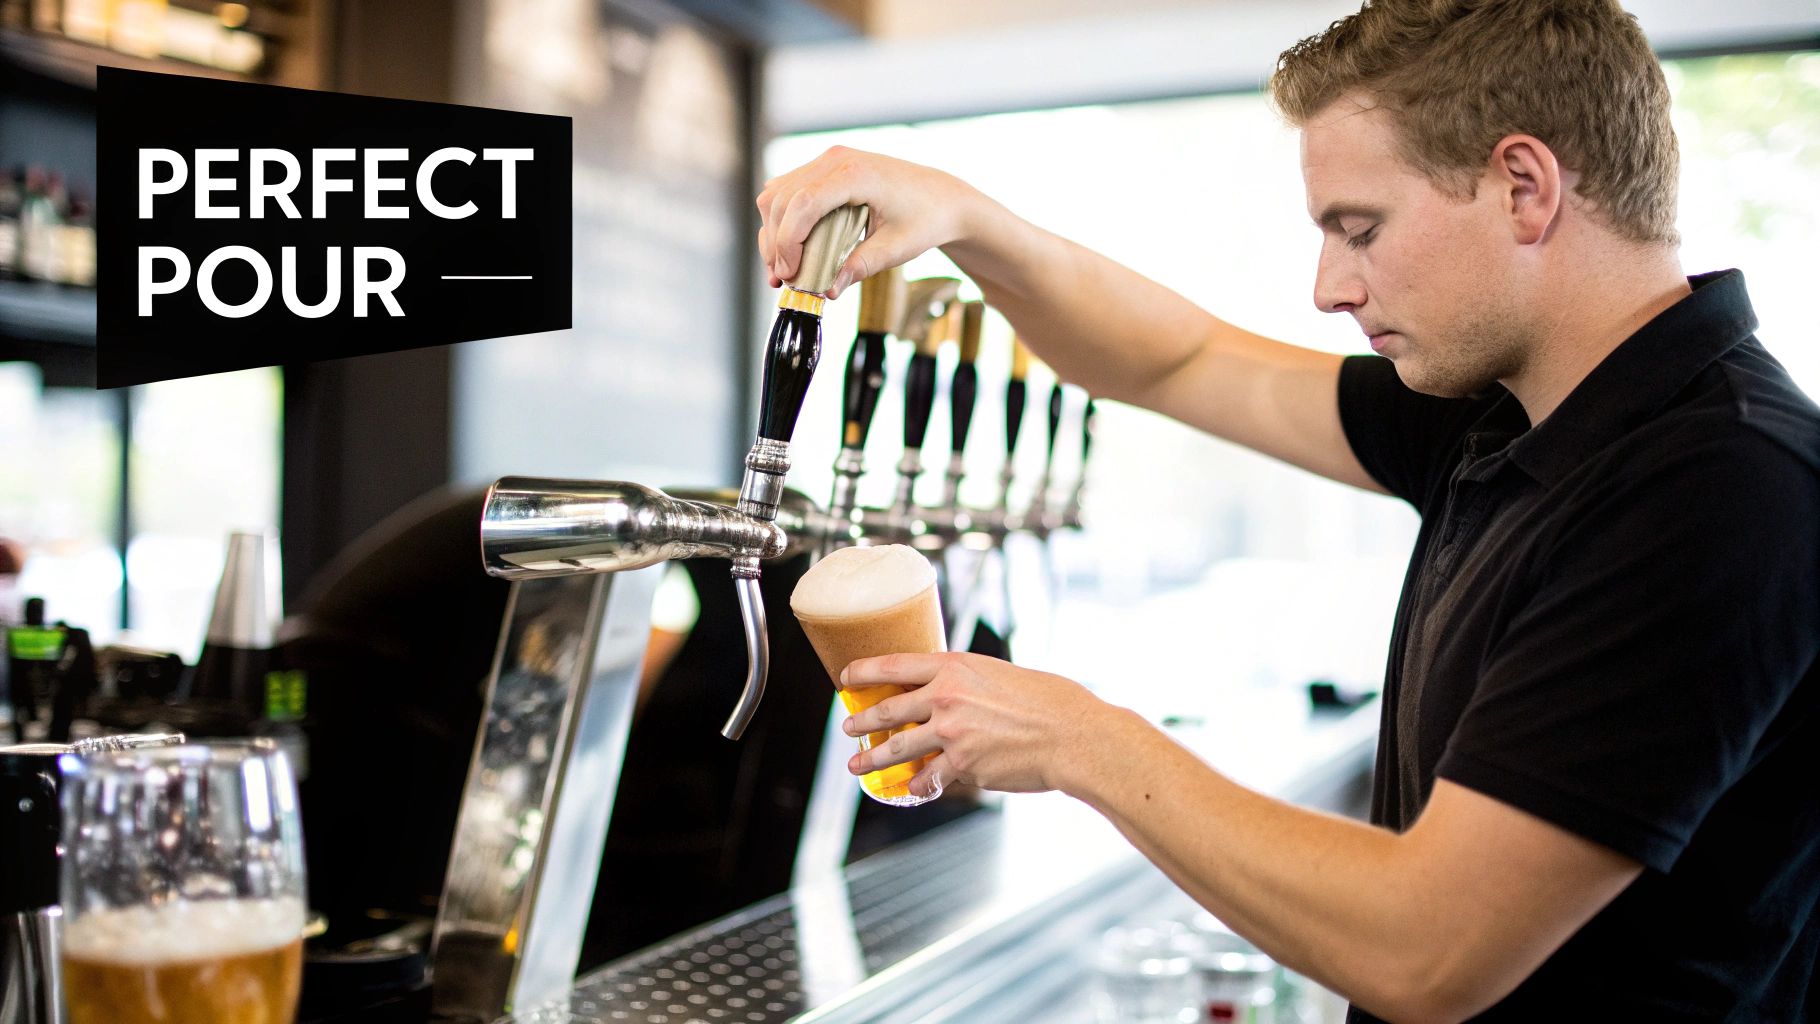
This careful fine-tuning is what ultimately protects both your product quality and your profits. It's the science behind the art of the pour, ensuring that when a customer orders a crisp pilsner or a rich stout, they get a pint that's perfectly carbonated, served at the right temperature, and poured with minimal waste.
Don't Skip This: Essential System Maintenance and Cleaning
Getting your draft beer system installation right is a huge first step, but the real work starts the day you pour your first pint. Your draft system is a serious investment, and a rock-solid cleaning routine is the only way to protect it, serve great-tasting beer, and avoid those nightmare repair bills.
Think of your beer lines like a food product, because that's exactly what they are. Day after day, they collect deposits of yeast, bacteria, and other gunk. If you let it build up, you’re not just serving foul-tasting beer—you're asking for clogs and malfunctions that can shut down service in the middle of a Friday night rush.
Your Go-To Cleaning Schedule
The best way to fight off-flavors and equipment failure is with a consistent cleaning schedule. I've found it’s easiest to break this down into daily habits and a more involved deep clean every couple of weeks. This approach keeps everything in pristine condition and makes sure every glass of beer tastes exactly how the brewer wanted it to.
Here’s a simple routine to follow:
Daily Tasks (At Closing Time)
- Faucets: Grab a clean, sanitized cloth and give every faucet and tap handle a thorough wipe-down. No sticky residue.
- Drip Trays: Pull them out, dump them, and wash them properly. This is ground zero for mold and pests if you neglect it.
- Glassware: Make sure your glass rinser is clean and working. Pouring perfect beer into a dirty glass is a waste.
Keeping your draft lines clean is just one piece of the puzzle. A well-maintained bar and kitchen is safer, more efficient, and more profitable. For a broader perspective, check out our guide to commercial kitchen equipment maintenance to keep your whole operation in top shape.
The All-Important Deep Clean
Every two weeks, it's time to get serious. This is when you need to flush your beer lines with a professional-grade caustic cleaning solution. This chemical breaks down all the organic buildup—the yeast, proteins, and hop resins—that water alone can't touch.
Once the lines are flushed, the job isn't done. You need to completely disassemble your faucets and keg couplers and let them soak in that same cleaning solution. This gets into all the nooks and crannies where residue can hide and re-contaminate your system.
After everything has been cleaned, a thorough water rinse is absolutely critical to flush out any remaining chemicals. The last thing you want is a customer tasting sanitizer instead of your IPA.
Answering Your Most Common Installation Questions
Even the most buttoned-up installation plan hits a snag or two. You've got the cooler humming and the lines run, but something's still not quite right. It’s a classic part of the process, and trust me, you're not the first person to ask these questions.
Let's walk through some of the most common issues that pop up and get them sorted out. The good news is, the fixes are usually pretty simple once you know what to look for.
Why Is My Beer Pouring So Foamy?
I get this call all the time. Nine times out of ten, foamy beer is a temperature and pressure problem. It’s the classic balancing act of a draft system.
Your first move should always be to check the cooler's temperature. Grab a calibrated thermometer and make sure that walk-in is holding steady at 38°F (3°C). If it's bouncing around, the CO2 in the keg will start coming out of the solution, and that means foam in the lines before you've even poured a drop.
If the temperature is solid, turn your attention to the regulator. Too much pressure over-carbonates the beer, and too little lets it go flat in the lines, both leading to a foamy mess at the faucet. You'll need to balance the system based on your beer line's length and diameter, the cooler's temp, and the specific carbonation level of the beer you're serving. And don't forget the small stuff—make sure there are no kinks in the line and train your staff to open the faucet handle in one quick, decisive motion. A slow pour will always create foam.
Seriously, How Often Do I Need to Clean the Beer Lines?
This isn't something you can eyeball or skip when you get busy. You absolutely must clean your beer lines every two weeks. Period.
A caustic line cleaning solution is the only way to get rid of the gunk—bacteria, yeast, and protein—that builds up and ruins the taste of your beer. It's a non-negotiable for serving a quality product.
On top of that, you need to do a full acid wash every three months. This is a deeper clean that dissolves the mineral buildup, or "beer stone," that the regular caustic solution can't touch. Keeping this schedule isn't just about good beer; it's about protecting the investment you made in your equipment.
Something to keep an eye on is the proposed CHEERS Act. It's designed to offer tax incentives for businesses that invest in new, energy-efficient draft systems. This is the kind of industry news that could be a game-changer, making it easier for bars to upgrade to modern setups that are often simpler to maintain.
When Should I Use Blended Gas Instead of Just CO2?
While pure 100% CO2 is the workhorse for most standard, short-draw systems, it’s not always the right tool for the job.
You'll need to switch to a blended gas—usually a mix of CO2 and nitrogen—in two key situations:
- For any long-draw system: When you're pushing beer more than a few feet, you need more pressure to get it to the tower. Nitrogen provides that extra muscle without adding any extra carbonation, preventing a foamy, over-carbonated pint.
- For "nitro" beers: To get that beautiful, cascading head and creamy texture on stouts like Guinness, you have to use a blended gas. It’s what gives these beers their signature character, no matter how short or long your beer lines are.
At Encore Seattle Restaurant Equipment, we know that a great draft system is the heart of a great bar. From the initial layout to that first perfect pour, we can help restaurant owners and chefs discover the latest news and exclusive deals on all their restaurant equipment and supplies. Check out our full lineup of beverage solutions at https://encoreseattle.com and let's build a draft program that keeps customers coming back.